A single product tackles only one layer of the damp problem. For a permanent result, DampStop injection, HydroFix damp-proofing plaster and the Damp Box (Nem Kutusu) work together — three steps, one system.
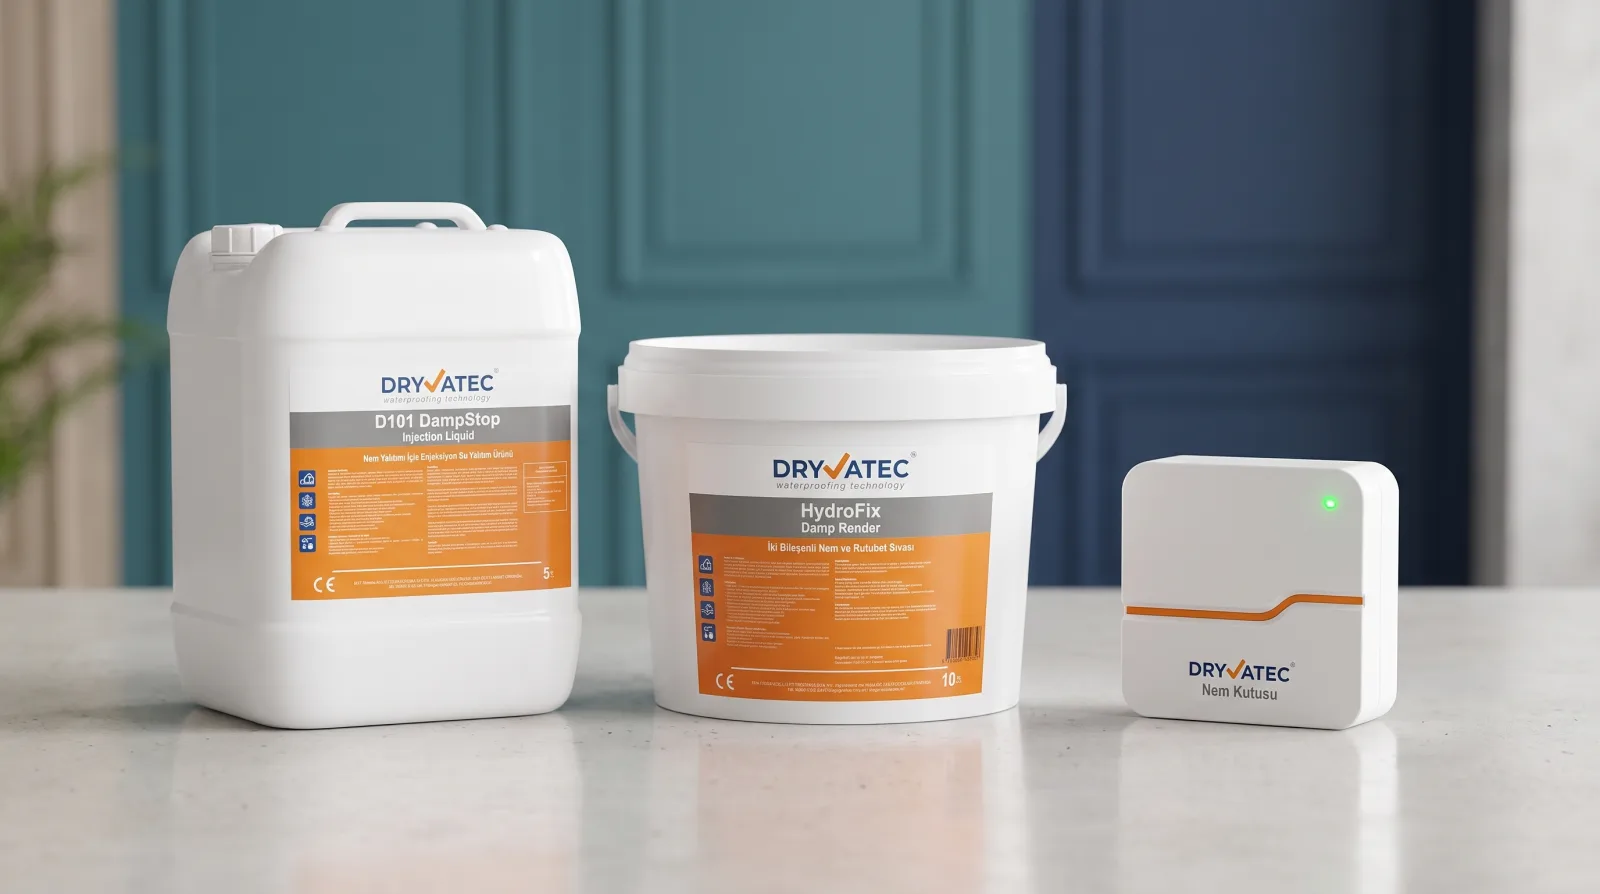
Each product targets a different layer of the damp problem. Only when all three are applied together does rising damp stop completely.
Applied before the injection, in place of the stripped plaster
Once HydroFix has dried, cuts the capillary moisture path at the base
Drives moisture in columns and foundations back into the ground
A dry, healthy, permanently protected wall
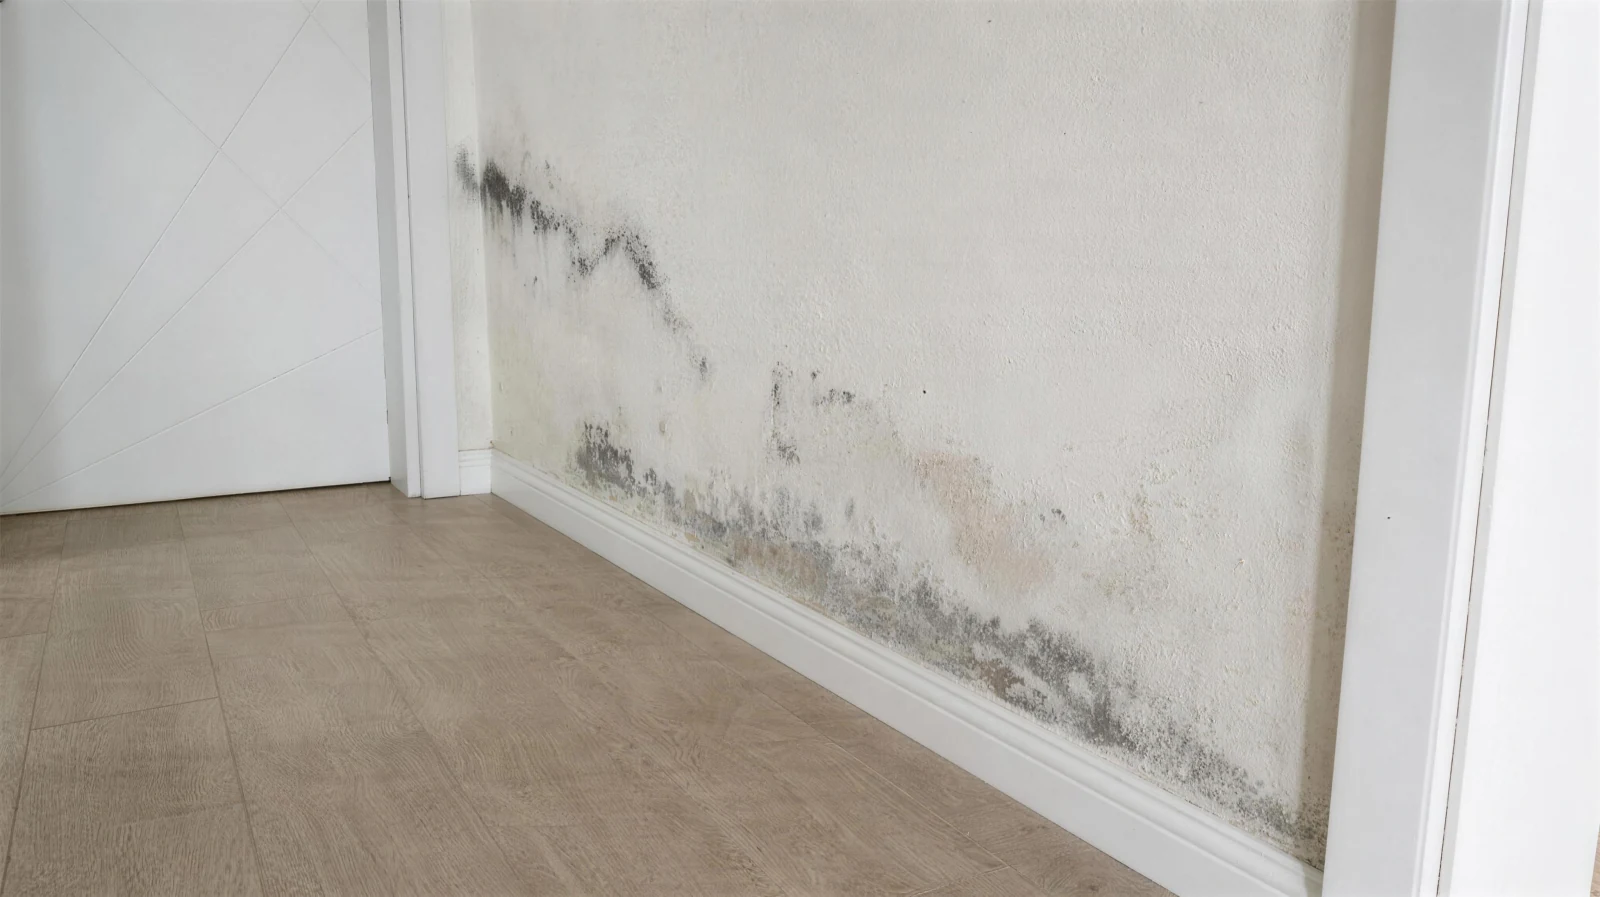
Water from the ground rises up through the wall via capillary channels. This physical phenomenon occurs in almost every building material, including concrete. Ignoring damp makes the problem worse, and superficial fixes quickly backfire.
Rising damp is a three-layer problem. A single product addresses only one face of it — the rest keeps working against you.
The cross-section below shows how the three products work together in the same wall: moisture is cut off at the base, the surface is protected, and the water in the wall is sent back into the ground. The numbers in the figure mark the layers, not the order of work: first the old plaster is stripped and HydroFix is applied, then the DampStop injection is carried out once the plaster has dried; the Damp Box is installed for the foundation and columns.
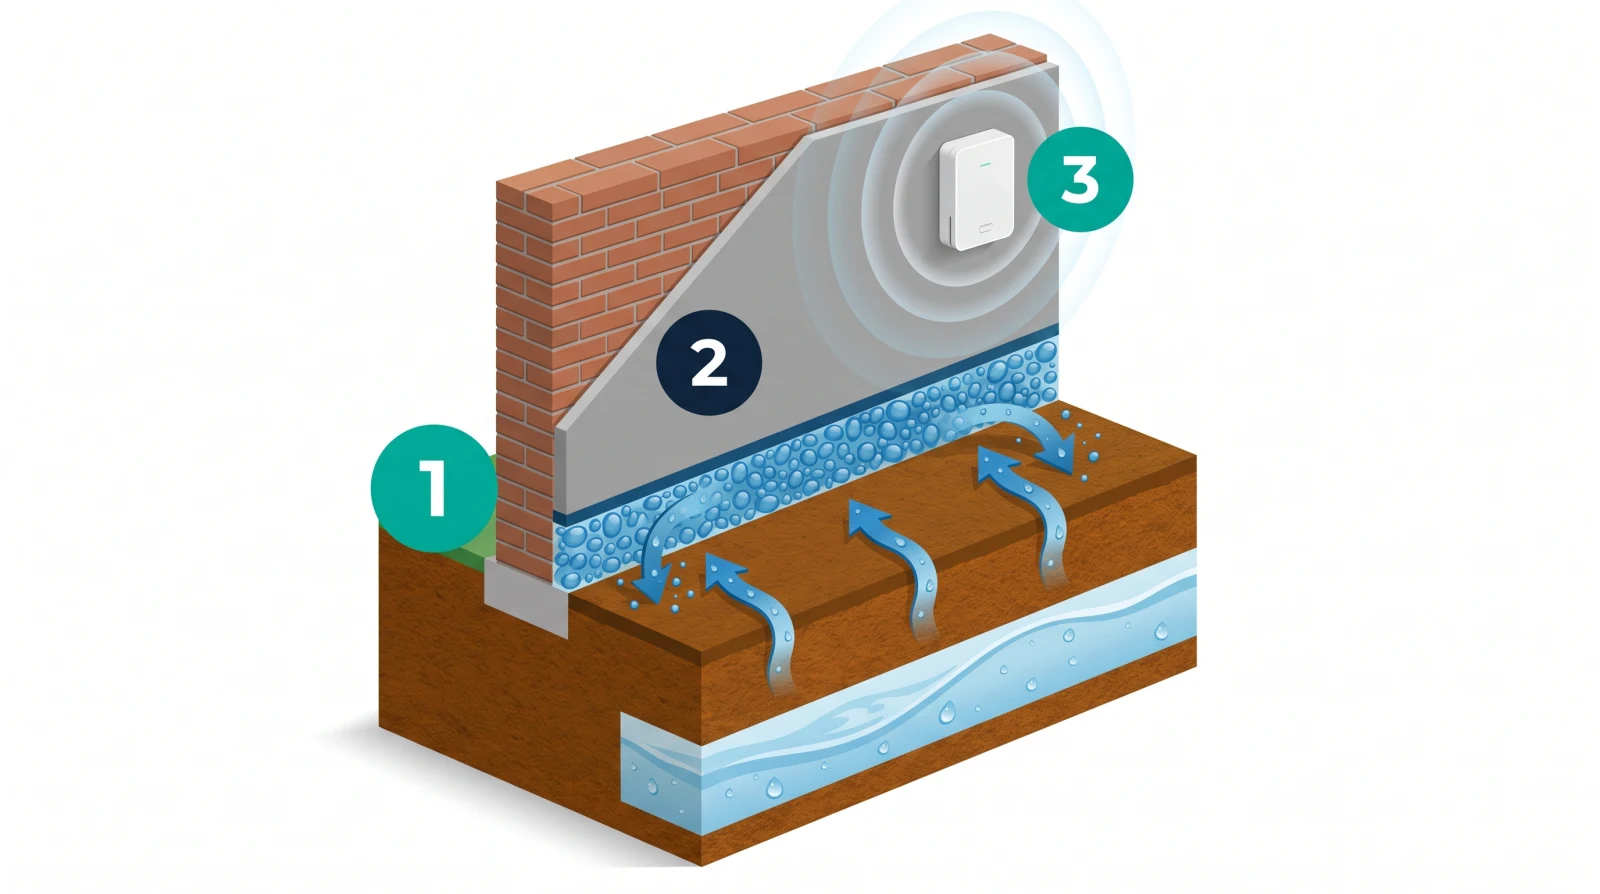
The DampStop injection creates a hydrophobic barrier at the base of the wall; capillary water rising from the ground stops at this point.
DampStop InjectionHydroFix damp-proofing plaster builds a waterproof yet breathable layer on the wall surface, preventing plaster and paint from blistering.
HydroFix Damp-Proofing PlasterUsing a very low frequency electromagnetic wave, the Damp Box sends the water reaching the foundation and rising in the columns back into the ground; it covers the foundation and columns that the injection and the damp-proofing plaster cannot reach.
Damp BoxThe condition for a definitive solution: For a permanent result against rising damp, the injection, the damp-proofing plaster and the Damp Box must be applied together. Applied on its own, each step solves only one layer of the problem.
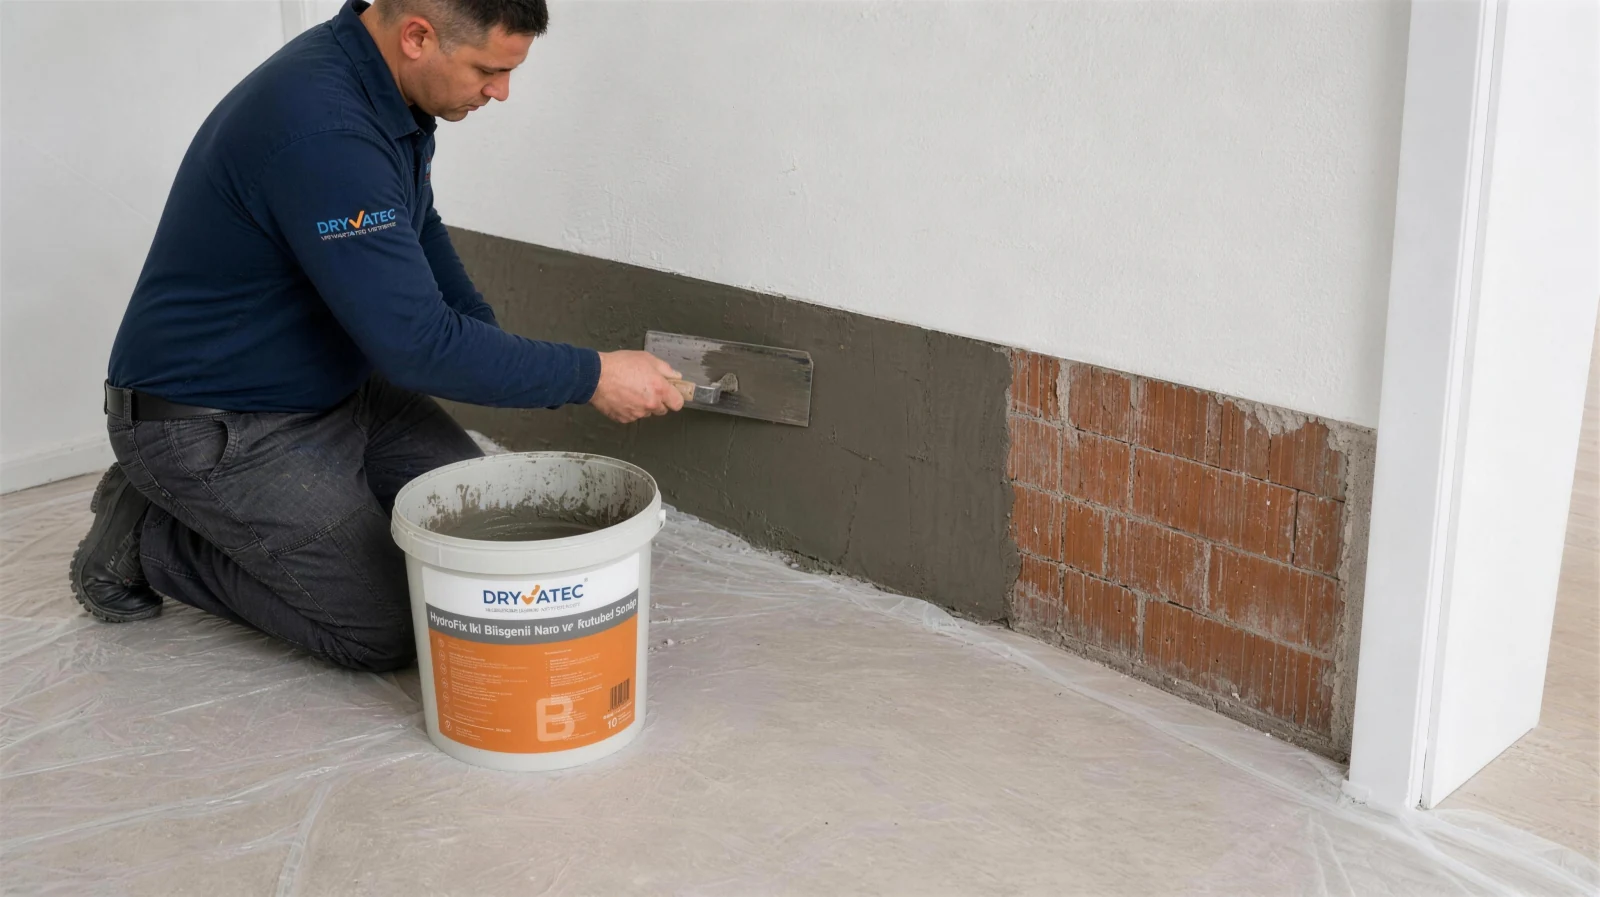
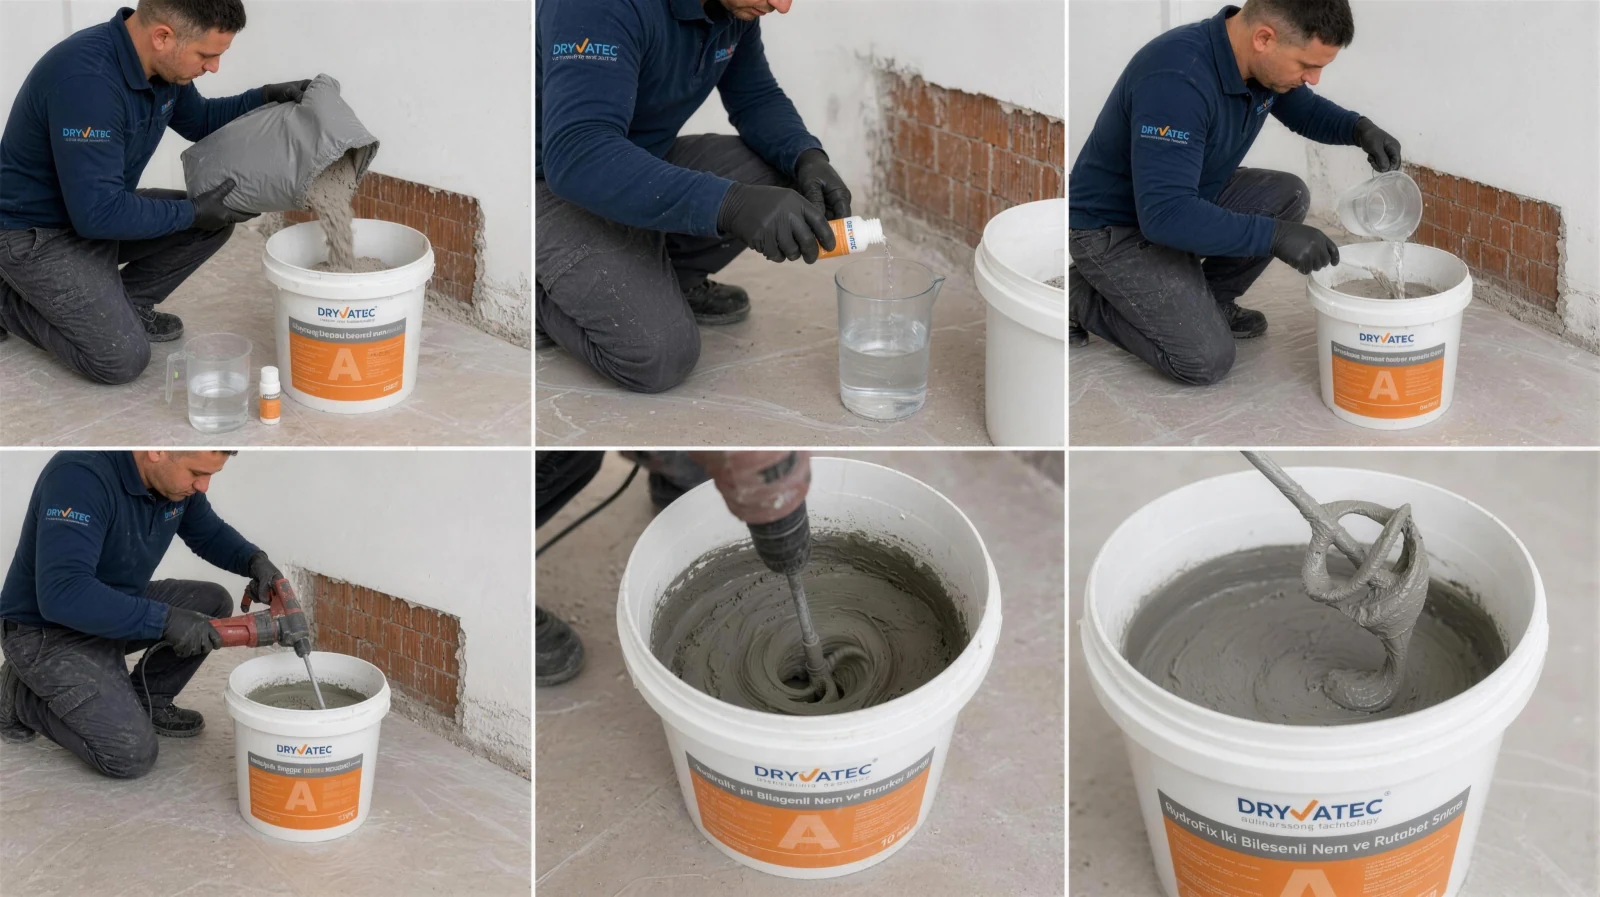
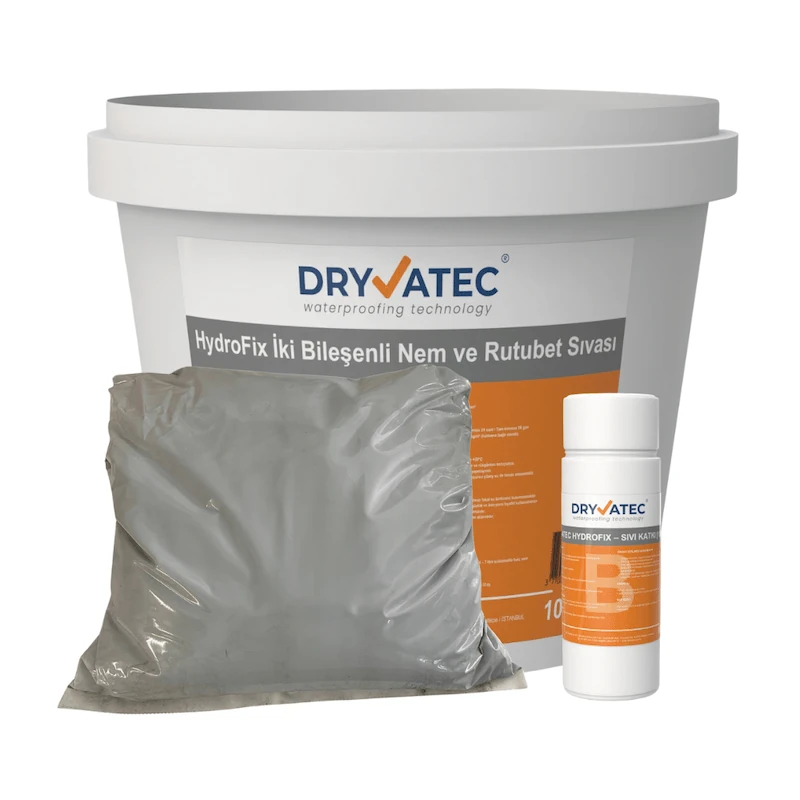
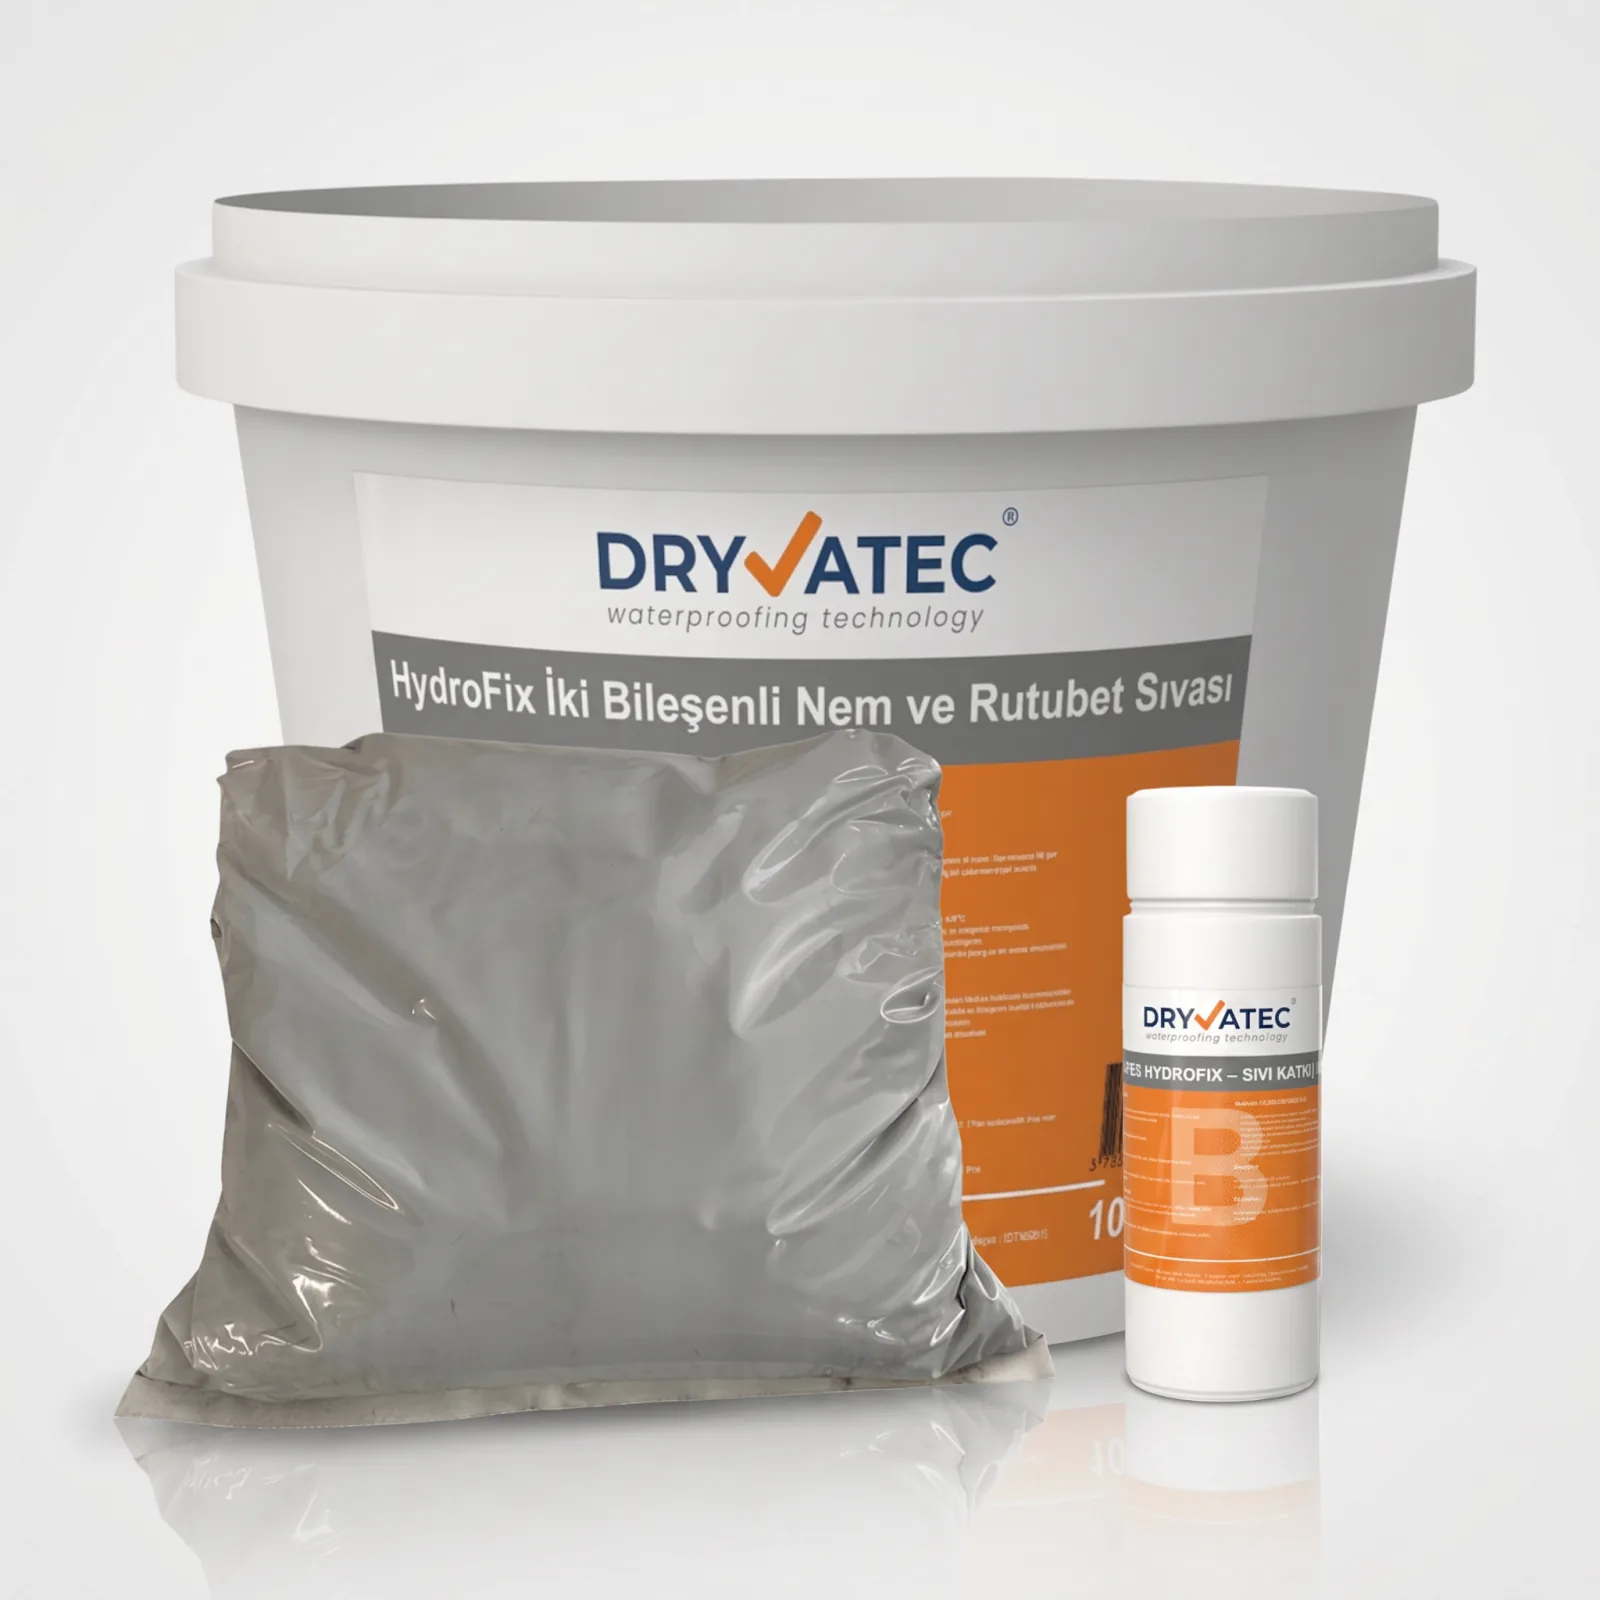
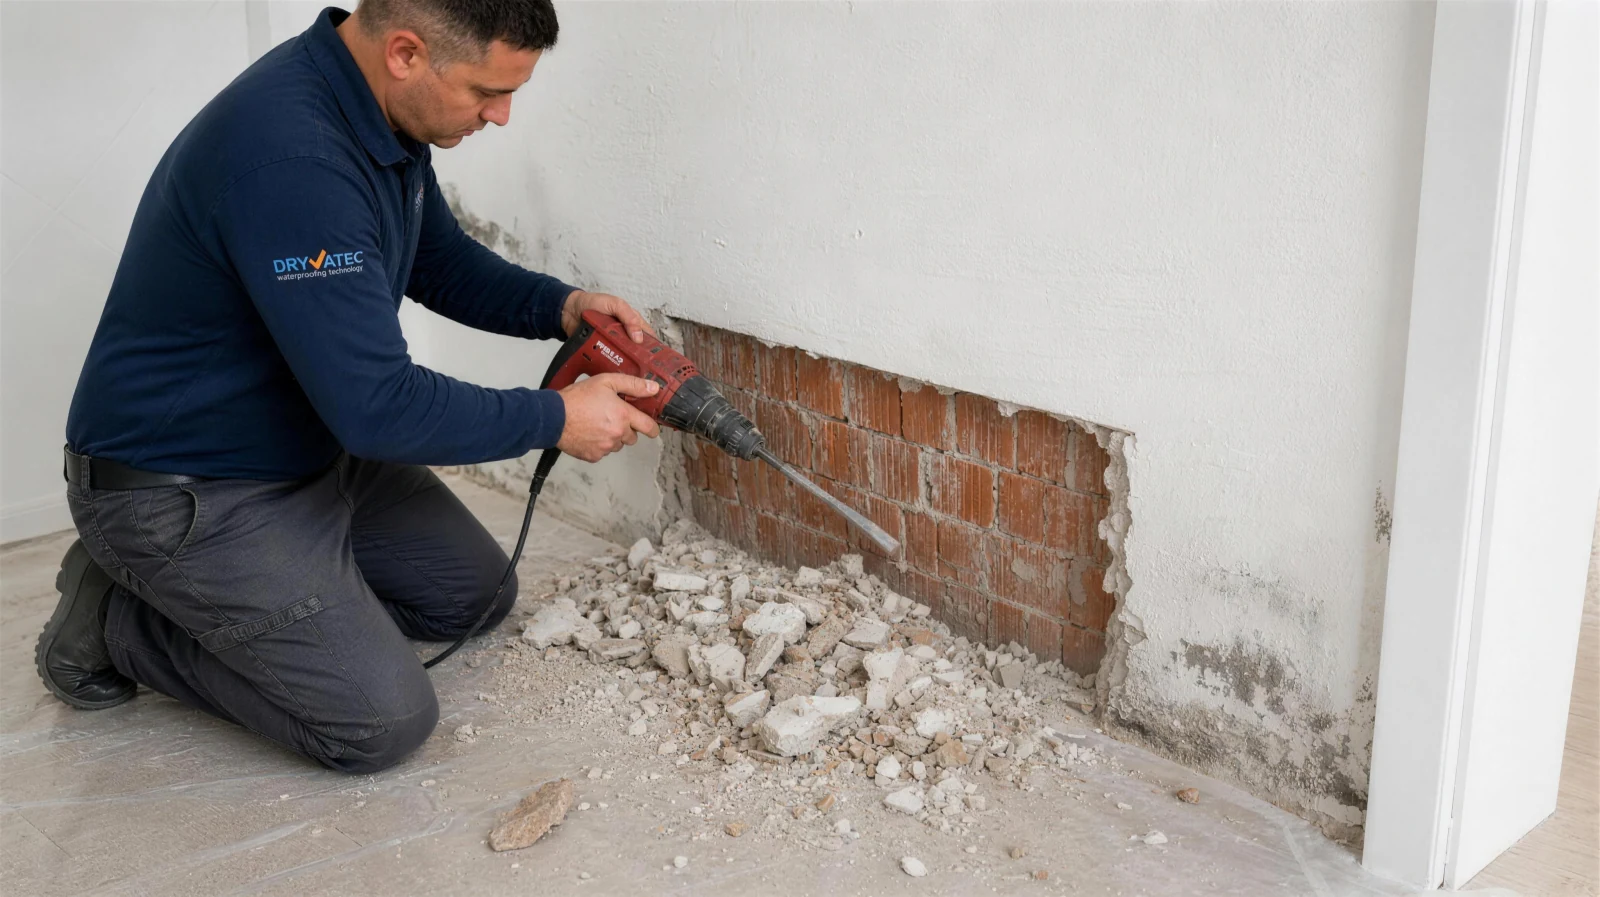
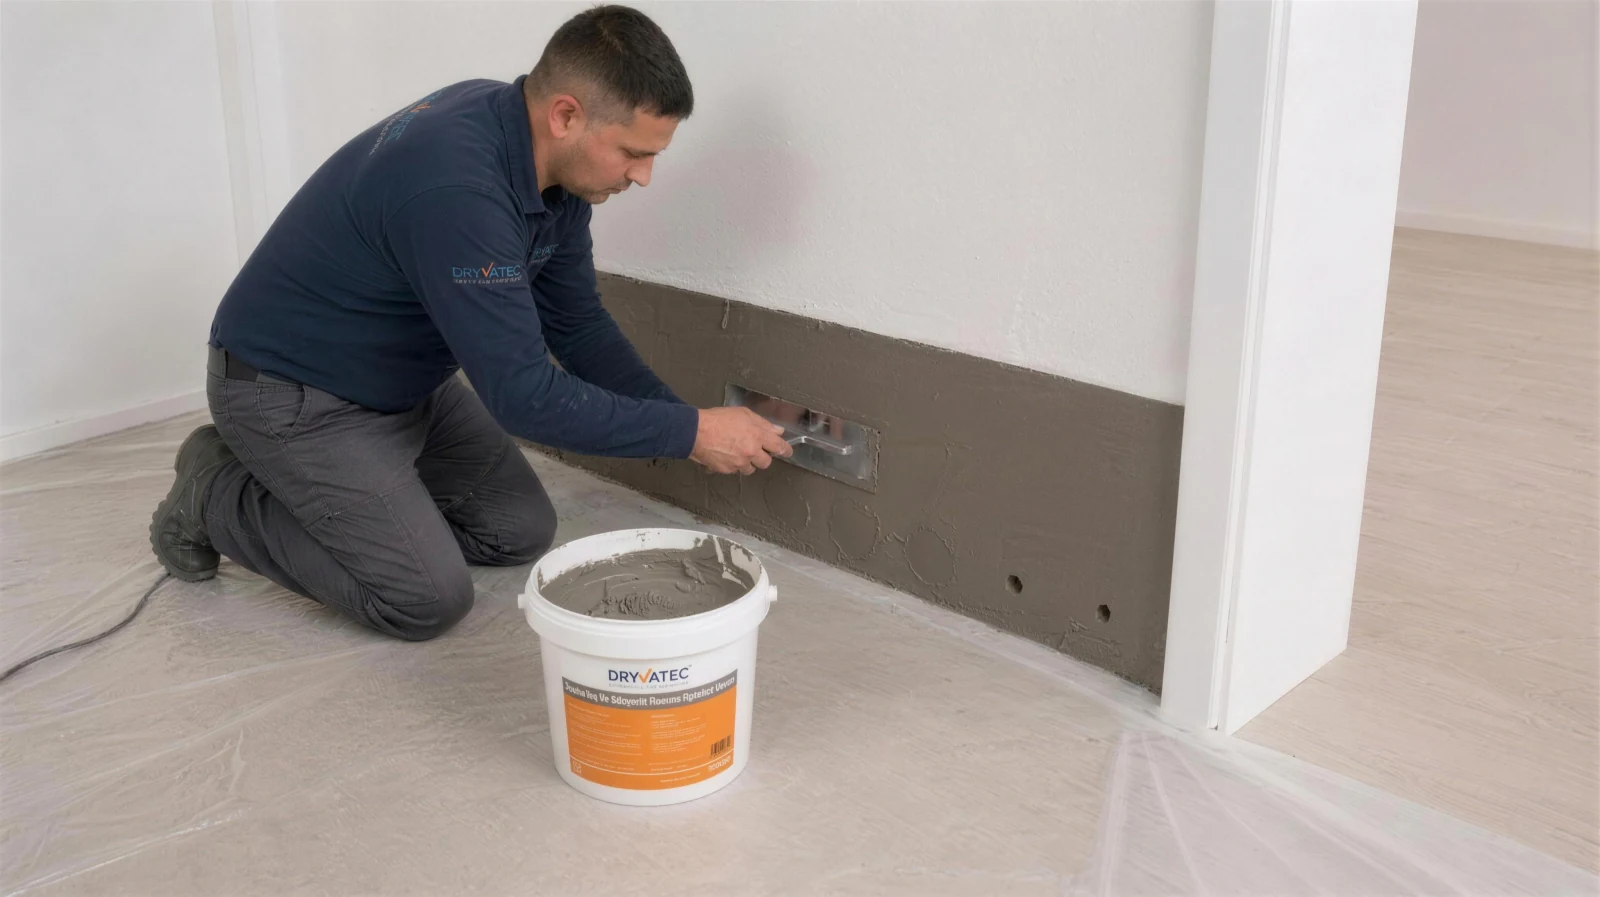
First the old, damp plaster is stripped; the cement-based, two-component HydroFix Damp-Proofing Plaster is then applied with a trowel in its place, before the injection. Why this order? Stripping plaster can break open the cells of the bricks; if you inject first, the solution runs out through those breaks. If the plaster goes on first, the injection stays inside the brick without overflowing. It cuts capillary water penetration, permanently preventing plaster and paint from blistering. Thanks to its breathable microporous structure, it lets the moisture inside the wall evaporate.
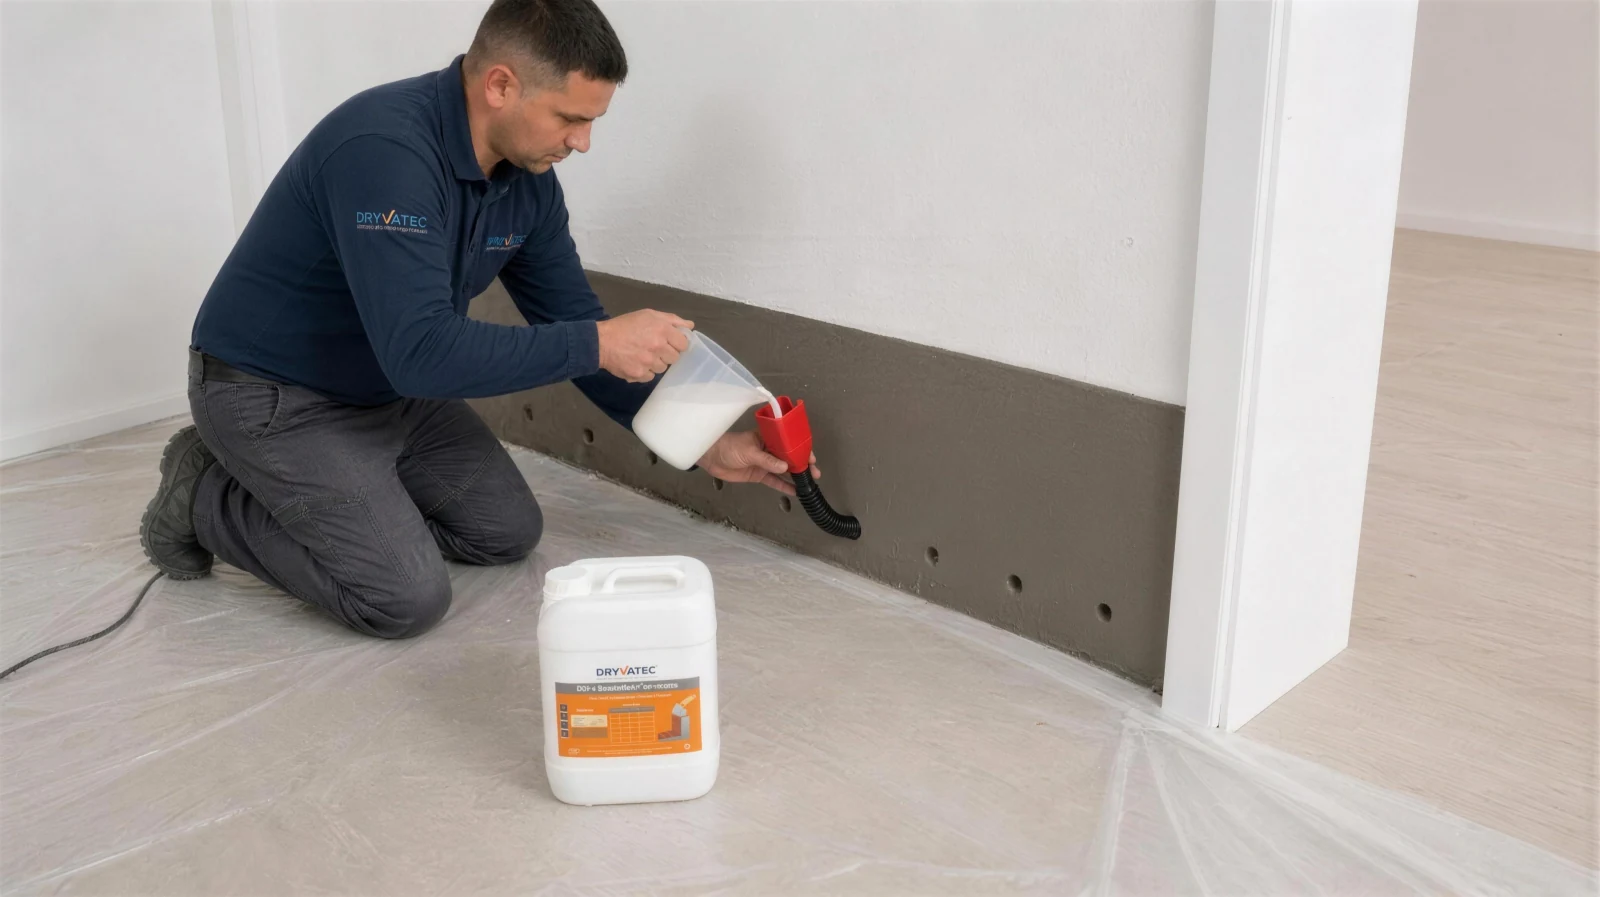
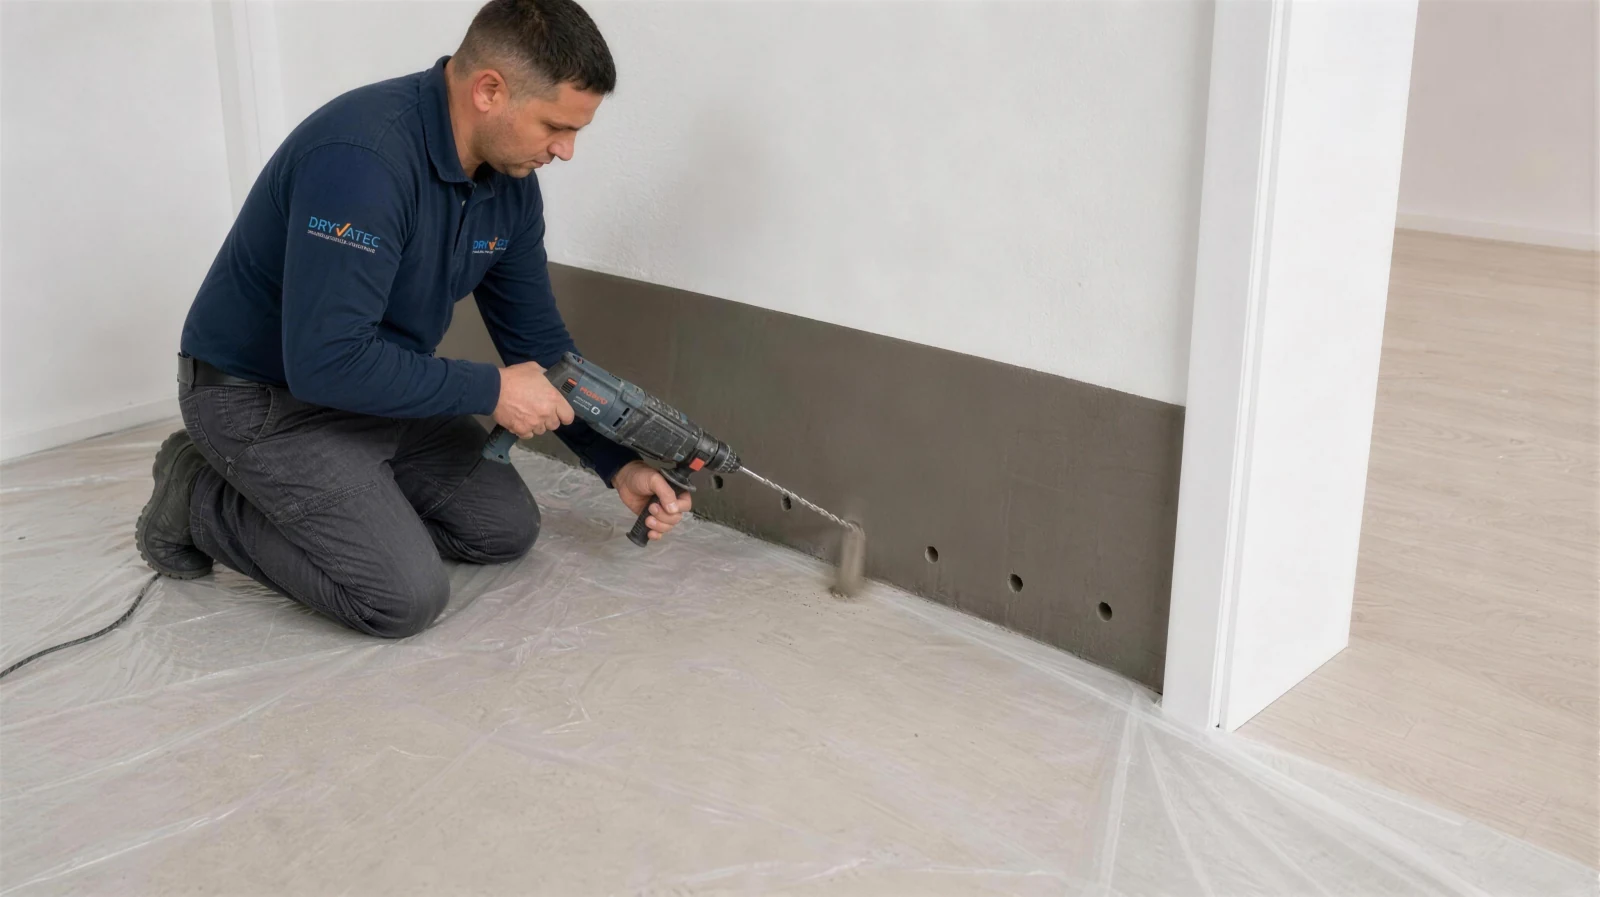
DampStop D101 Concentrate is injected into holes drilled at 10 cm intervals along the base of the wall once the HydroFix has dried (24–48 hours). The silane/siloxane-based hydrophobic resin forms a permanent waterproof barrier inside the wall, cutting the capillary rise of moisture within 48 hours.
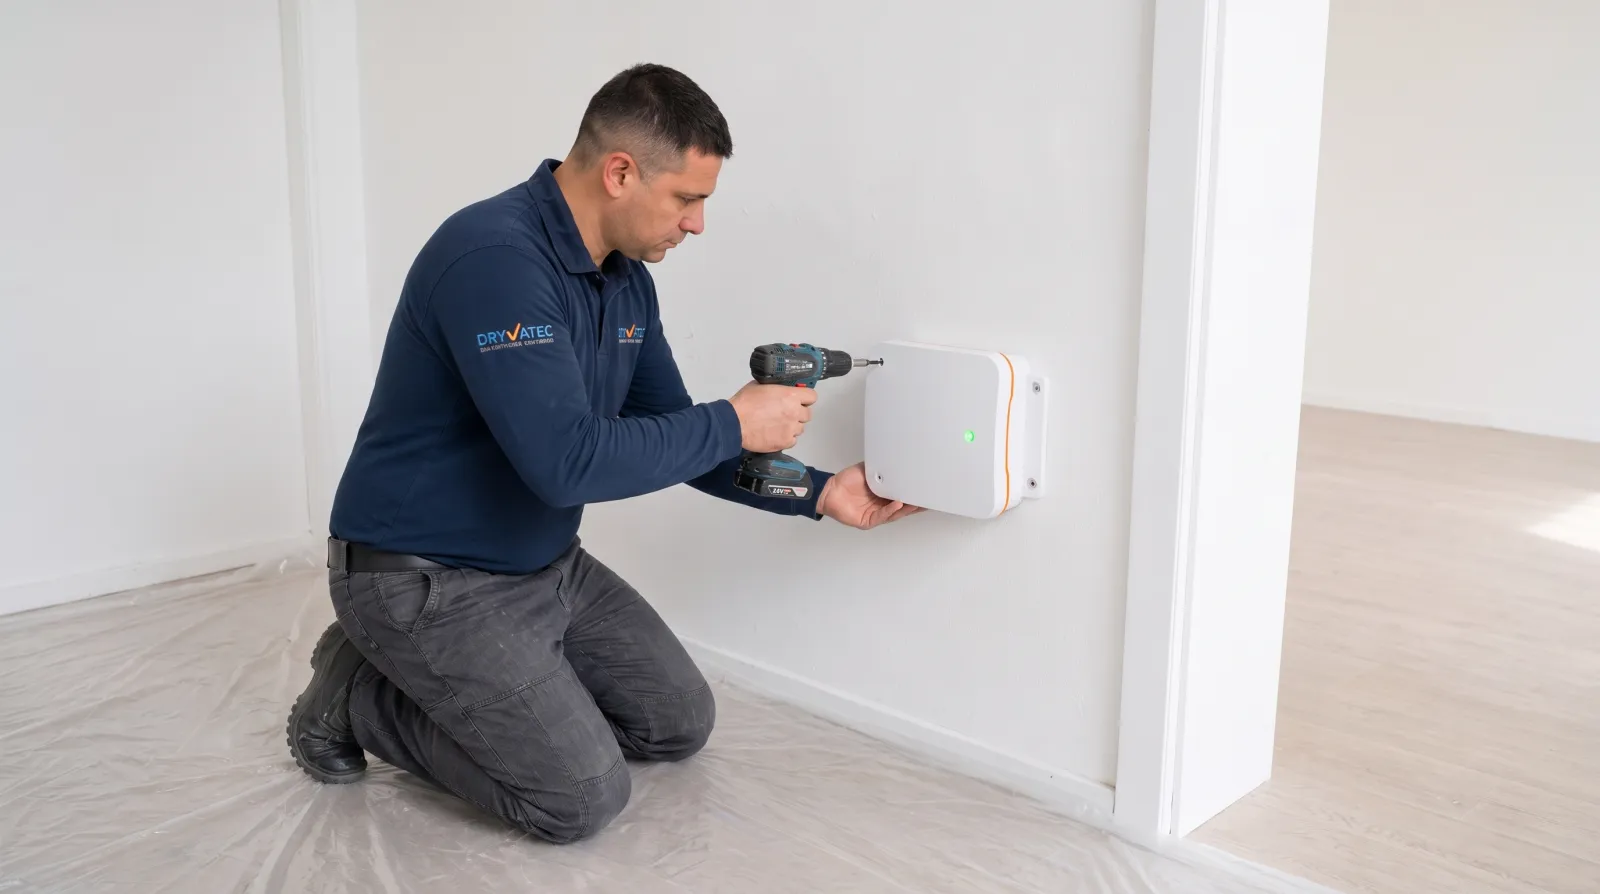
The Damp Box is a drying device that uses a very low frequency electromagnetic wave to send capillary moisture in the wall back into the ground; no chemicals and no demolition. Its job is to conduct the water reaching the building’s foundation and rising in the columns back into the ground: the DampStop injection and HydroFix damp-proofing plaster only work in wall elements (brick, aerated concrete, breeze block) and cannot reach the foundation and columns — the Damp Box covers that part.
The triple system applied on site in 10 real steps, from identifying the damp wall to mounting the Damp Box.
The height and spread of the damp are measured and a work plan is drawn up.
The damaged plaster is stripped to above the damp line to expose the surface.
2 coats of HydroFix damp-proofing plaster are applied in place of the stripped plaster; it is left to dry for 24–48 hours before the injection.
Holes are drilled at a set angle and depth along the base of the wall.
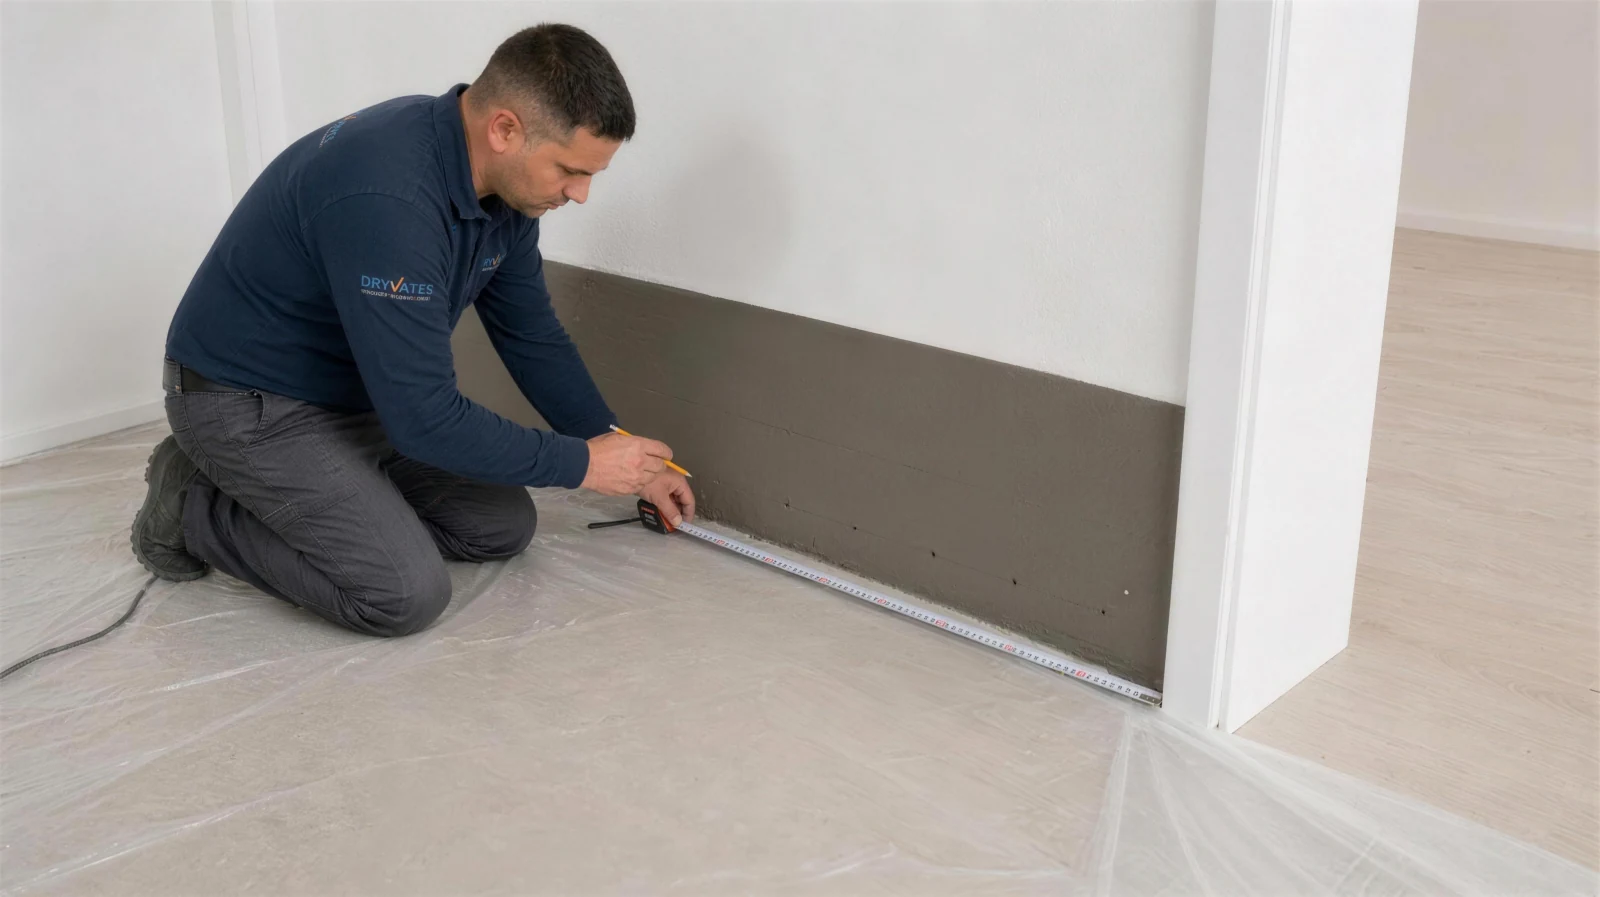
A regular row of holes is created at 10 cm intervals.
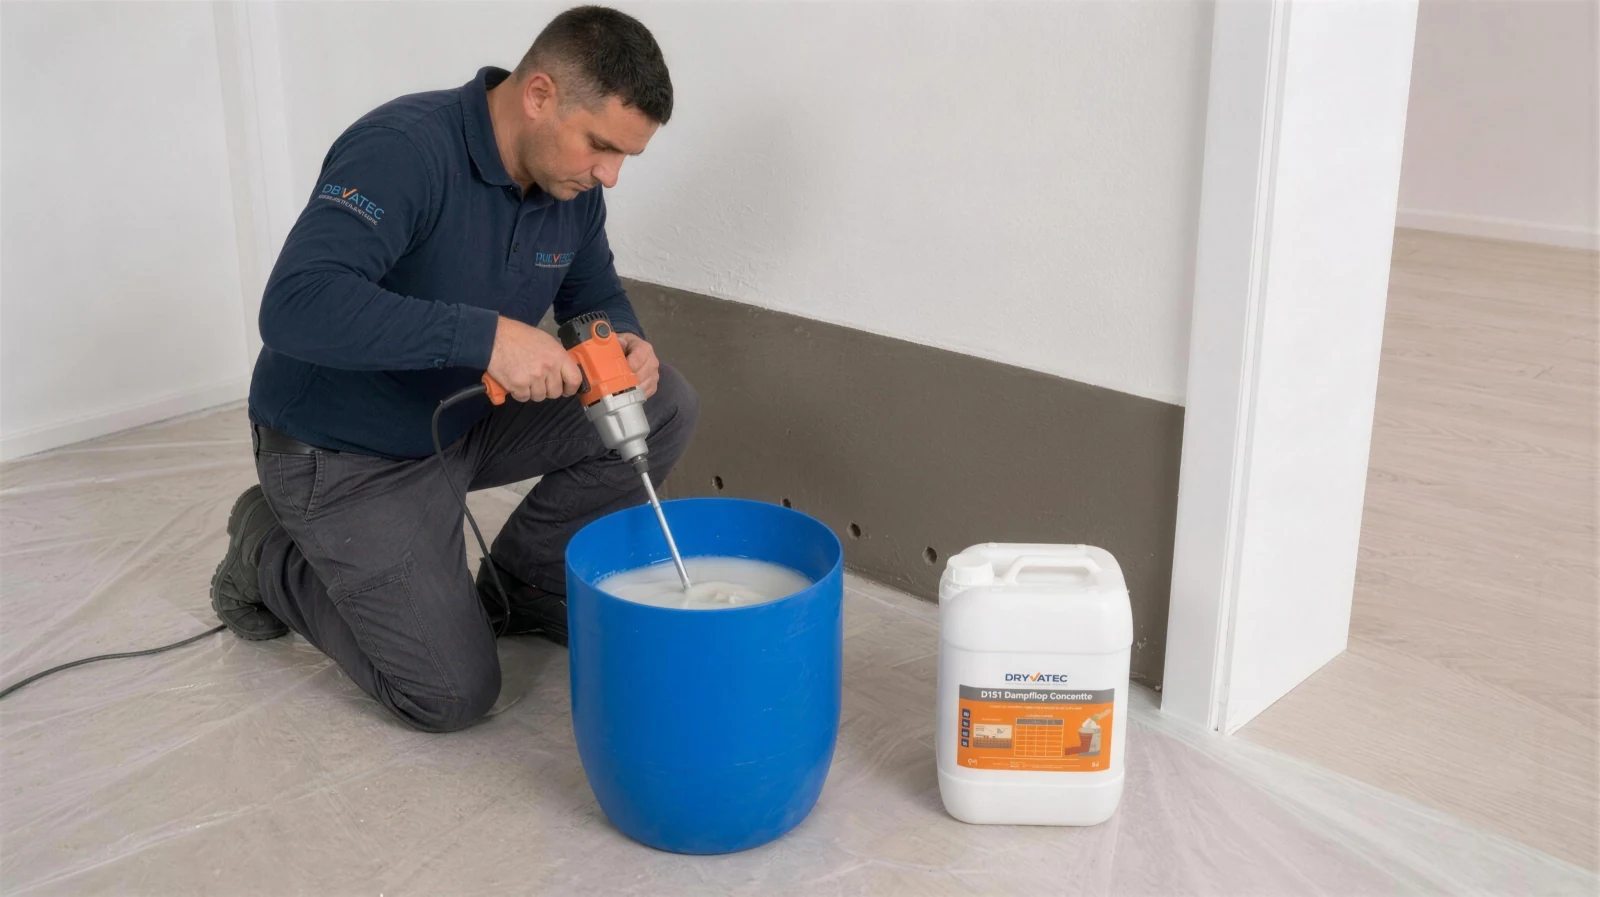
The mix is prepared from 1 part concentrate + 9 parts water.
The mix is slowly injected into the holes with a funnel.
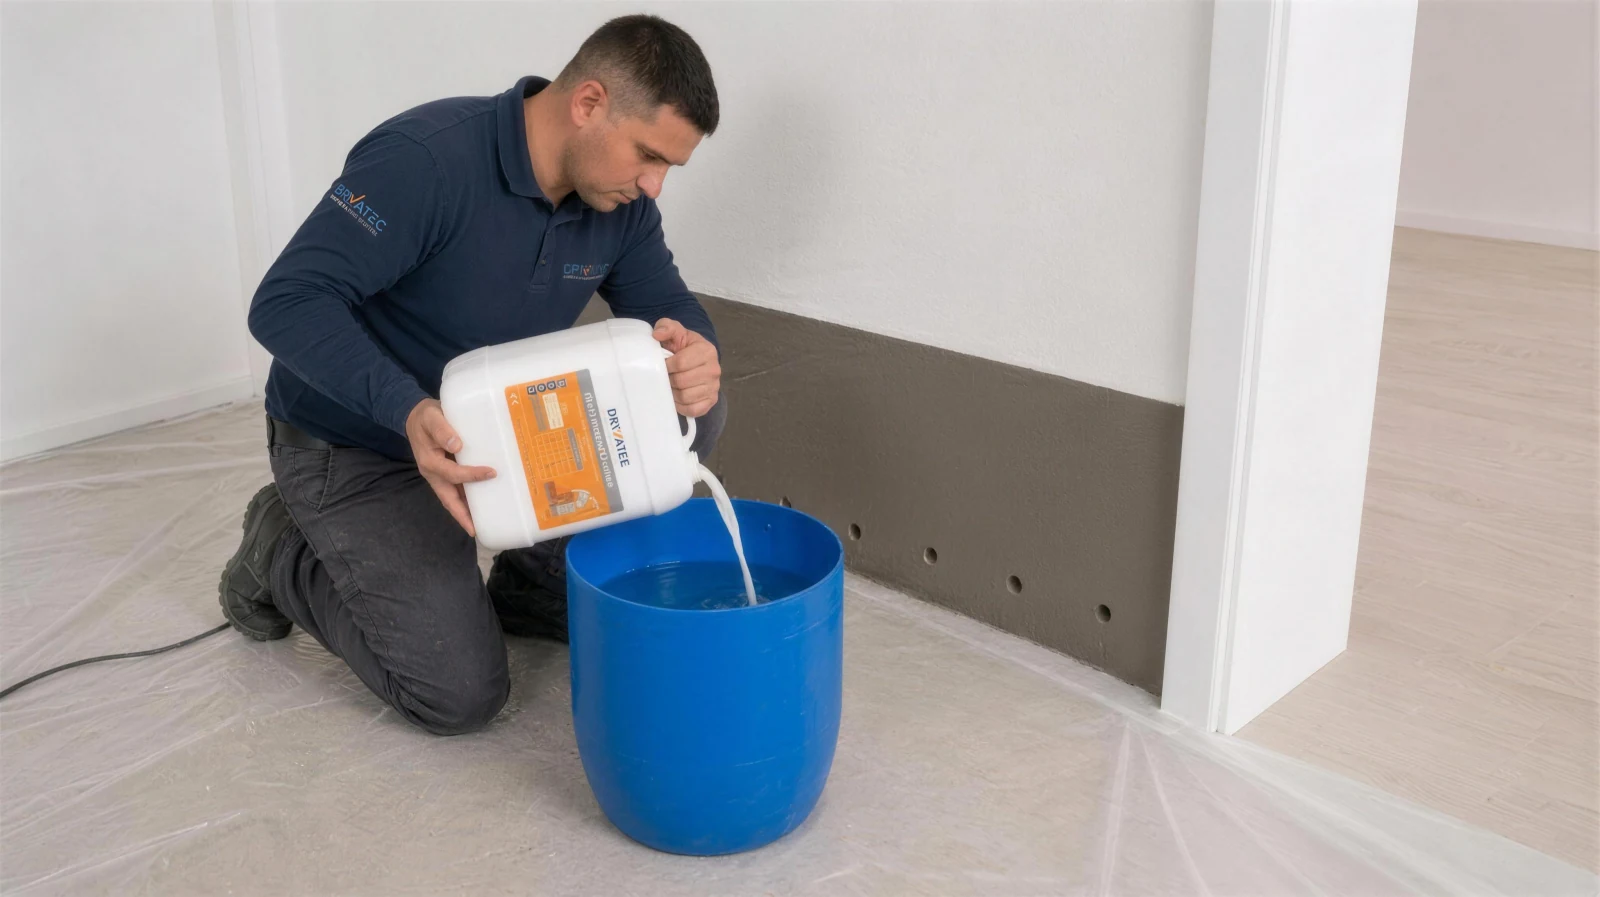
The holes are topped up until the wall reaches saturation.
At least 48 hours after the injection, the holes are sealed with repair mortar and the surface is levelled.
The Damp Box is mounted on a load-bearing wall and switched on.
Once the triple system is complete, the wall dries out, the stains and mould disappear, and the space becomes healthy and liveable again.
DampStop and HydroFix stop rising damp in surfaces such as brickwork and walls. The Damp Box then drives the damp and moisture in the columns and foundations back into the ground, eliminating damp throughout the entire building. So you protect not just your wall but your whole structure: the decay that advances with damp stops, and the risk of a moisture-weakened structure wearing down or being damaged in an earthquake is minimised. That is why we call it a triple system, not a single product.
Correct installation means maximum performance.
Mount it at least 1.50 m away from any electronic device.
Position it between 25 cm and 1 m above floor level.
Mount it directly on a load-bearing wall of the building.
The Damp Box must be permanently connected to power.
For best performance, mount it in the central area of the building.
The mounting location must not be changed. Check that the LED is lit.
Follow these steps for maximum performance.
Damaged plaster on the lower part of the walls is stripped to about 10 cm above the damp line and replaced with HydroFix before the injection. Old, damp plaster left in place slows down drying.
Good air circulation speeds up drying. Leave a gap of at least 1.5 cm under doors and fit ventilation louvres to the windows.
Paint goes on last. Brush off any salts that come to the surface with a dry brush; once HydroFix has fully dried, use only breathable (water-vapour permeable) paints.
In the triple system the damp barrier takes effect immediately; how fast the wall dries depends on the weather, the wall thickness and the coatings. (When the Damp Box is used on its own, complete drying can take 6-12 months.)
The amount of DampStop and HydroFix you need depends on wall thickness, damp level and the size of the area. Let us work it out for you.
Send us photos and measurements of your building, and our technical team will prepare a tailored solution and consumption report as soon as possible. Free of charge, no obligation.
or call us now: +90 850 532 6 999
You can also explore each product individually.
Browse All Products