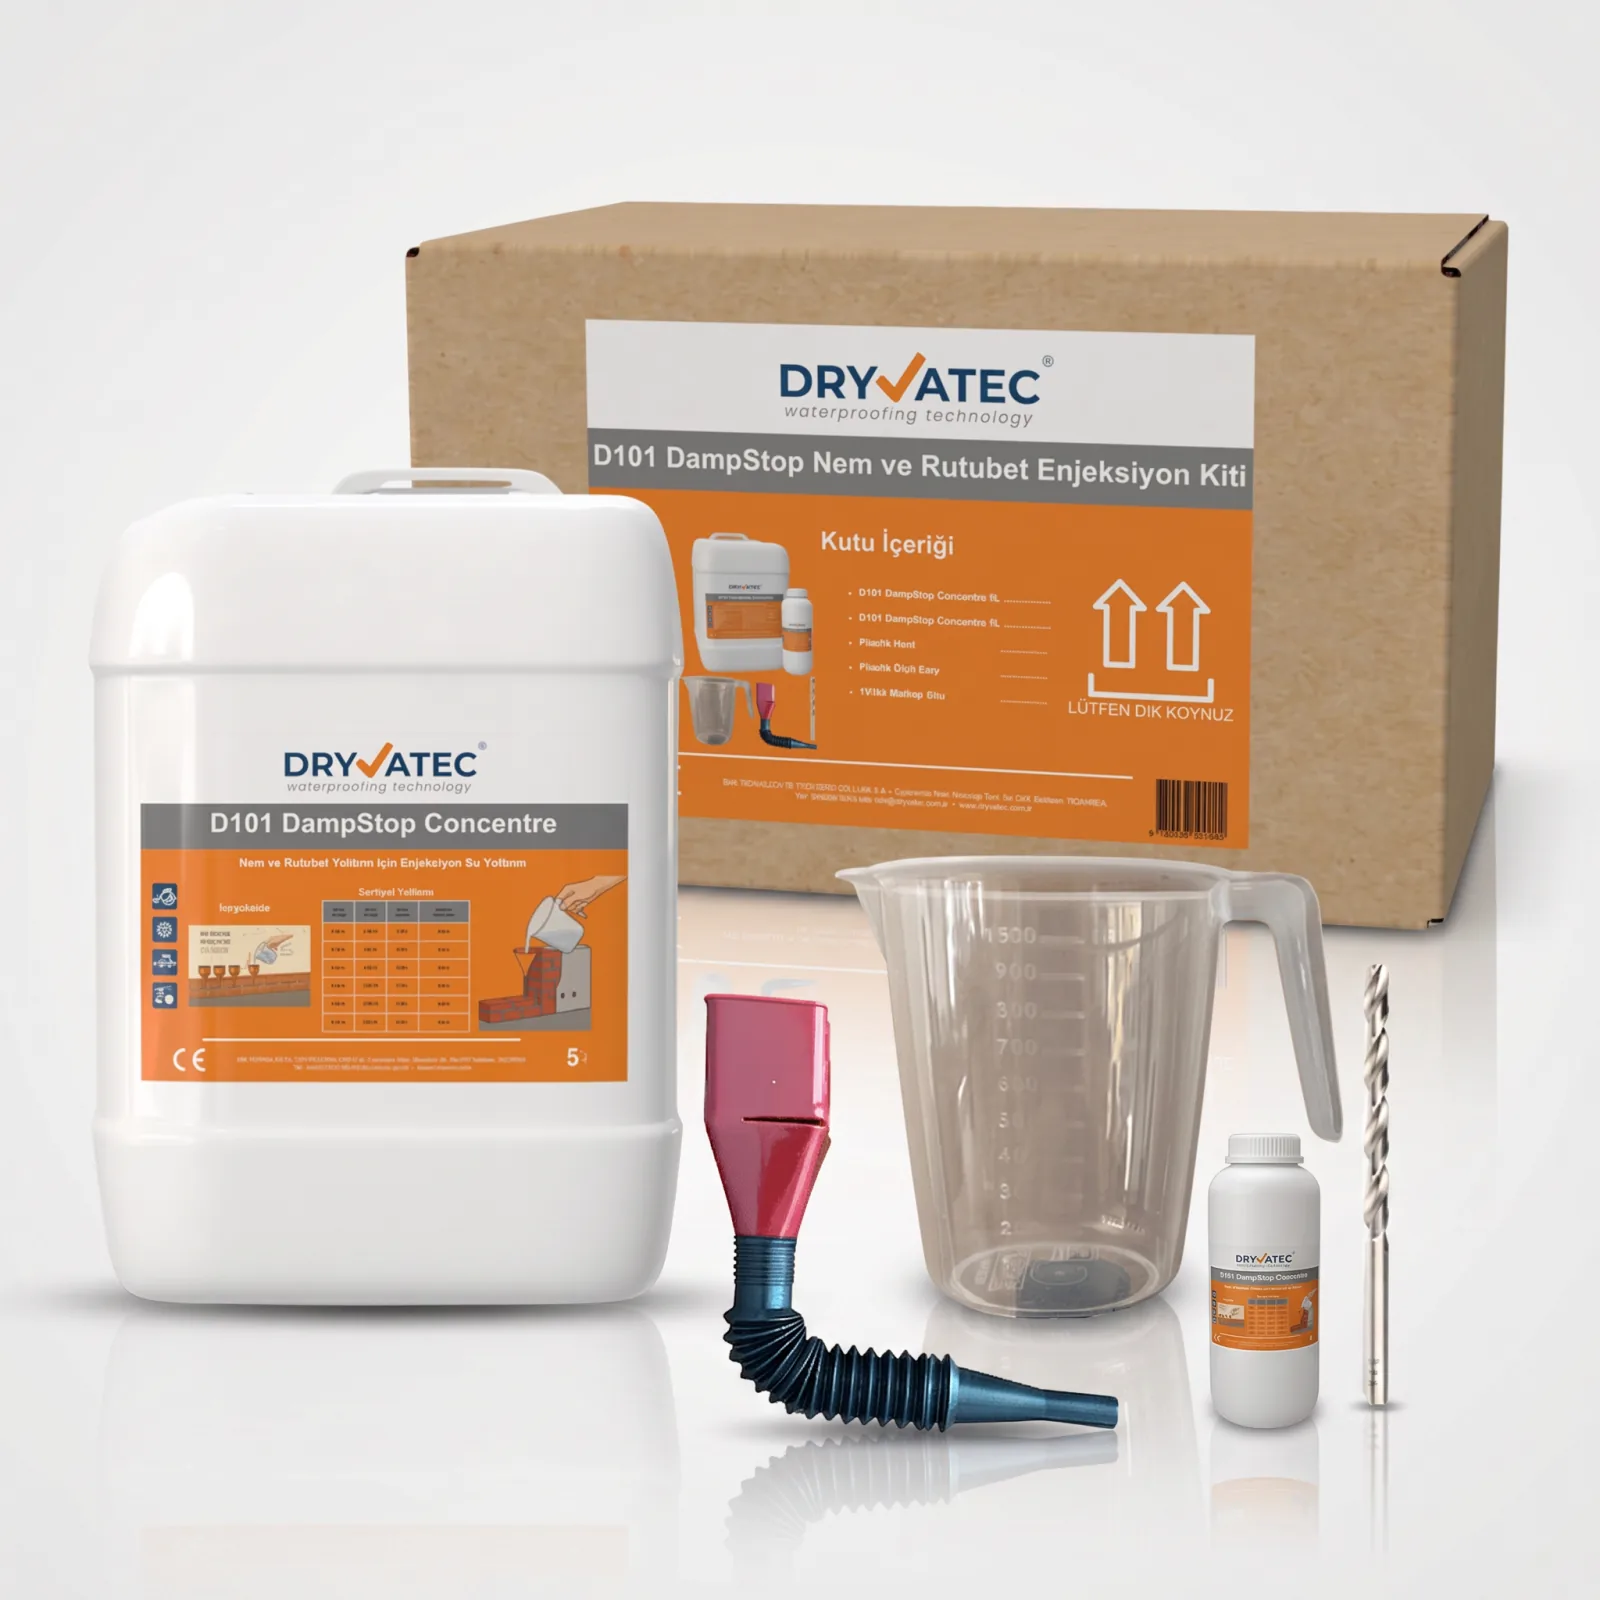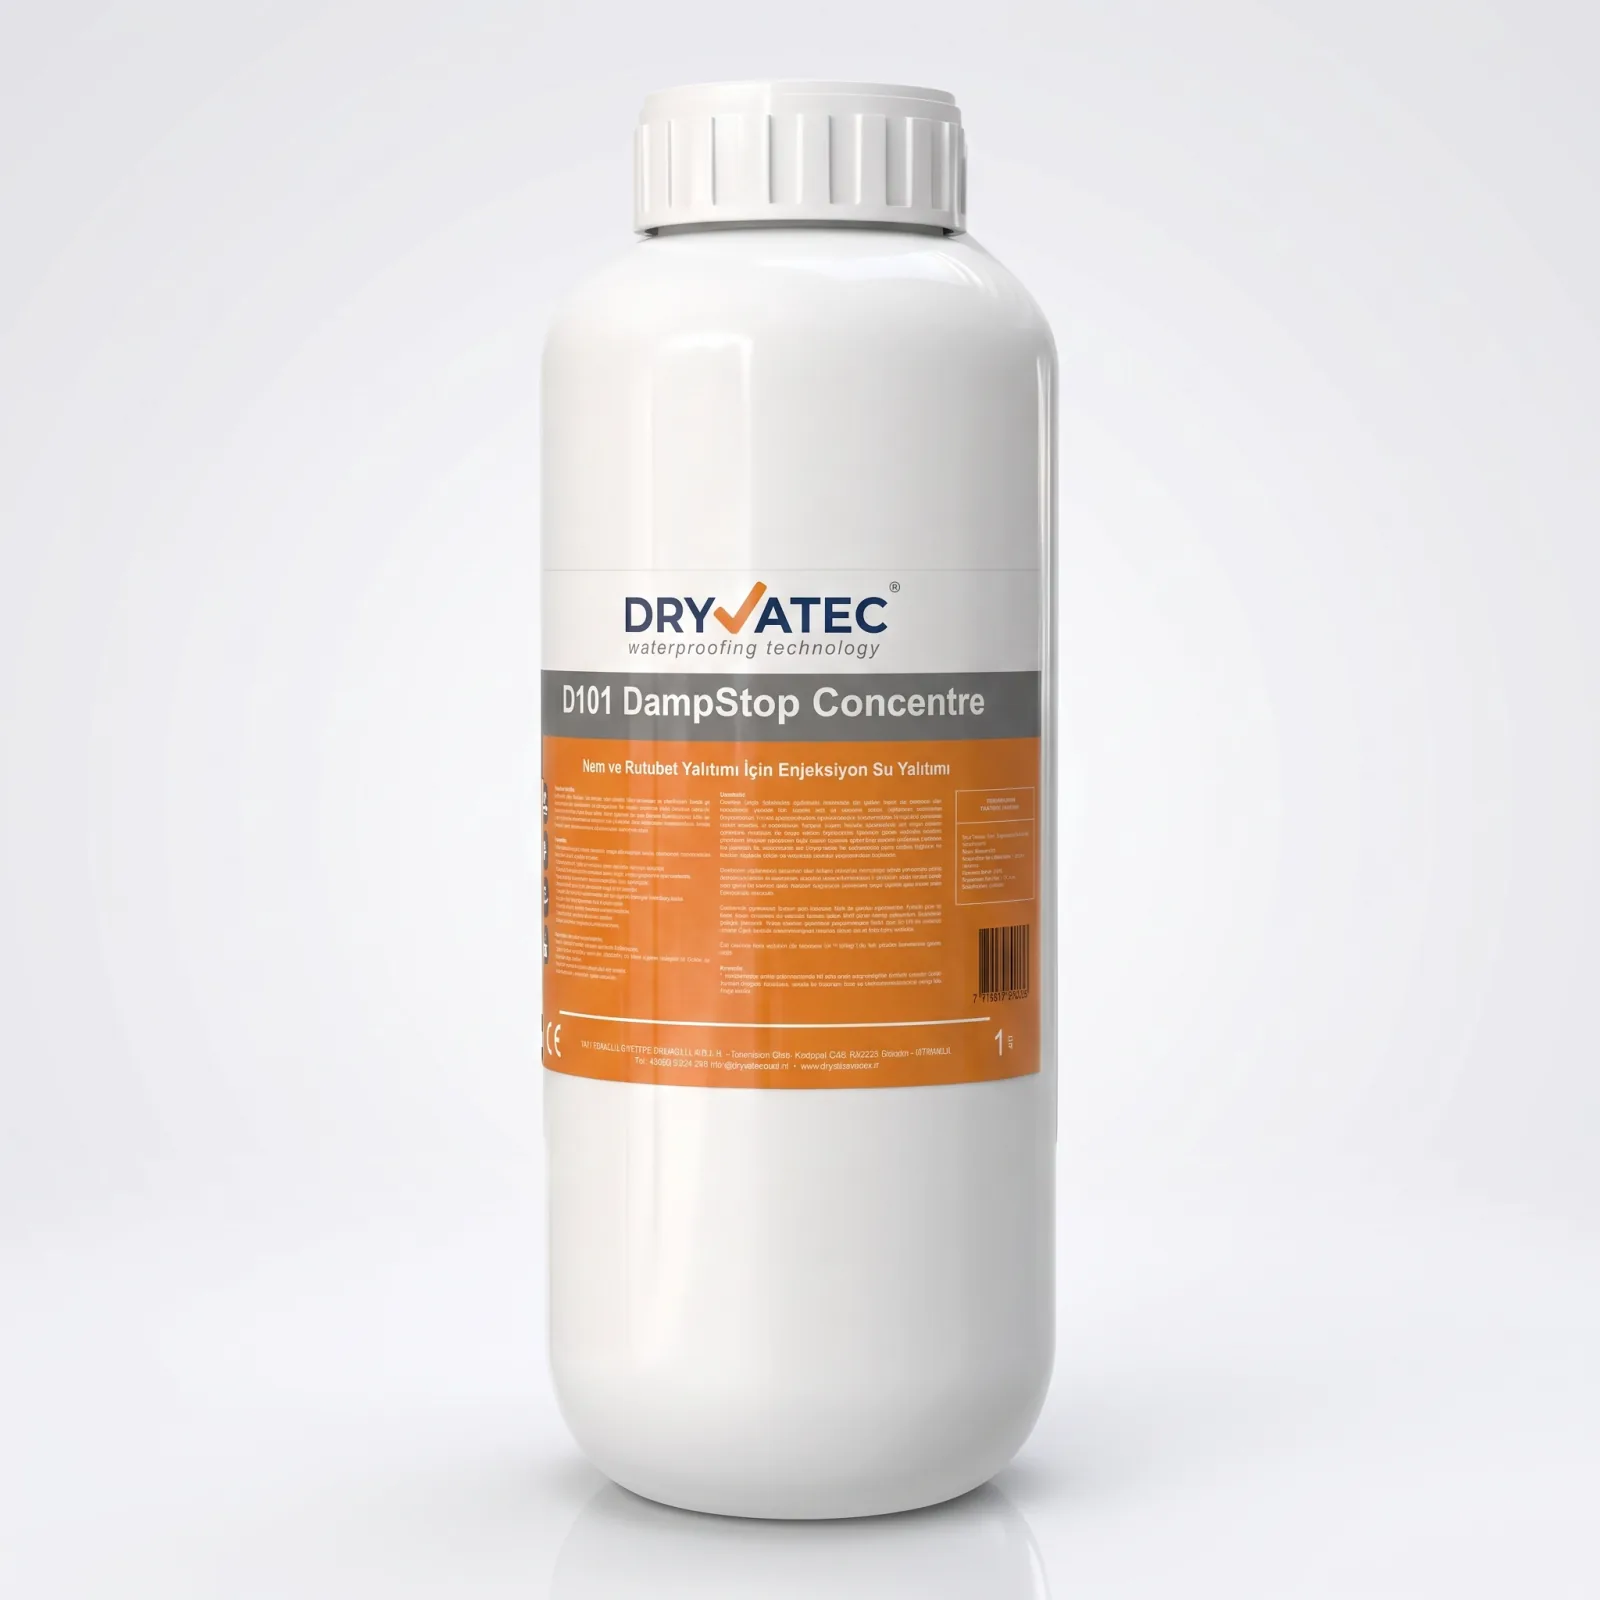
Dryvatec DampStop D101 Concentrate Damp-Proofing Injection 1 L
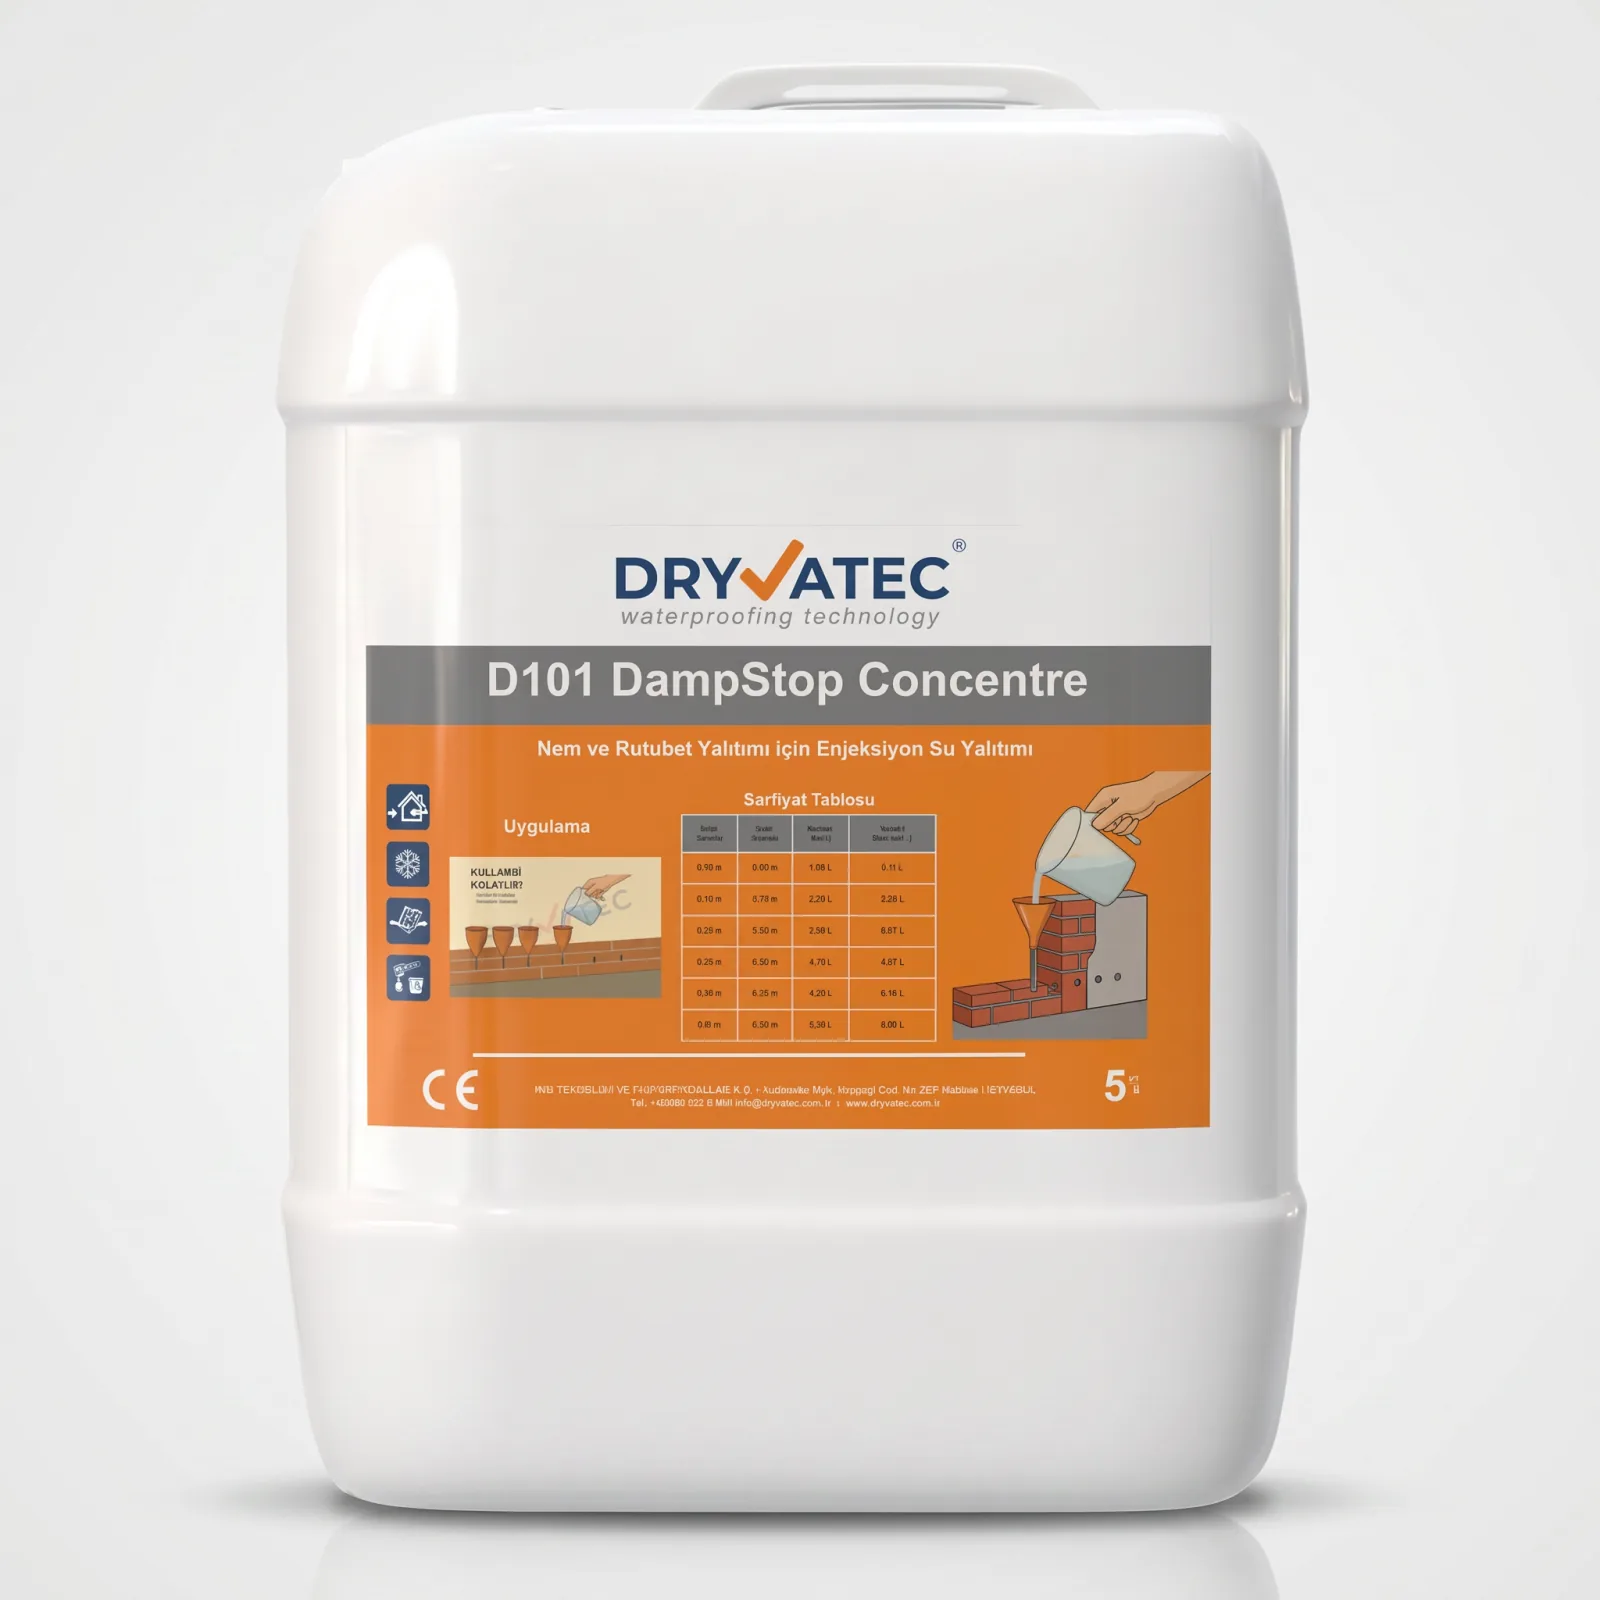
DampStop D101 concentrated damp-proofing injection, 1 litre. Ideal for small areas and single-wall applications. 1 litre yields 10 litres of ready-to-use injection solution.
2.200₺2.400₺VAT included10% Off
For Small AreasEconomical for a single wall or partial application
Same Concentrate FormulaSame quality as the 5L, in a smaller pack
Active in 48 HoursThe damp barrier is active 48 hours after injection
DampStop is an injection-based waterproofing solution applied to stop rising damp and moisture in buildings. The guide below covers every step required to prepare and apply the system correctly.
1 L Concentrate10 L SolutionConcentrate (1 : 9)Small Area / Single Wall
1 : 9Concentrate : water mixing ratio
30–45°Hole angle (inclined towards the floor)
80%Hole depth (of wall thickness)
min. 48 hWaiting time after application
1
Required Equipment and Materials
The following equipment and materials should be at hand for a successful application. The 1-litre concentrate is ideal for small areas or single-wall applications.
Injection pump — low-pressure; for professional, fast application (optional).
Gun nozzle — flow-controlled; keeps material consumption in check.
14 mm drill bit — for drilling the required holes in the wall.
Measuring jug — 1 litre, with 100 ml graduations; for an accurate mix.
Plastic funnel — for transferring the injection material easily.
Protective equipment — gloves, goggles, mask and clean water.
2
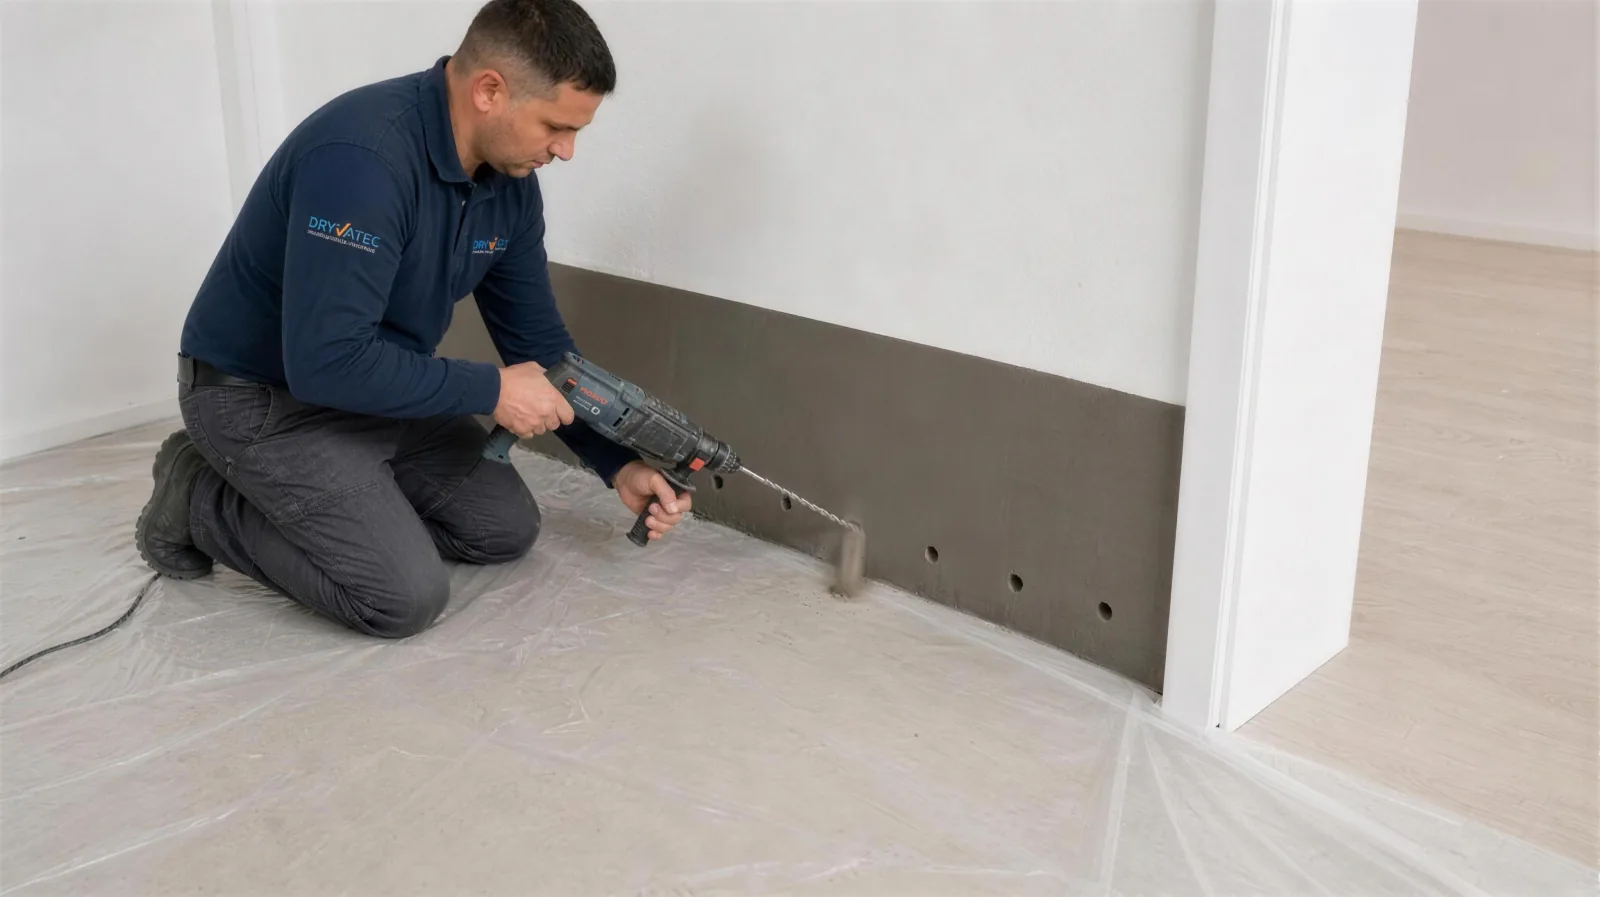
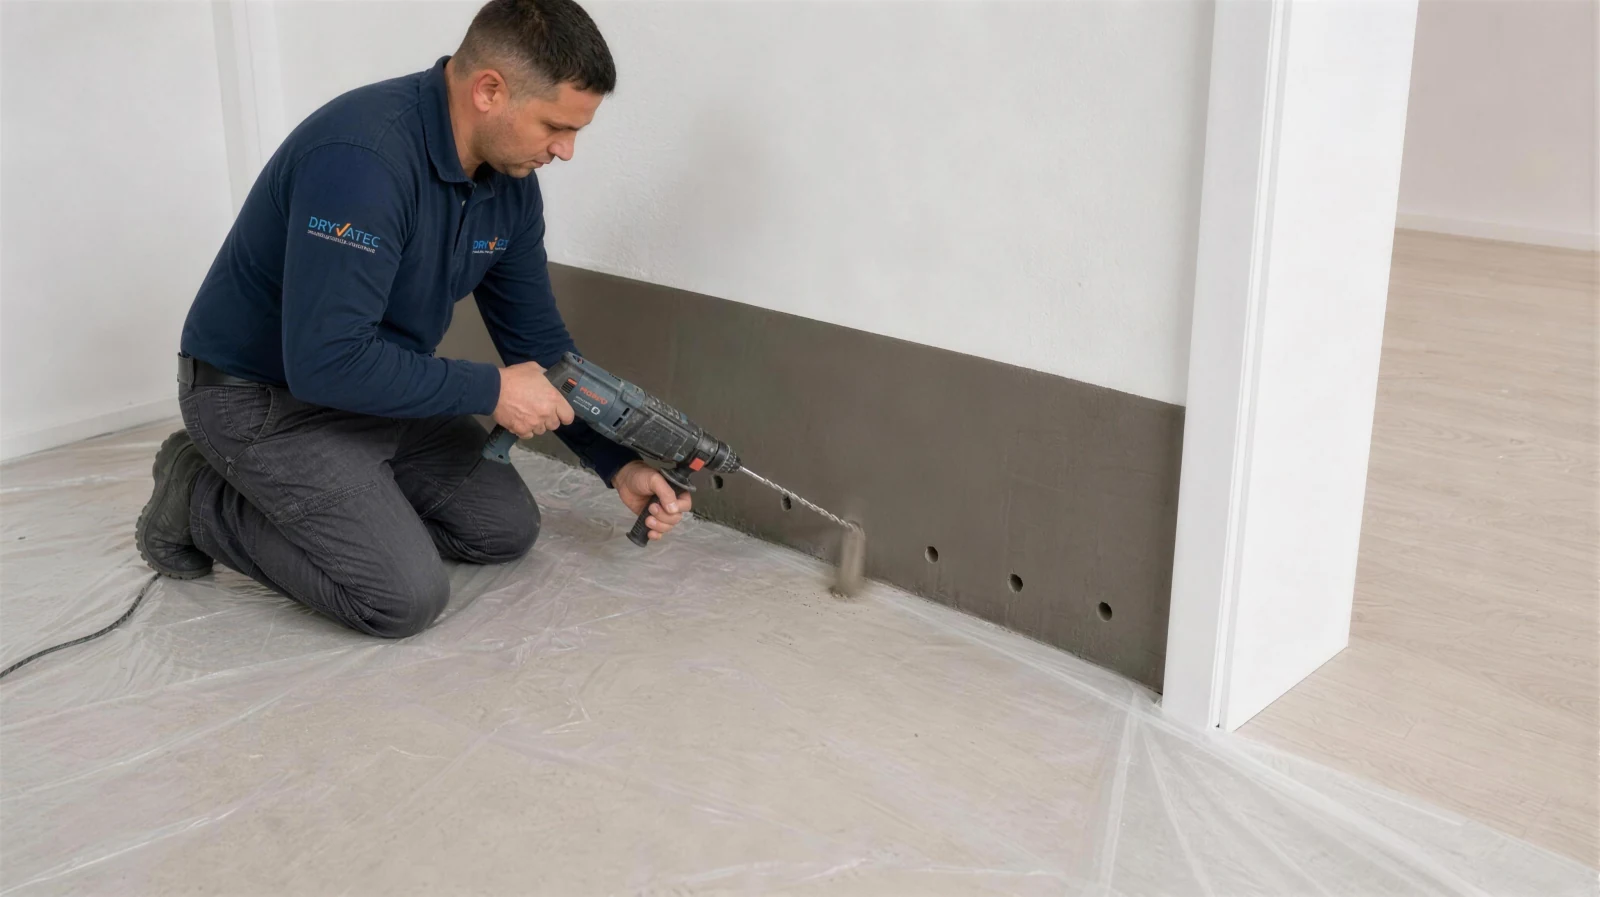
Drilling Instructions
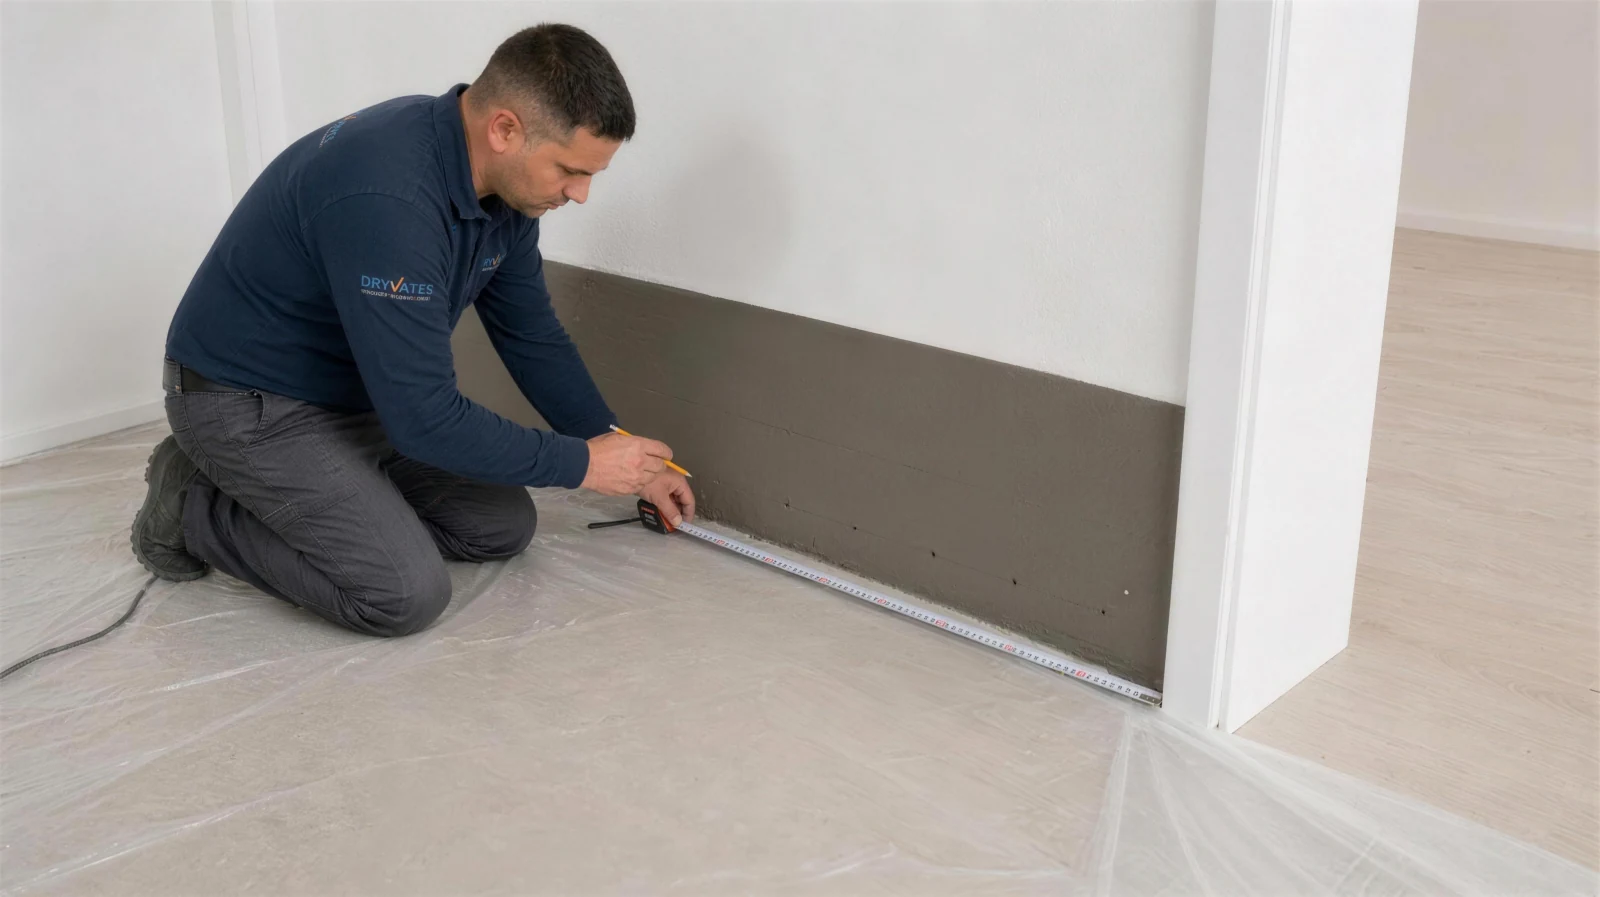
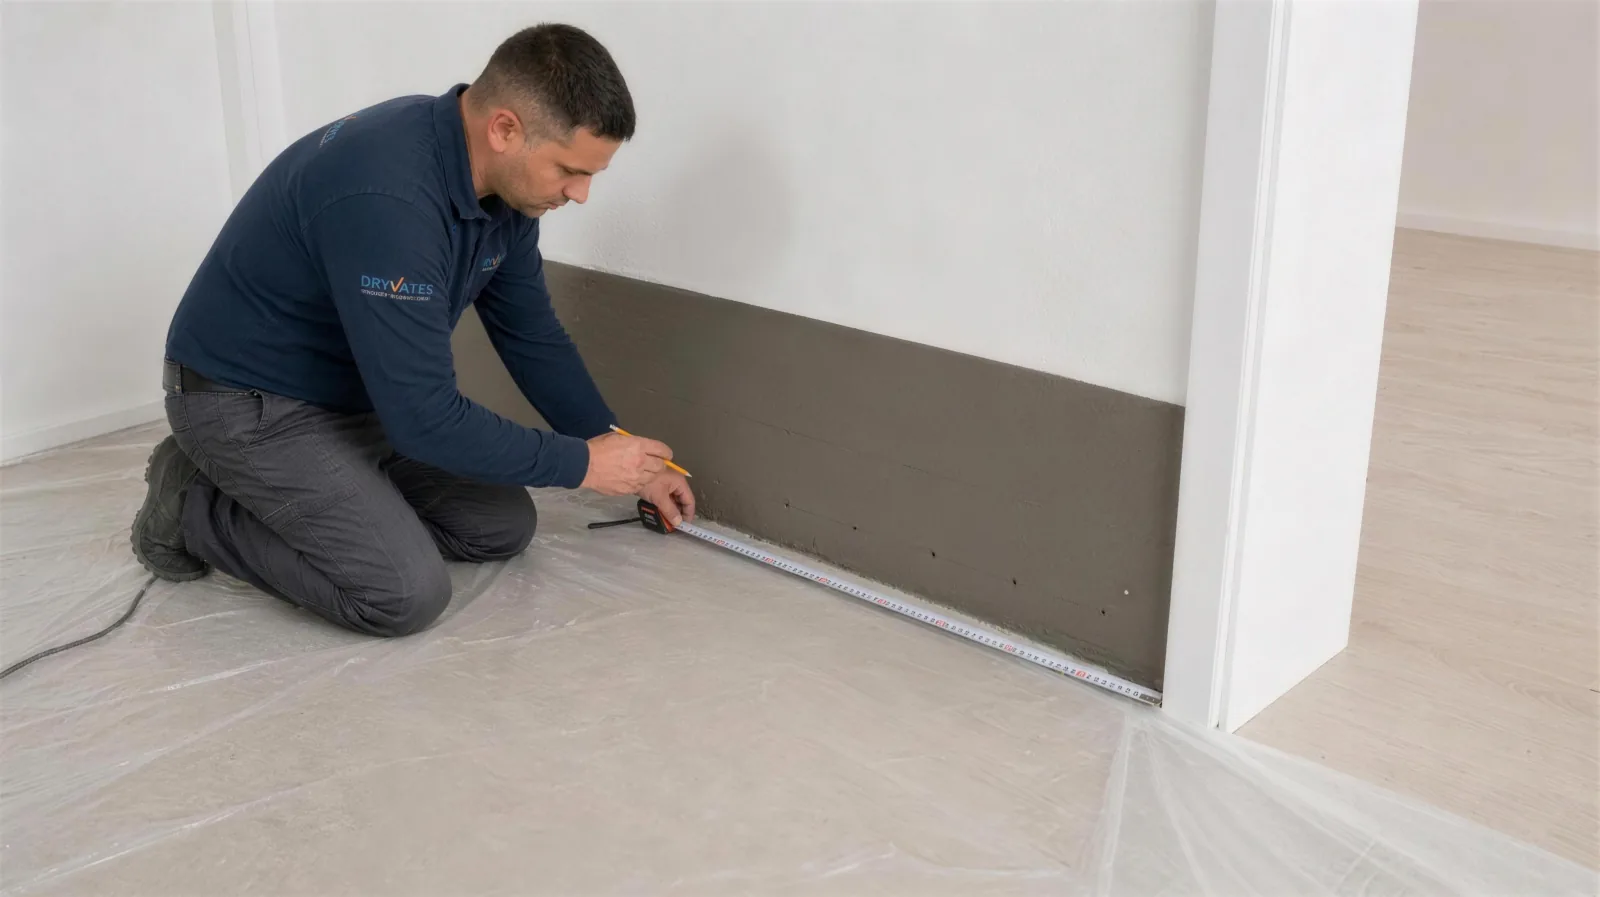
Hole height10 cm above the floor
Hole spacingevery 10 cm
Hole angle30–45° (inclined to the floor)
Hole depth80% of wall thickness
Hole diameter14 mm
Example (20 cm wall)16 cm depth
Drilling — 14 mm diameter, 30–45° downward inclineInjection holes — 10 cm spacing, 10 cm above the floor
3
Preparation by Application Surface
On External Walls
If the internal screed concrete line blocks the level, it must be chased out to a width of 10–15 cm.
The aim is to let the injection reach down to the main slab concrete.
Any skirting boards must be removed.
On Internal Walls
Chasing out the screed is not required.
If present, removing only the skirting boards is sufficient.
Warning: Injection carried out without removing the screed concrete or skirting board prevents the material from reaching the required level and from fully stopping the damp from rising.
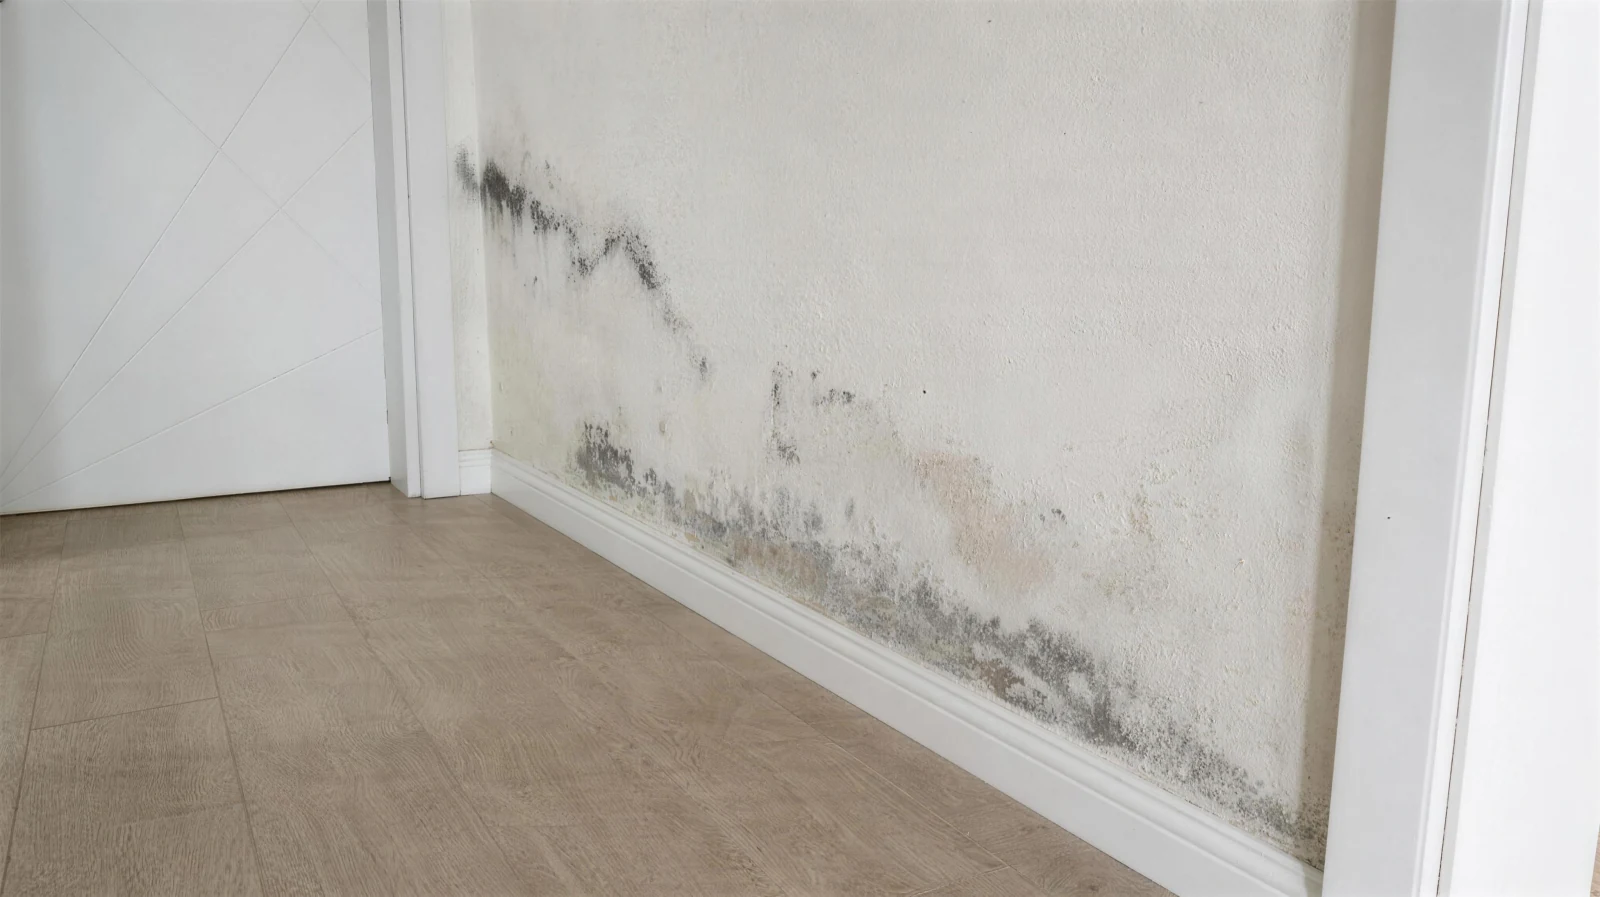
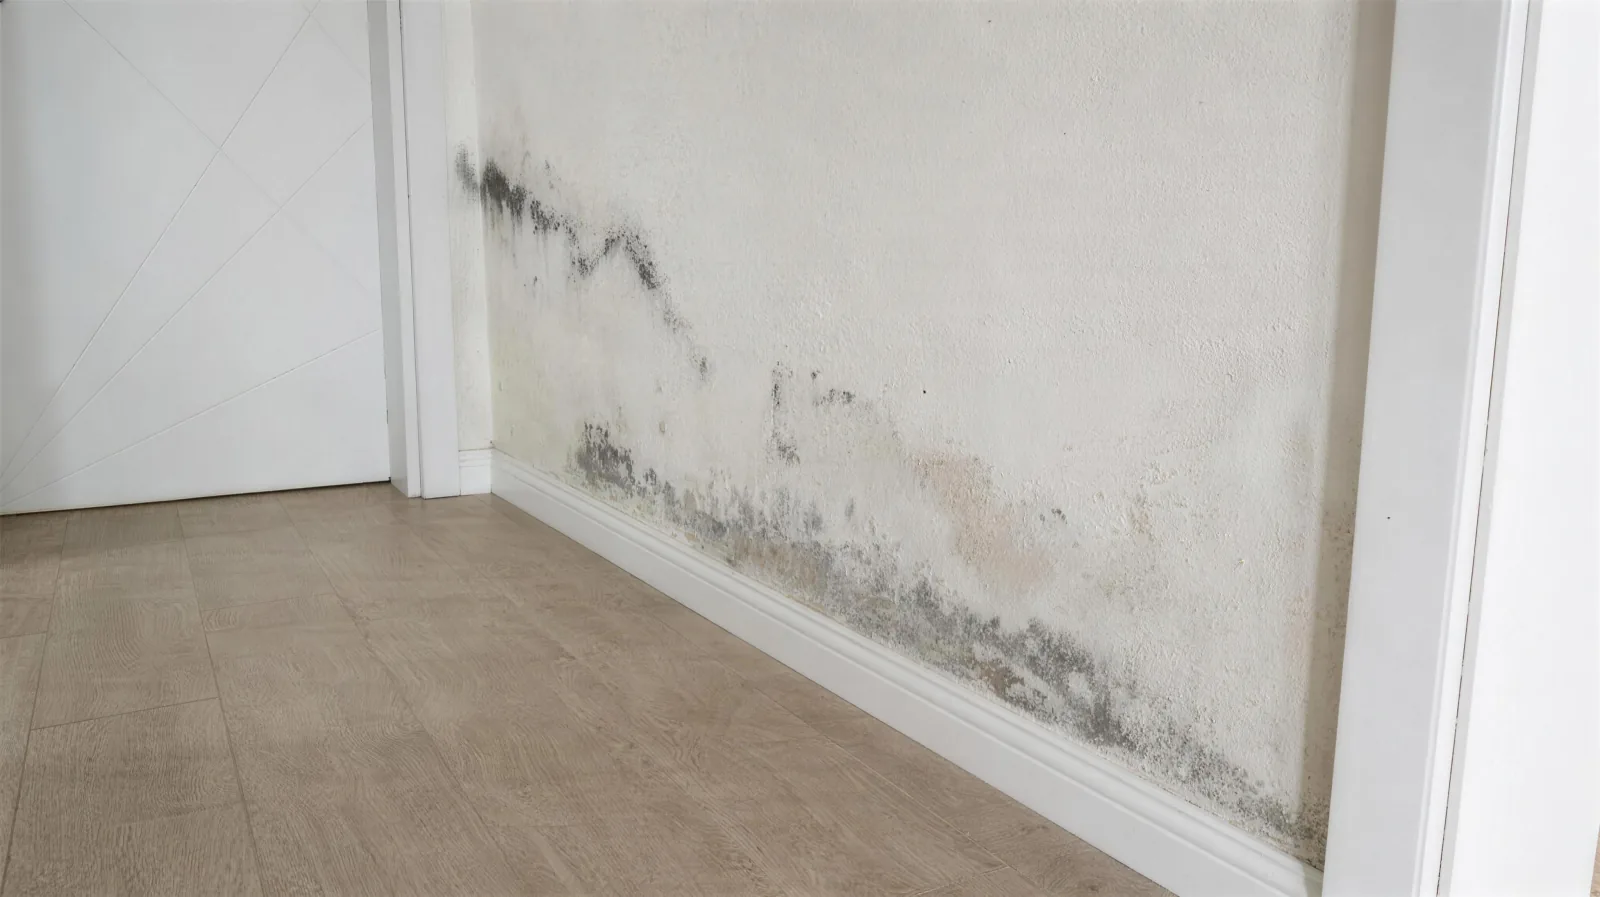
Rising damp damage — a typical wall for DampStop injection
4
Plaster Removal and Damp-Proofing Plaster Application
The application sequence is critical, especially on walls built with hollow brick:
1The existing damp and deteriorated plaster is scraped off.
2Dryvatec HydroFix damp-proofing plaster is applied; it prevents the material from leaking out.
3Once the plaster has dried, the injection holes are drilled.
4The Dryvatec DampStop injection is applied.
5After application, the holes are sealed with plaster.
Note: If injection is done without scraping off the plaster, the brick cavities will open during scraping, so the material may seep out and the application will fail.
5
Preparing the Injection Material
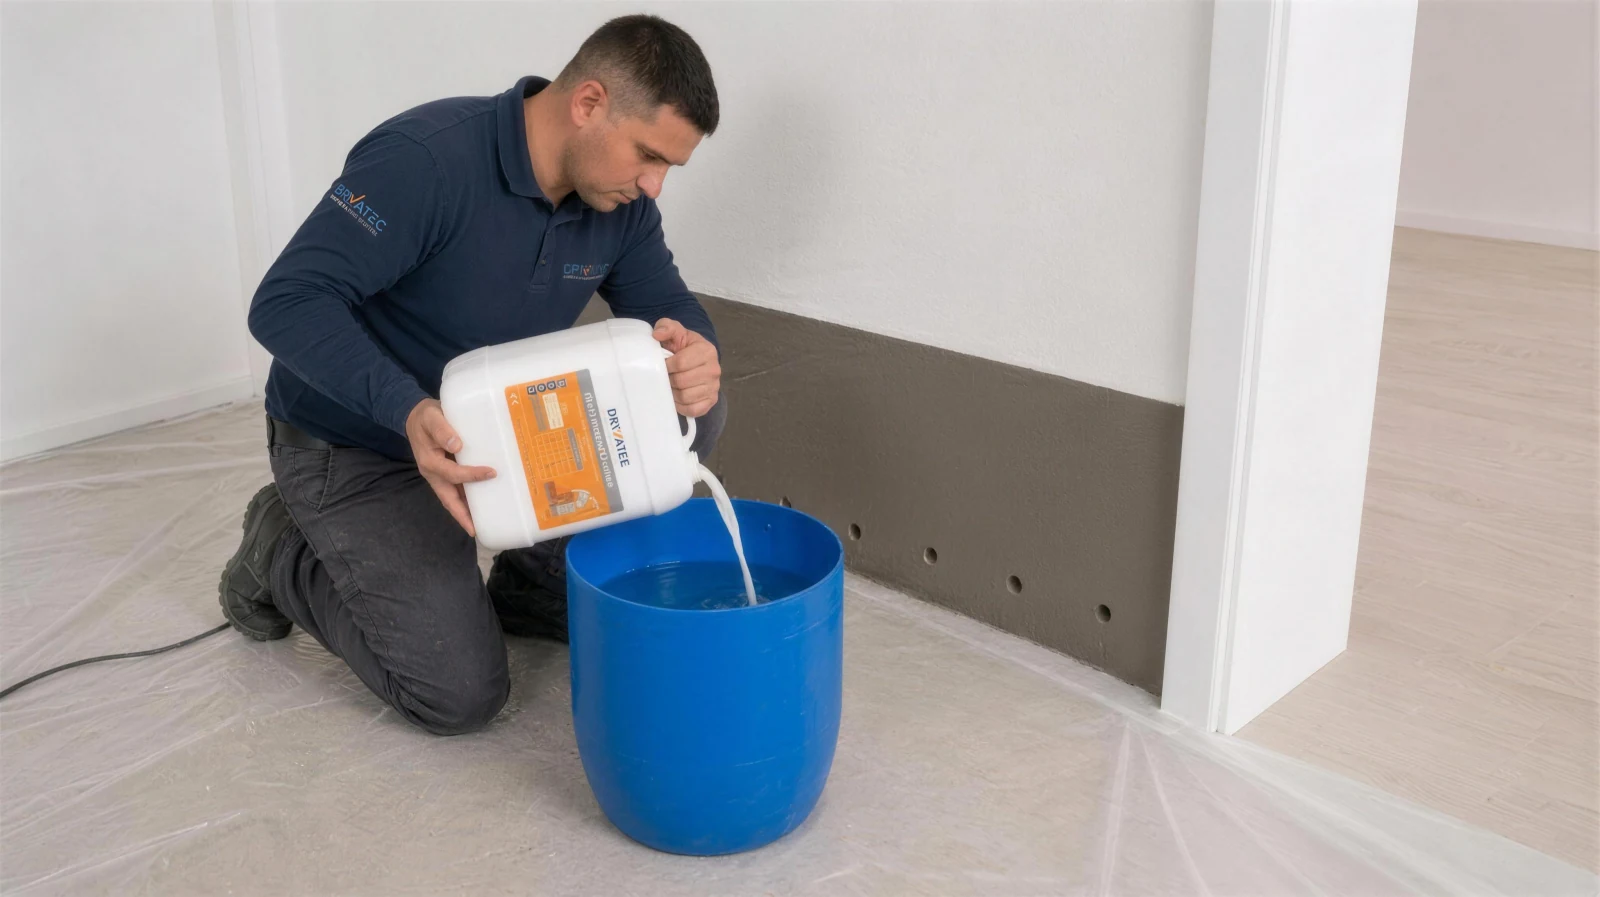
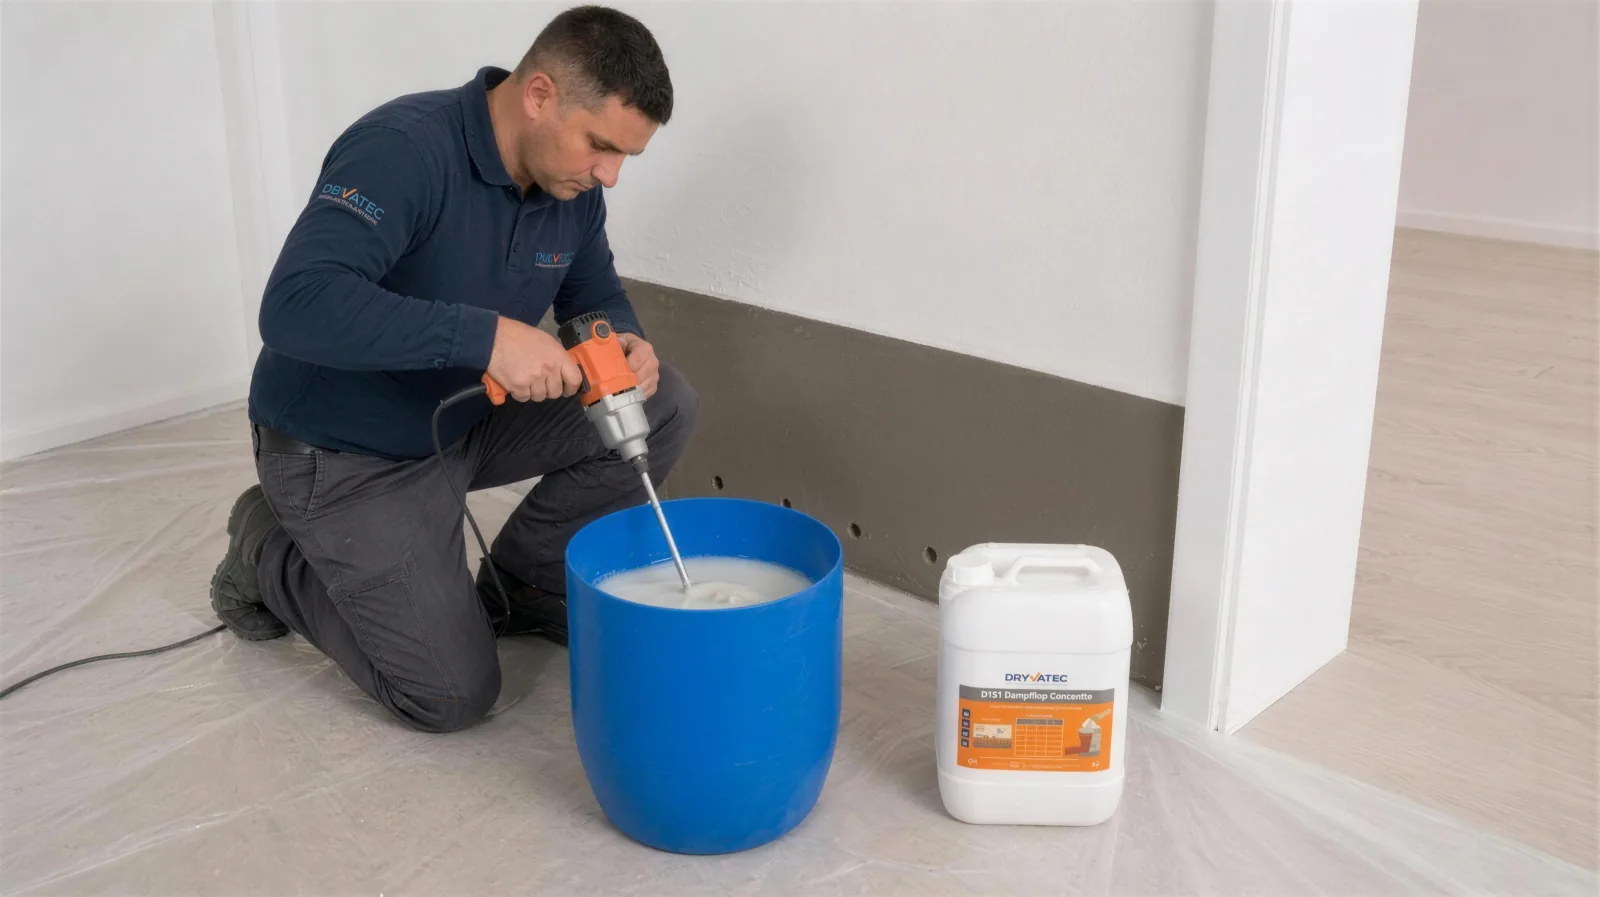
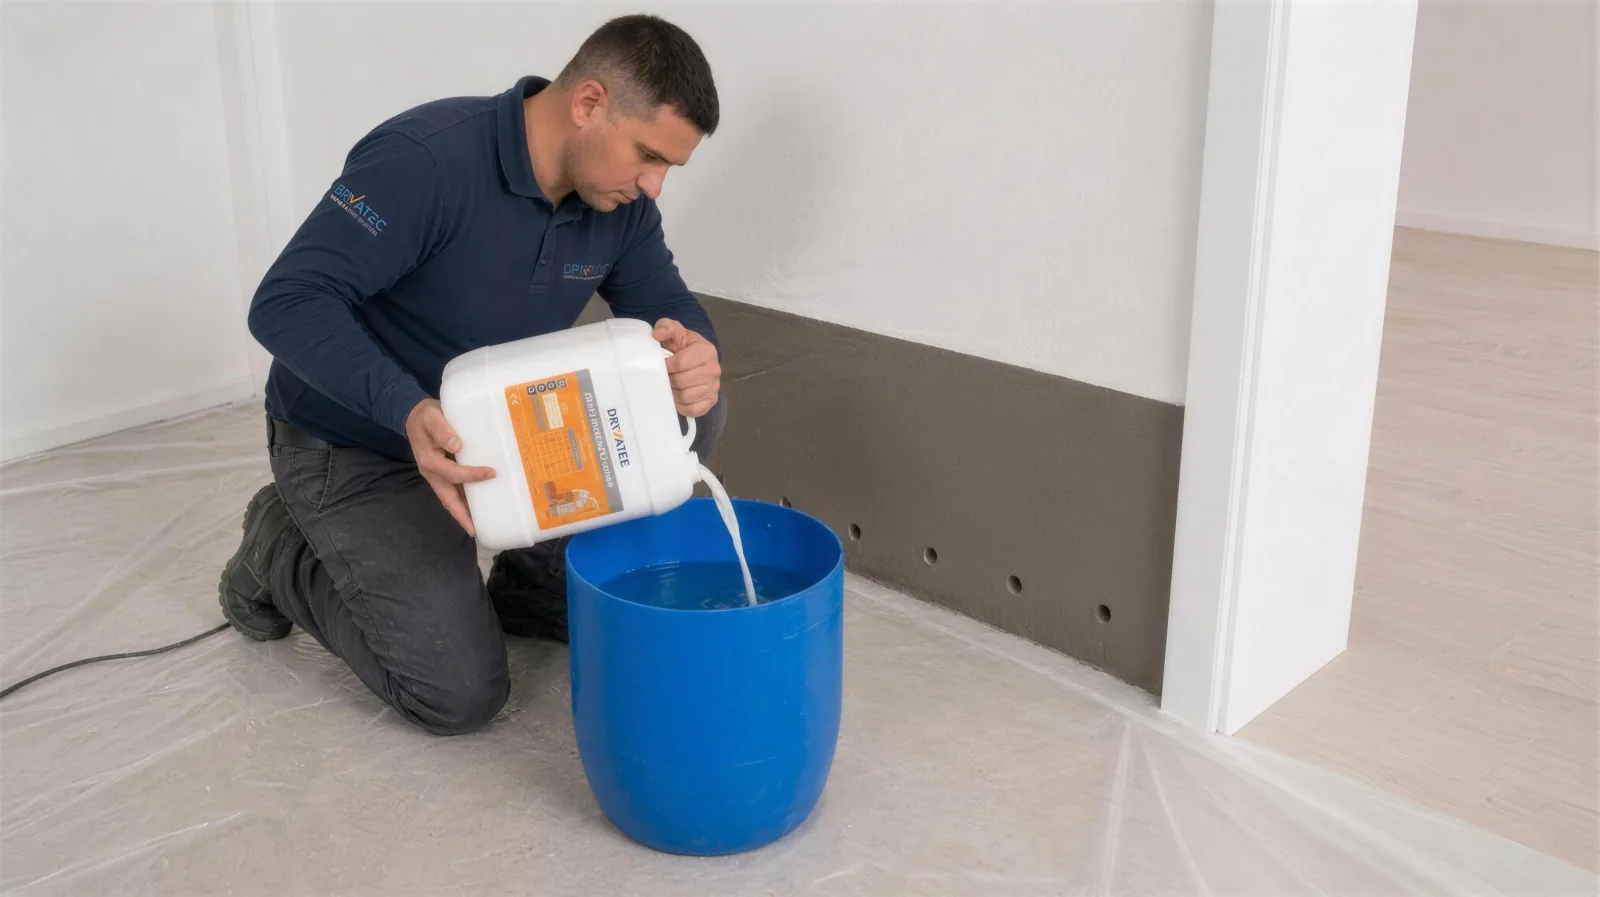
1 L + 9 L = 10 L
DampStop is a concentrated product. 1 litre of concentrate mixed with 9 litres of clean water gives a total of 10 litres of ready-to-use injection solution.
Important: The mix must be prepared in a clean plastic container, stirred until homogeneous and used immediately afterwards.
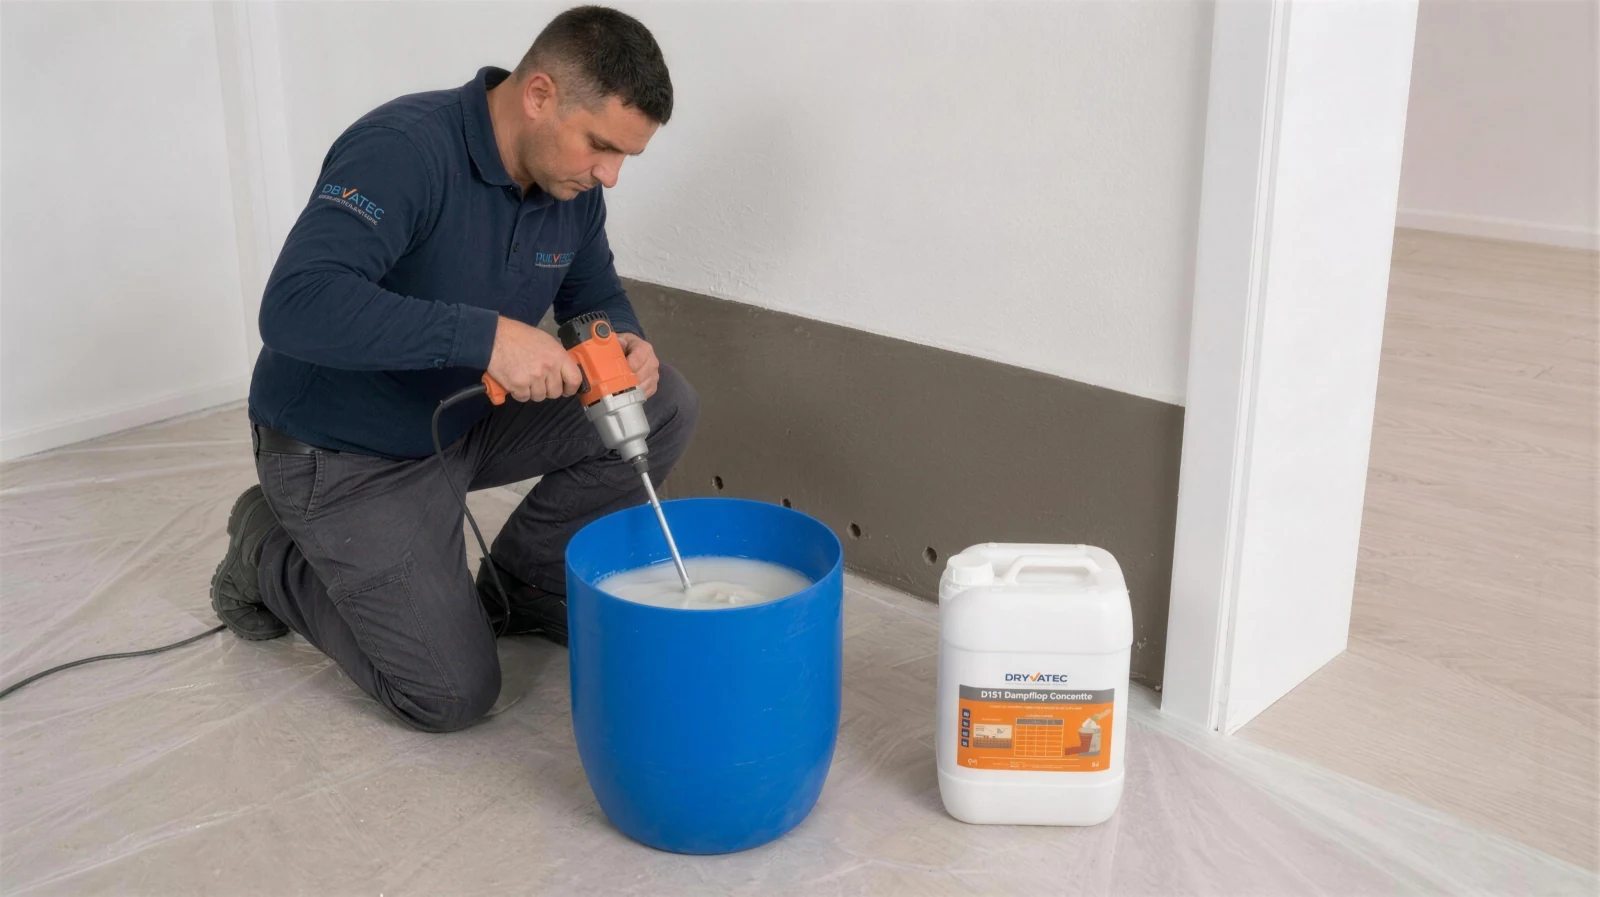
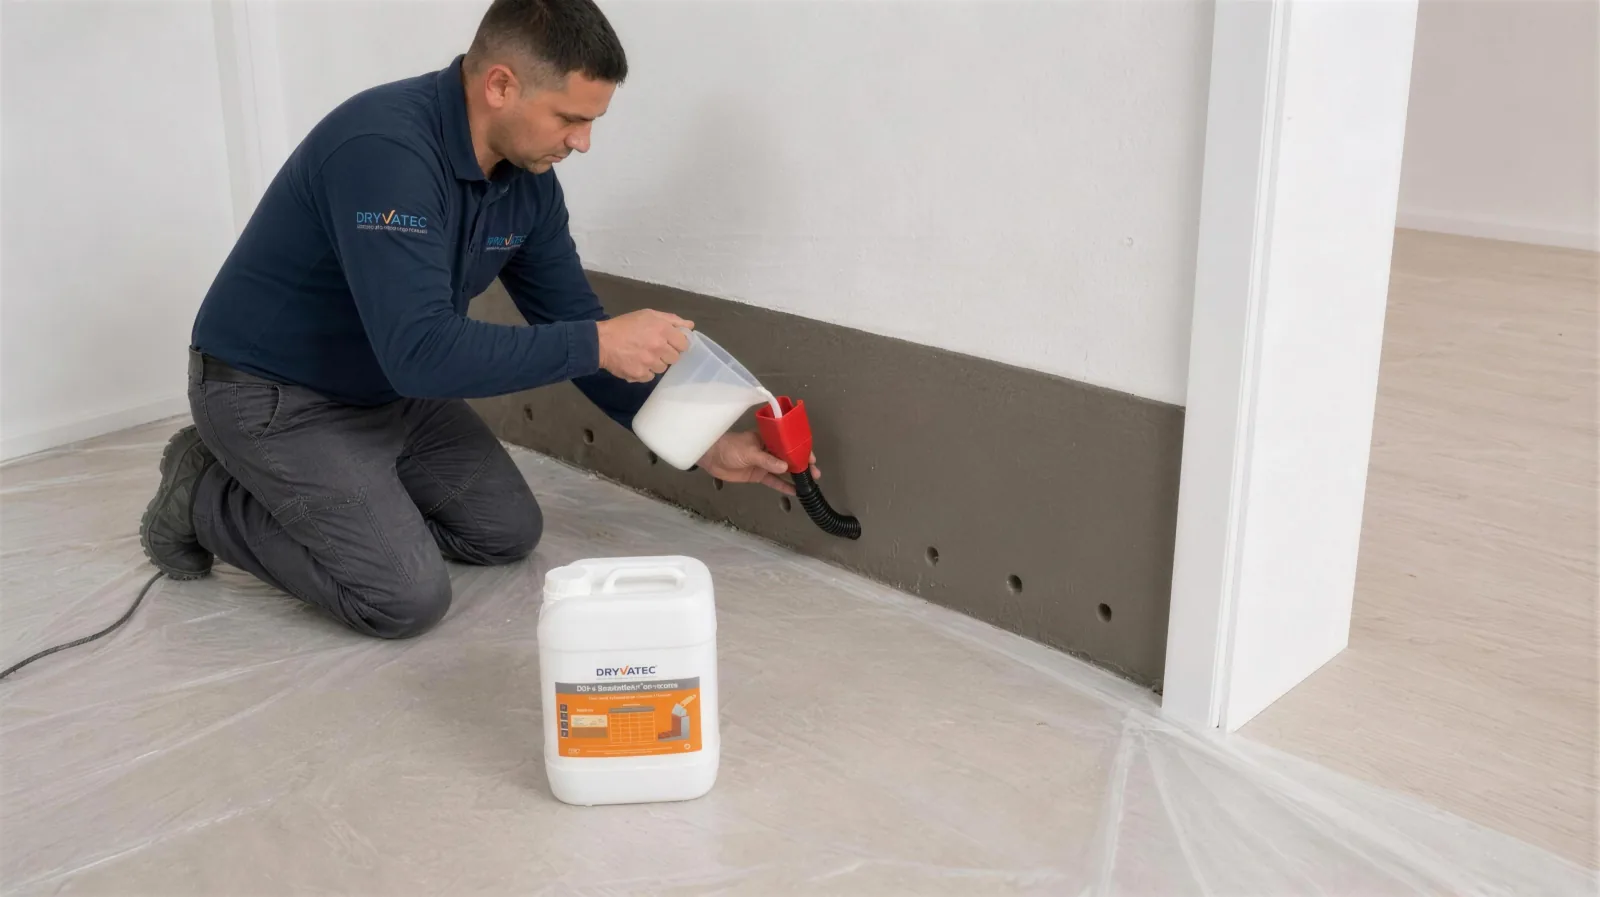
Preparing the mix — 1 L concentrate + 9 L clean waterTransferring the prepared solution for injection
6
Material Consumption
Consumption is calculated based on wall thickness and length in metres. As 1 litre of concentrate yields 10 L of ready solution, it is enough for roughly 6–7 metres of a 10 cm wall.
1.5 L / mWall 10 cm thick
2.25 L / mWall 15 cm thick
For larger application areas, the DampStop 5L or the Complete Kit is more economical.
7
Application Sequence by Wall Type
On Hollow Brick Walls
1The damp plaster is scraped off.
2Dryvatec HydroFix damp-proofing plaster is applied.
3After drying, the holes are drilled.
4The Dryvatec DampStop injection is applied.
On Aerated Concrete / Solid Material Walls
1The holes are drilled.
2A small amount of injection is applied to each hole.
3A second round is applied after 10–20 minutes.
4Repeated until the wall reaches saturation.
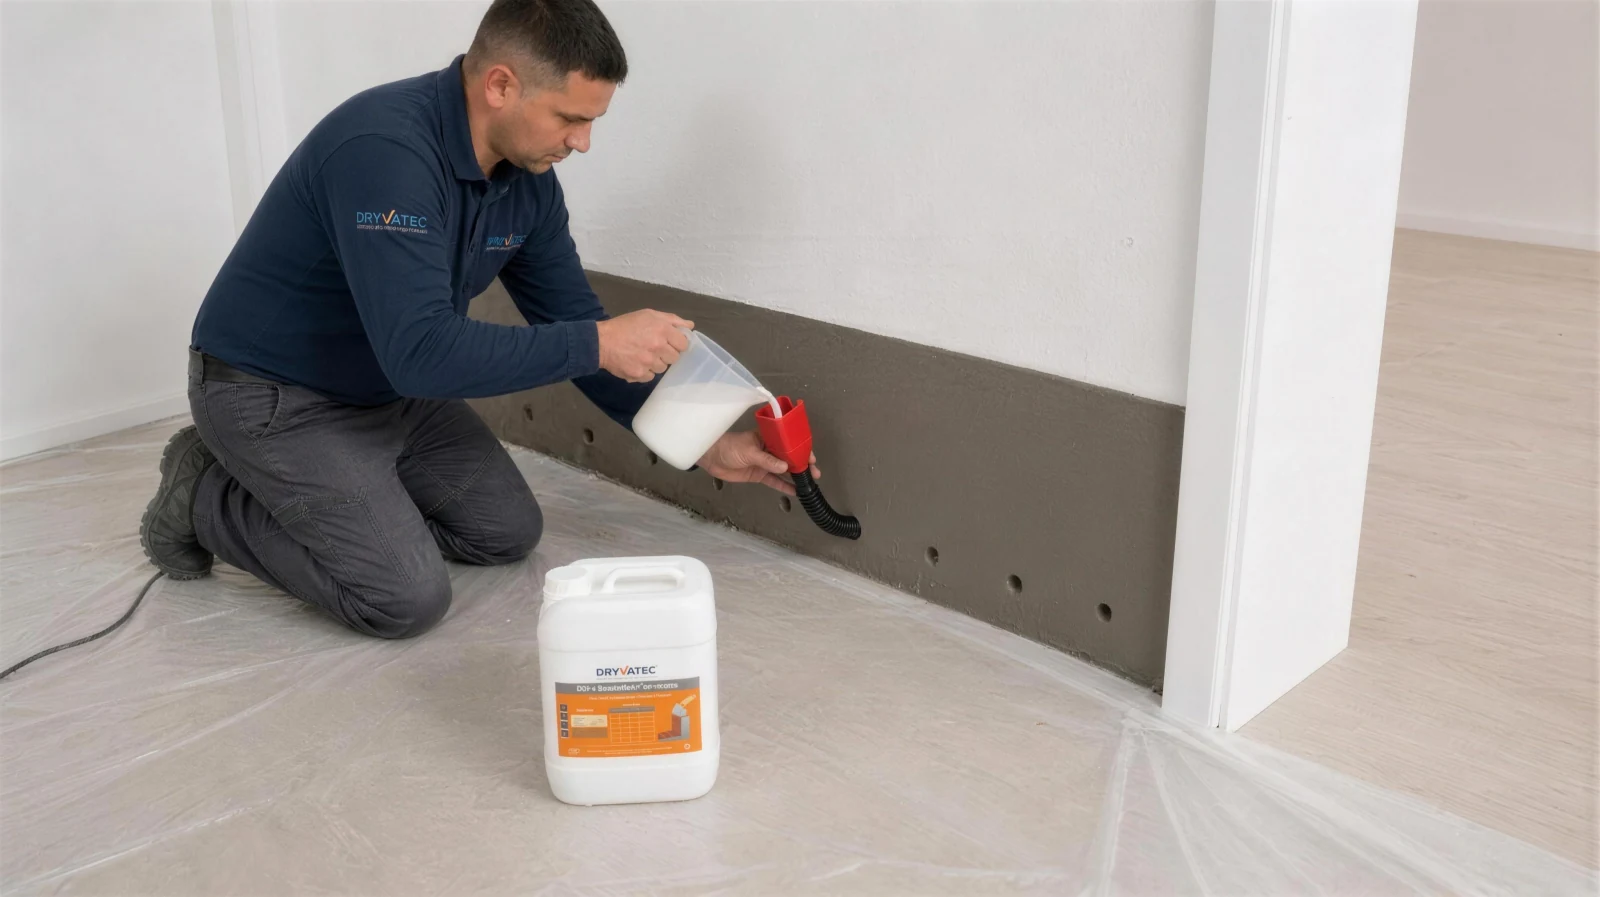
The injection — controlled application of the ready solution into the wall
8
Products That Complete the System
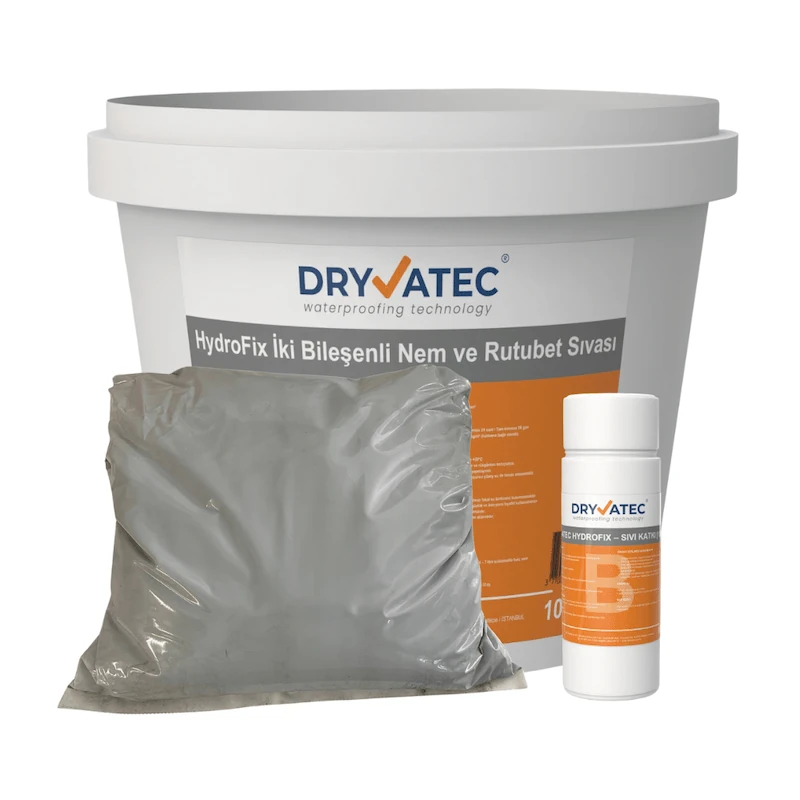
Dryvatec HydroFix Damp-Proofing Plaster
Provides surface protection after injection.
Stops moisture from reaching the surface again.
Dryvatec Damp Box
Keeps the electromagnetic moisture reaching the foundation under control.
Together with the injection, ensures complete drying and protection.
Frequently Asked Questions
Common Questions
Q
What is the mixing ratio of concentrate to water?
1 litre of DampStop concentrate + 9 litres of clean water = 10 litres of ready-to-use injection material.
Q
How much wall does 1 litre cover?
As it yields 10 L of ready solution, it is enough to inject roughly 6–7 metres of a 10 cm wall or 4–5 metres of a 15 cm wall. For larger areas, the 5L or the Complete Kit is recommended.
Q
How long should the material stay in the wall after application?
After application, the injection material inside the wall should be left for at least 48 hours.
Q
Is applying the damp-proofing plaster mandatory?
Yes. If the wall is not coated with Dryvatec HydroFix damp-proofing plaster after injection, complete drying and insulation cannot be achieved.
Q
Can I do the application on my own?
Yes, individual application is possible with the help of a funnel. The 1L concentrate is ideal for small areas and single-wall applications.
Q
Does it smell, or is it harmful to health?
No. It is silane/siloxane based, low-odour and harmless to health under the recommended conditions of use. Protective gloves, goggles and a mask should be worn during application.
Use and Safety Warnings
Always use gloves, goggles and a mask during application; avoid prolonged contact with the skin.
Never inhale or swallow the concentrate. In case of eye contact, rinse with plenty of water and see a doctor if necessary.
Keep away from children and pets.
Use only clean water in the mix; dirty, hard or salty water reduces performance.
Close opened packaging airtight and store it in a dry, cool place.
Protect the product against freezing; frozen concentrate becomes unusable.
Ventilate the area well during application and do not work in direct sunlight.
First aid: Rinse the skin with soap and water and the eyes with plenty of water; seek medical assistance if necessary.