
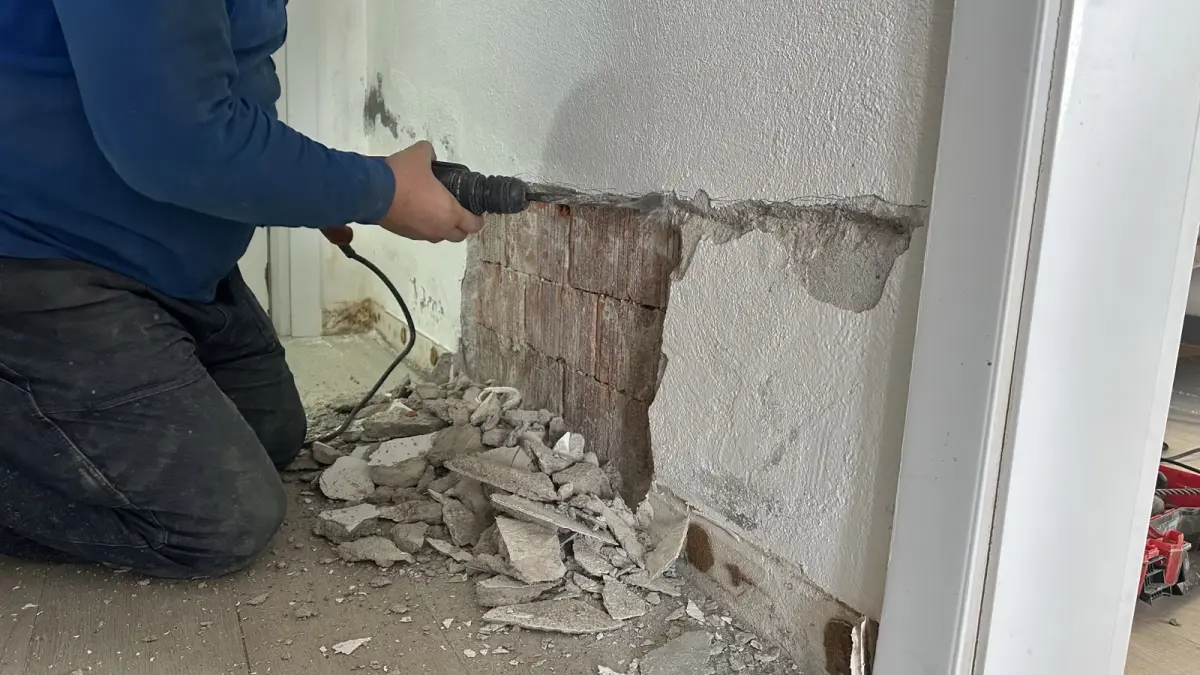
Short answer: In an exterior wall, moisture does not only rise from below; water around the building can also get in horizontally, beneath the brick, at the joint where the wall sits on the foundation concrete, and it causes the same problems as rising damp. That is why, in an interior renovation, the screed at the base of the wall is removed and HydroFix damp-proofing plaster is taken down the wall face to the junction with the foundation concrete/slab. This also cuts off water that could seep in through that joint.
When damp appears on a ground-floor or entrance-level wall facing the outside, the first thing that comes to mind is moisture rising from the ground by capillary action. For that, the damaged plaster on the inner surface is renewed with HydroFix damp-proofing plaster, and once the plaster has dried, DampStop injection is applied at the base of the wall. That is correct; but an exterior wall has one more path to take into account: water coming in from the side, horizontally. In this article we use a cross-section drawing to explain where this water gets in, why the screed is removed during an interior renovation, and why the damp-proofing plaster is taken all the way down to the floor junction.
In an exterior wall, moisture does not only come from below
The two measures used against rising damp, injection and damp-proofing plaster, are planned with moisture coming from below and moving vertically in mind. DampStop forms a barrier at the base of the wall, inside wall units such as brick, aerated concrete (Ytong) or concrete block, and cuts off water rising from below; HydroFix repairs the wall surface in a breathable way.
Exterior walls, however, may also have water getting into the building from around it. This water reaches the base of the wall from outside, horizontally, and inside it shows the same symptoms as rising damp: blistering paint, crumbling plaster and salt marks at the base of the wall. Because the symptoms are the same, this path is often overlooked.
Where does the water get in? The joint beneath the brick
A wall sits on foundation concrete or a floor slab. This joint where the wall sits on the concrete, that is the part beneath the brick, is a line through which water around the building can get in. In poured concrete walls, the place where the wall meets the slab is called a "cold joint", and water often gets in there; the situation here is similar, but what we are talking about here is not a concrete wall but water getting in beneath the brick.
On the inside, this joint is usually hidden under the screed. If the damp-proofing plaster is stopped at the top of the screed, the joint line is left unprotected and water coming from there can keep reaching the inside.
- Around the building: water reaches the base of the wall from outside.
- Foundation concrete / slab: the concrete the wall sits on.
- Wall unit: brick, aerated concrete or concrete block.
- Joint (beneath the brick): the line where water enters horizontally.
- Removed screed: the screed at the base of the wall is taken out, exposing the joint.
- HydroFix damp-proofing plaster: taken down the wall face to the floor junction.
- DampStop injection: angled hole and the barrier zone formed inside the wall.
- Existing screed and floor finish.
Why is the screed removed?
If the work is done without removing the screed, the damp-proofing plaster can only go down to the top of the screed. Yet the point where horizontal water gets in lies below that level, where the wall sits on the foundation concrete. Once the screed at the base of the wall is removed, this joint is exposed and HydroFix can be applied on the wall face, without gaps, down to the junction with the foundation concrete/slab. This way the wall is protected not only against moisture from below but also against water that could seep in through that joint.
This is easiest to do when an interior renovation is already under way: if the floor finish and screed are being renewed anyway, taking the damp-proofing plaster down to the joint while the base of the wall is open requires no extra demolition.
HydroFix is a product for walls (vertical surfaces); it is not spread horizontally over the floor. "Down to the floor" means the damp-proofing plaster is taken down the wall face to the line where the wall meets the foundation concrete or slab.
The right way to do it: step by step
- Remove the damaged plaster and the skirting board: The damp, blistered plaster is scraped off to expose the brick, aerated concrete or block surface.
- Remove the screed at the base of the wall: Along the exterior wall, the screed at the base of the wall is taken out, exposing the point where the wall meets the foundation concrete or slab.
- Clean the surface: Loose pieces, dust and residue are removed; HydroFix is applied only to an absorbent mineral surface.
- Apply HydroFix down to the joint: The damp-proofing plaster is applied with a trowel in two coats, down the wall face to the junction with the foundation concrete/slab. A single coat is 2–2.5 mm thick; 10 kg covers about 4.5–5 m² in a single coat. For mixing and the waiting time between coats: How to apply HydroFix.
- Carry out the DampStop injection: Once HydroFix has dried (24–48 hours), the injection holes are drilled and DampStop is applied; the holes are closed after waiting at least 48 hours. This is why the order matters: stripping plaster can break open the cells of the bricks; if you inject first, the solution runs out through those breaks. If the plaster goes on first, the injection stays inside the brick without overflowing. For hole diameter, spacing, angle and depth: Damp injection application guide.
- Redo the screed and the floor: Once the work is complete, the removed section of screed is renewed and the floor finish is laid.
- Stop the gypsum plaster at skirting height: The gypsum plaster applied on top is not taken down to the floor or the screed; it is applied only up to skirting height, and the gap is covered by the skirting board. Why: Why is gypsum plaster not taken down to the floor?
- Use breathable paint: Once the surface is dry, a primer and a vapour-permeable paint are applied; plastic or oil-based paint is not recommended.
Its place in the triple system
This detail completes the wall side of the Dryvatec triple system. DampStop injection cuts off water rising from below in the wall units; HydroFix damp-proofing plaster repairs the wall surface in a breathable way and, with the method in this article, also protects the surface against water coming through the joint; the Damp Box (Nem Kutusu) carries water reaching the foundation and rising in the columns back into the ground. Basement walls that are fully below ground are a different case: there injection is not the solution, and water ingress must be cut off from the outside (see Moisture and water ingress in basements).
Common mistakes
- Stopping the damp-proofing plaster above the screed: The joint beneath the brick is left unprotected; water coming horizontally can keep reaching the inside.
- Thinking only of moisture rising from below: In an exterior wall, water coming from around the building must also be taken into account.
- Spreading HydroFix horizontally over the floor: HydroFix is a wall product; it goes down the wall face to the floor junction and is not spread over the slab.
- Taking the gypsum plaster down to the screed: Gypsum plaster can carry moisture and damp from the screed upwards; it should stop at skirting height.
- Covering the plaster with plastic or oil-based paint: Vapour can no longer escape and moisture stays inside the wall.
Products for this application
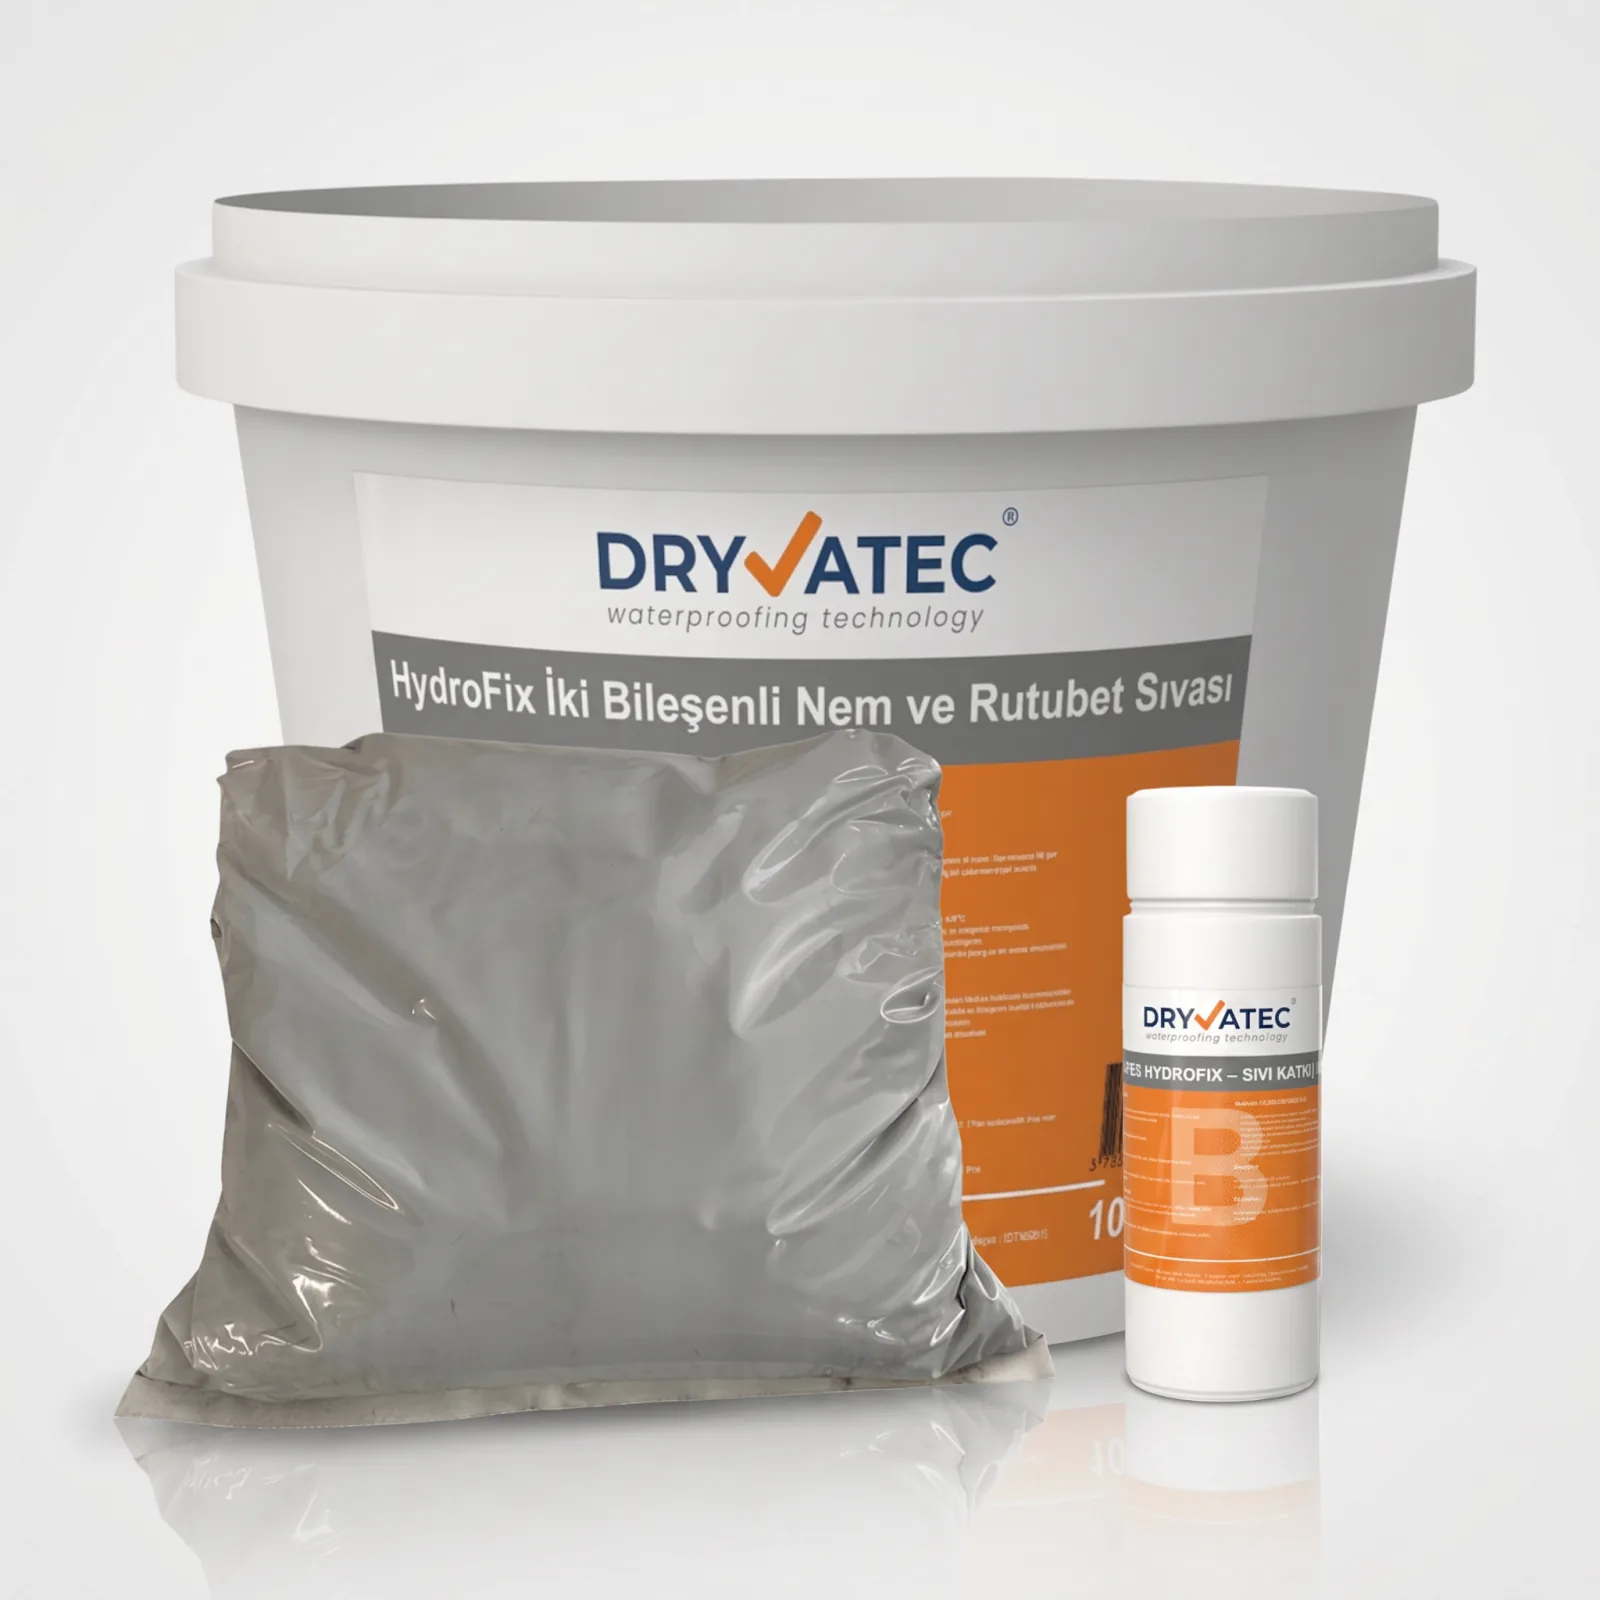
HydroFix 10kg Damp-Proofing Plaster
Breathable interior damp-proofing plaster applied down the wall face to the floor junction. 10 kg covers about 4.5–5 m² in a single coat.
1.500₺ incl. VAT View Product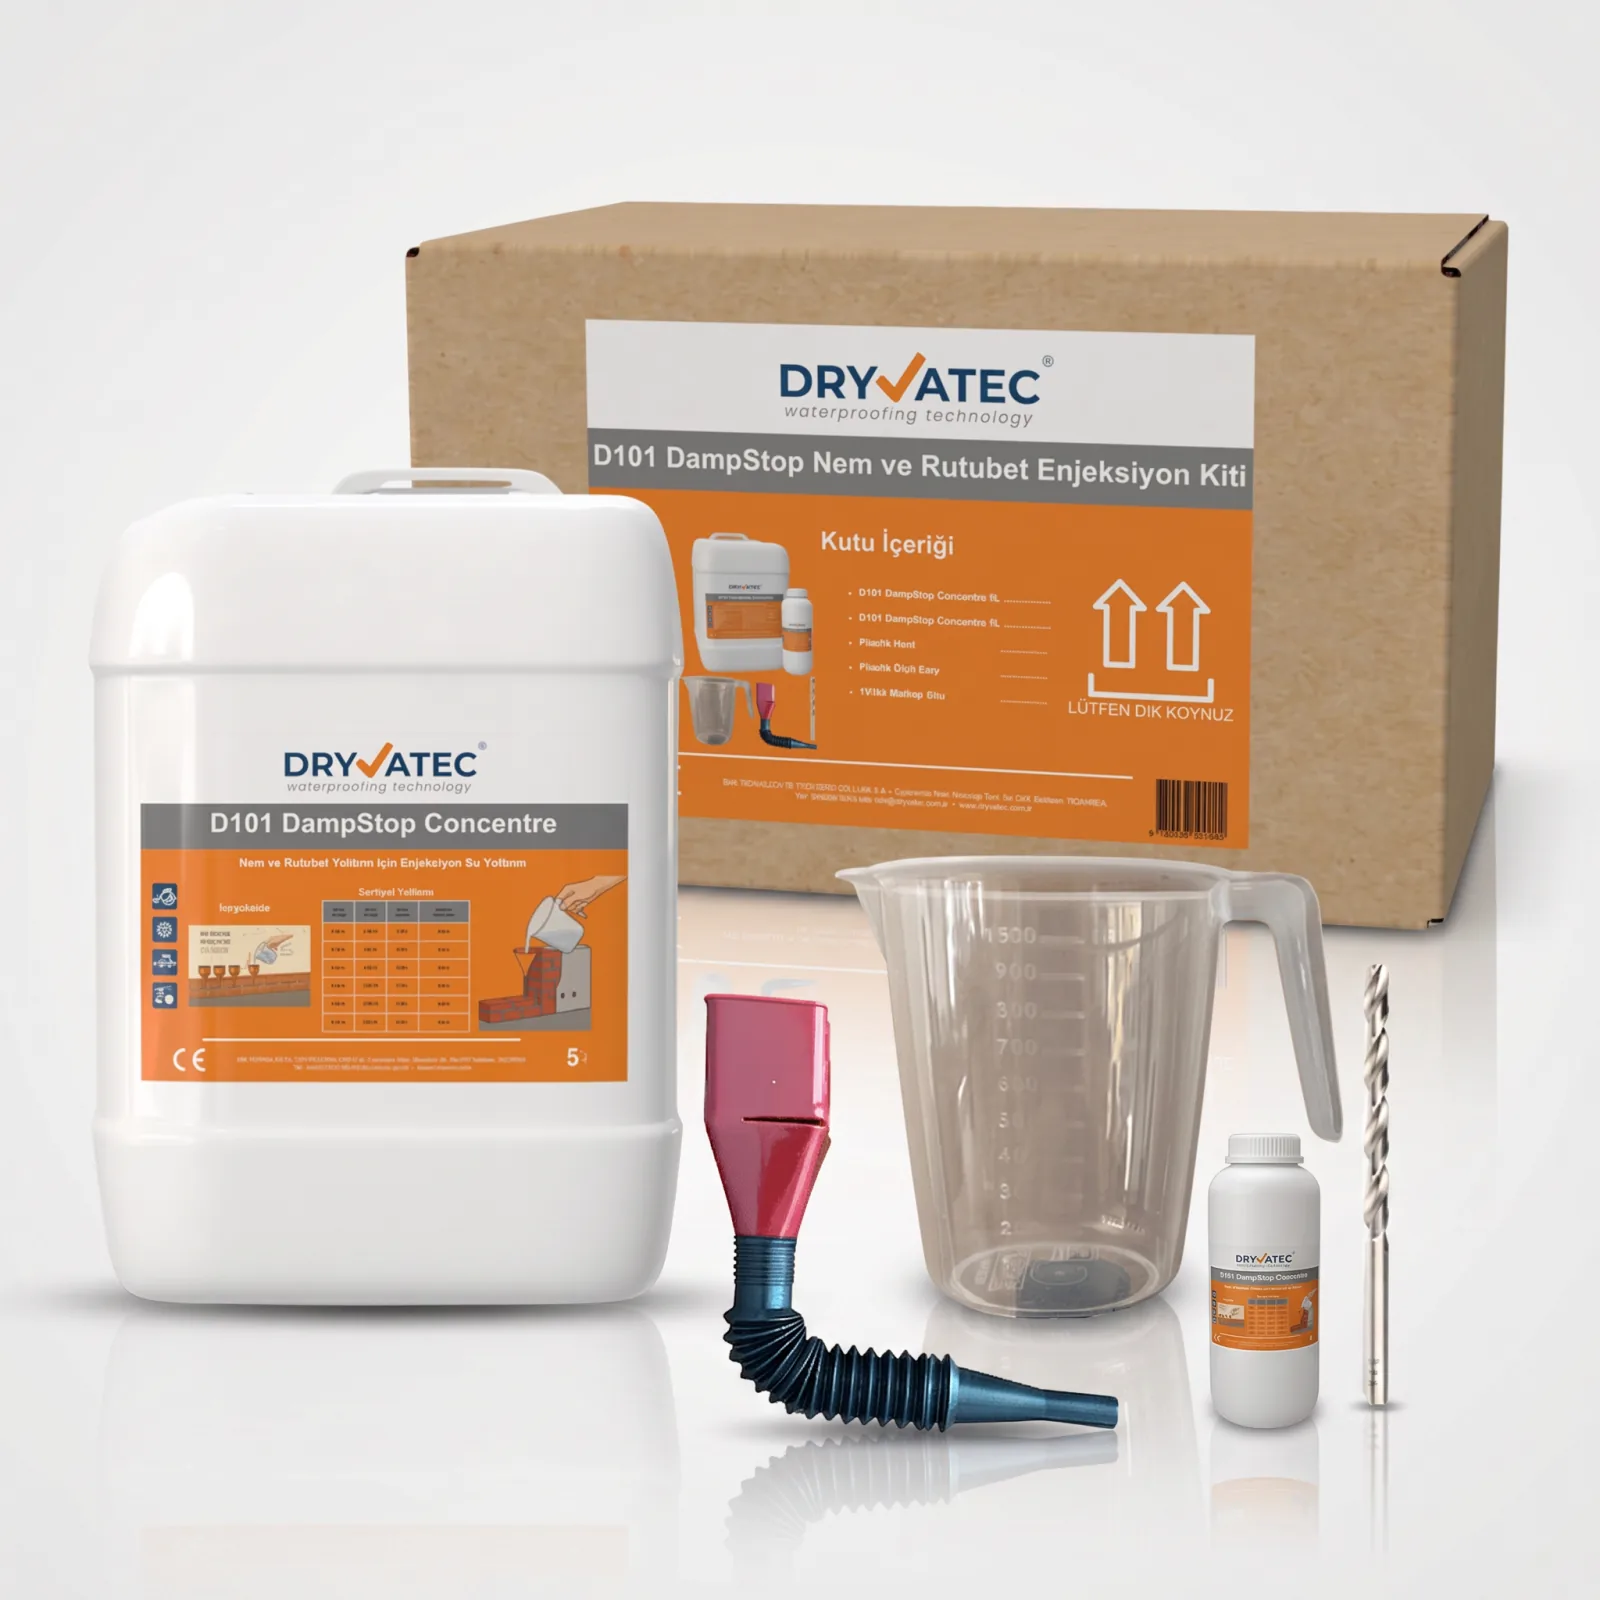
DampStop Complete Kit
Injection pack for moisture rising from below: 5 L concentrate + funnel + measuring cup + 14 mm drill bit. HydroFix is not included in the kit and is bought separately.
8.700₺ incl. VAT View ProductPay by card (Ziraat 3D Secure) or bank transfer/EFT — for bank transfer call +90 850 532 6 999 · No cash on delivery or instalments · Free shipping within Türkiye · 14-day right of return · Work out the quantity with the consumption calculator.
Frequently Asked Questions
How does moisture get in at the base of an exterior wall?
A wall sits on foundation concrete or a floor slab. Water around the building can get in horizontally through the joint where the wall sits on the concrete, that is beneath the brick. Inside, this water also causes blistering paint, crumbling plaster and salt marks, just like rising damp.
Why is the screed removed in a damp repair?
The joint where the wall sits on the foundation concrete is usually hidden under the screed. Once the screed is removed, the joint is exposed and HydroFix damp-proofing plaster can be taken down the wall face to the joint. If the screed is not removed, the damp-proofing plaster ends above the screed and the joint is left unprotected.
Is HydroFix also spread on the floor?
No. HydroFix is a damp-proofing plaster for walls (vertical surfaces); it is not used on floors. "Down to the floor" means the damp-proofing plaster is taken down the wall face to the line where the wall meets the foundation concrete or slab.
If the damp-proofing plaster goes down to the joint, is the gypsum plaster also taken down to the floor?
No. HydroFix goes down to the joint, but the gypsum plaster applied on top is taken only up to skirting height. Because gypsum plaster can carry moisture and damp from the screed upwards, it must not touch the screed; the gap is covered by the skirting board.
Is the same method used on basement walls?
No. On basement walls that are below ground, injection is not the solution; water ingress must be cut off from the outside. The method in this article is for exterior walls on the ground floor or entrance level.
Related Guides
- Why is gypsum plaster not taken down to the floor? The skirting-height rule
- What to do about a wall letting in water from outside
- How to apply HydroFix
- Damp injection application guide
- Moisture and water ingress in basements
- The Dryvatec Triple System: DampStop + HydroFix + Damp Box
Which treatment does your wall need?
Send photos of the wall from inside and outside, showing the floor level; we will assess the source and the method free of charge.