
What Is HydroFix?
HydroFix is a cement-based, polymer-modified two-component damp-proofing plaster for interior walls. It comes as a 10 kg powder and a 100 ml liquid additive, which are mixed with clean water on site and applied to the wall with a trowel. HydroFix is not an injection product: it is never poured into holes or diluted into a liquid. It works on the surface of the wall, as a render.
Once cured, HydroFix blocks capillary water and keeps damp from reaching the wall surface. Its microporous structure stays vapour-permeable, so the wall can still breathe. HydroFix contains no gypsum.
This guide follows the official HydroFix application guide on the product page. Not sure what is causing the damp? Read What Is Rising Damp?
Where You Can (and Cannot) Use HydroFix
HydroFix needs an absorbent mineral substrate to bond to. Suitable surfaces are brick, fair-faced concrete, existing cement render, pumice block and aerated concrete.
It must not be applied over gypsum plaster, paint, ceramic tiles, plastic, metal or glass. These layers have to be removed completely so that the mineral wall underneath is exposed. HydroFix is for walls and ceilings; it is not a floor coating. It can be applied by homeowners as well as by professional tradespeople.
Materials and Tools
Materials
- HydroFix damp-proofing plaster: 10 kg powder + 100 ml liquid additive per pack.
- Clean tap water: 2 litres per 10 kg pack.
- Primer and breathable paint: for the finish, once the plaster is dry.
Tools
- Mixing container: for example a 20 L plastic bucket.
- Drill with mixing paddle: for a lump-free mix.
- Trowel and spatula: for spreading the plaster.
- Gloves, goggles and a mask: to be worn throughout mixing and application.
HydroFix is sold as 10 kg powder + 100 ml liquid additive (1,500 TRY incl. VAT). It is not included in the DampStop Complete Kit.
Step 1: Prepare the Surface
HydroFix only performs as well as the surface it is bonded to.
- Remove old paint and loose plaster. Scrape off damp, crumbling or salt-damaged plaster until you reach a sound mineral surface. Gypsum plaster and paint must go completely.
- Brush mouldy and damp areas clean with a stiff brush, then remove the dust.
- Lightly dampen the surface if needed. A very dry, absorbent wall can pull water out of the fresh plaster too quickly.
- Level out larger unevenness with HydroFix itself if required.
Step 2: Prepare the Mix
The ratio is fixed: 10 kg powder, 2 litres of clean water and the 100 ml liquid additive.
- Pour the 100 ml liquid additive into 2 litres of clean water and stir until uniform.
- Add the powder gradually to avoid lumps.
- Mix with a drill mixer for 3–4 minutes.
- Let the mix rest for 5 minutes, then mix again for 1 minute.
Use the mix within 30 minutes. After that it starts to set, becomes hard to work and loses performance. Never add extra water to "revive" it.
Step 3: Apply Two Coats
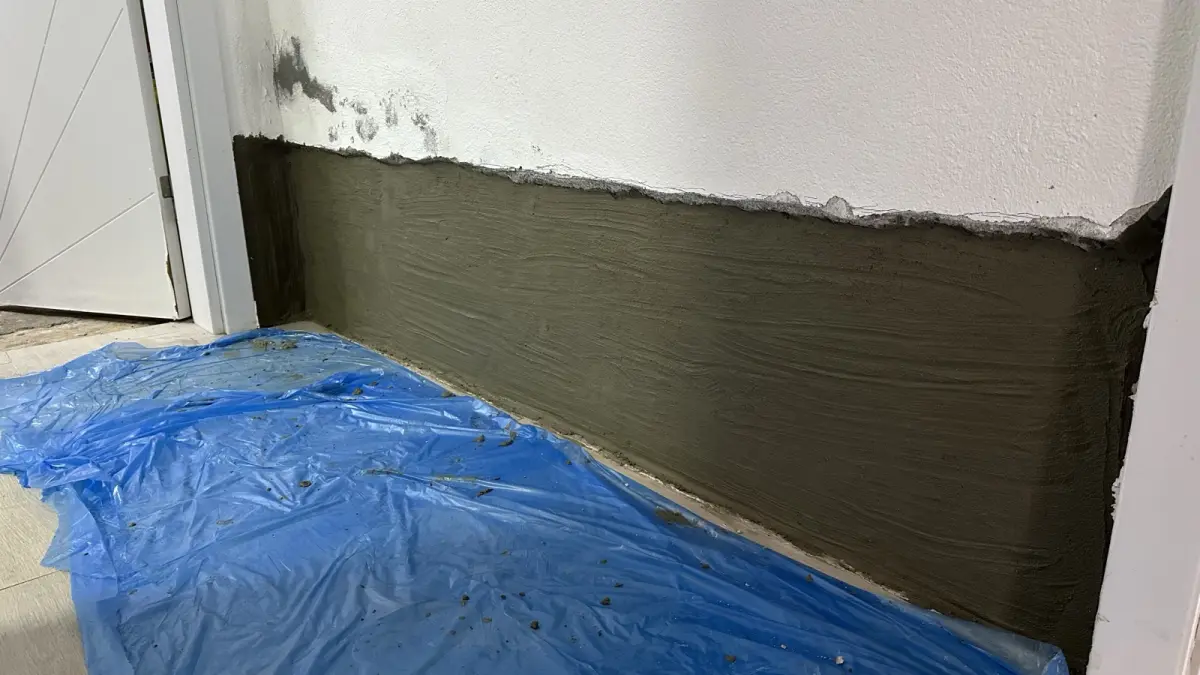
HydroFix is applied by trowel in two coats of 2–2.5 mm each, for a total thickness of 3–4 mm (3 mm recommended).
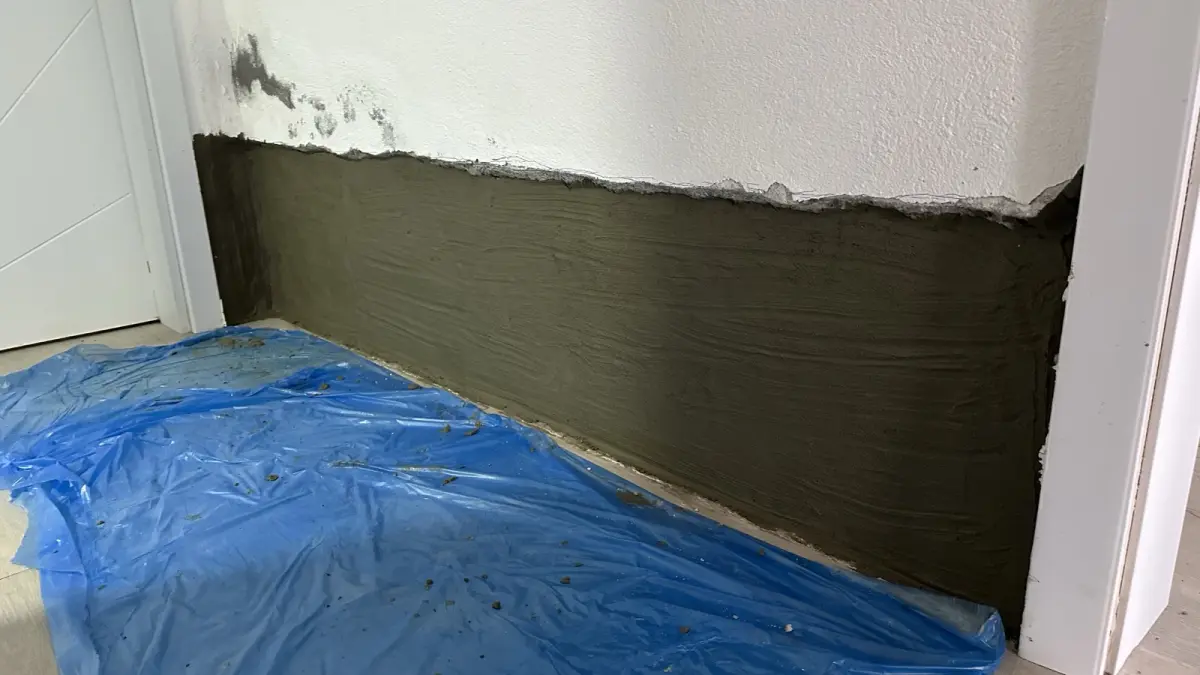
- Spread the mix onto the wall with a trowel or spatula, 2–2.5 mm thick.
- Let the first coat set (6–8 hours).
- Apply the second coat in the opposite direction: if the first coat was applied horizontally, apply the second vertically.
- Protect the fresh plaster from knocks, water and moisture for at least 48 hours.
Work at an ambient temperature between +5 °C and +30 °C, away from direct sun, frost and strong draughts.
Step 4: Drying and Painting
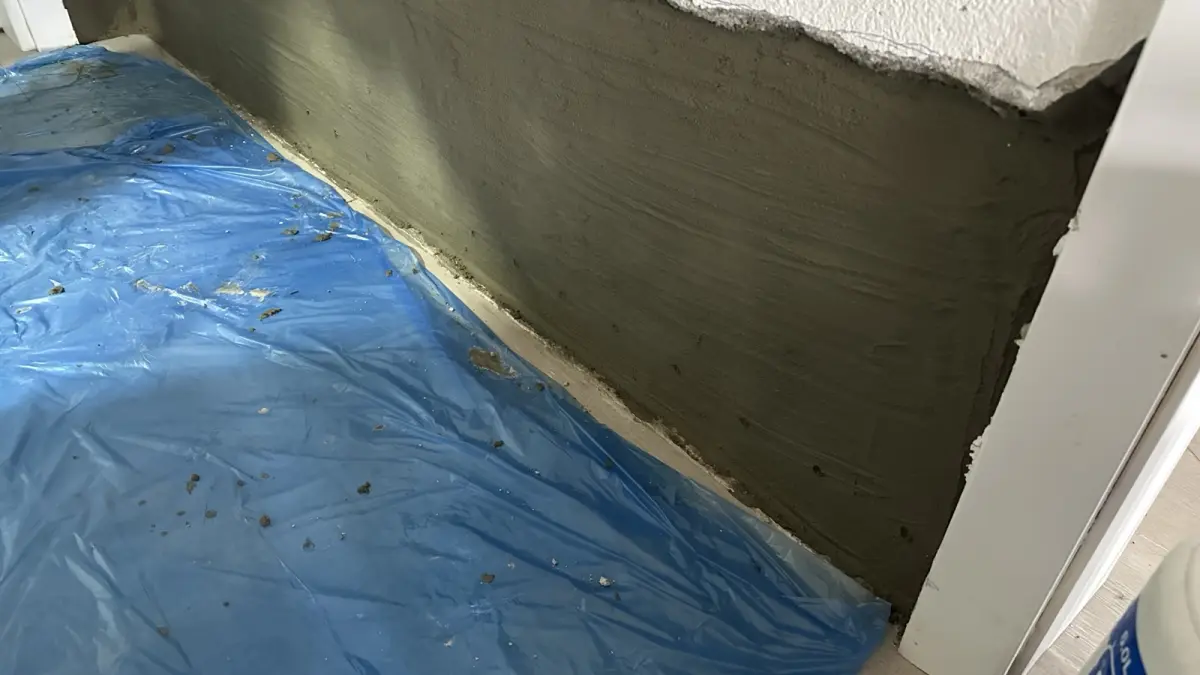
Drying depends on temperature: at 20 °C, HydroFix needs about 24–48 hours to dry. Paint only once the plaster is visibly dry, and no sooner than 3 days after application.
For the finish, apply a primer and then a breathable (vapour-permeable) paint. Plastic-based and oil paints are not recommended because they seal the surface and trap moisture. For details, see our article How to Paint a Damp Wall?
How Much HydroFix Do You Need?
HydroFix is calculated per square metre of wall. One 10 kg pack covers approximately 4.5–5 m² in a single coat or 2–2.5 m² in two coats. Consumption varies with the absorbency and evenness of the surface.
Example: a 5 m long wall plastered to a height of 1 m is 5 m². With the recommended two coats you need 5 ÷ 2–2.5 m² = 2–2.5 packs, so plan for 3 packs. You can also use our consumption calculator.
Not Sure How Much You Need?
Send us your wall dimensions and photos for a free online analysis and a material recommendation.
HydroFix and DampStop: The Official Order for Rising Damp
When damp rises from the ground, HydroFix is used together with DampStop D101, the injection concentrate that forms a horizontal barrier inside the wall. The injection part is done with DampStop, not with HydroFix. The official application order is:
- Remove the old, damp plaster.
- Apply HydroFix damp-proofing plaster as described above.
- Once the plaster has dried, drill the injection holes.
- Inject DampStop.
- Close the holes with plaster.
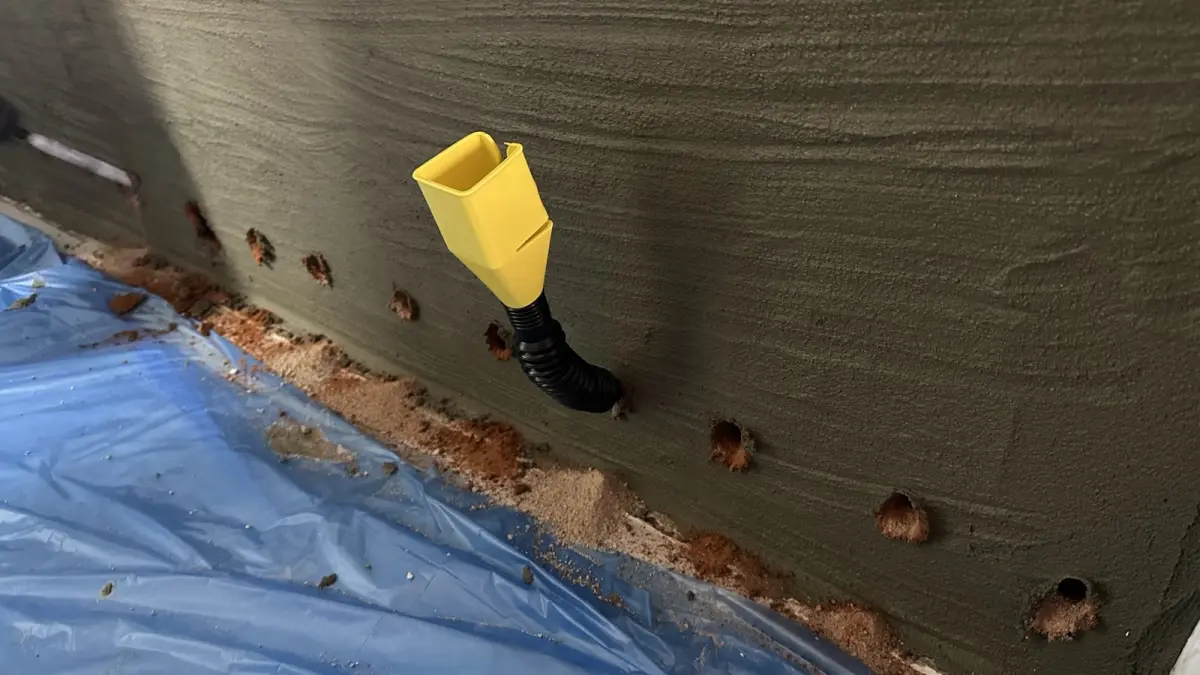
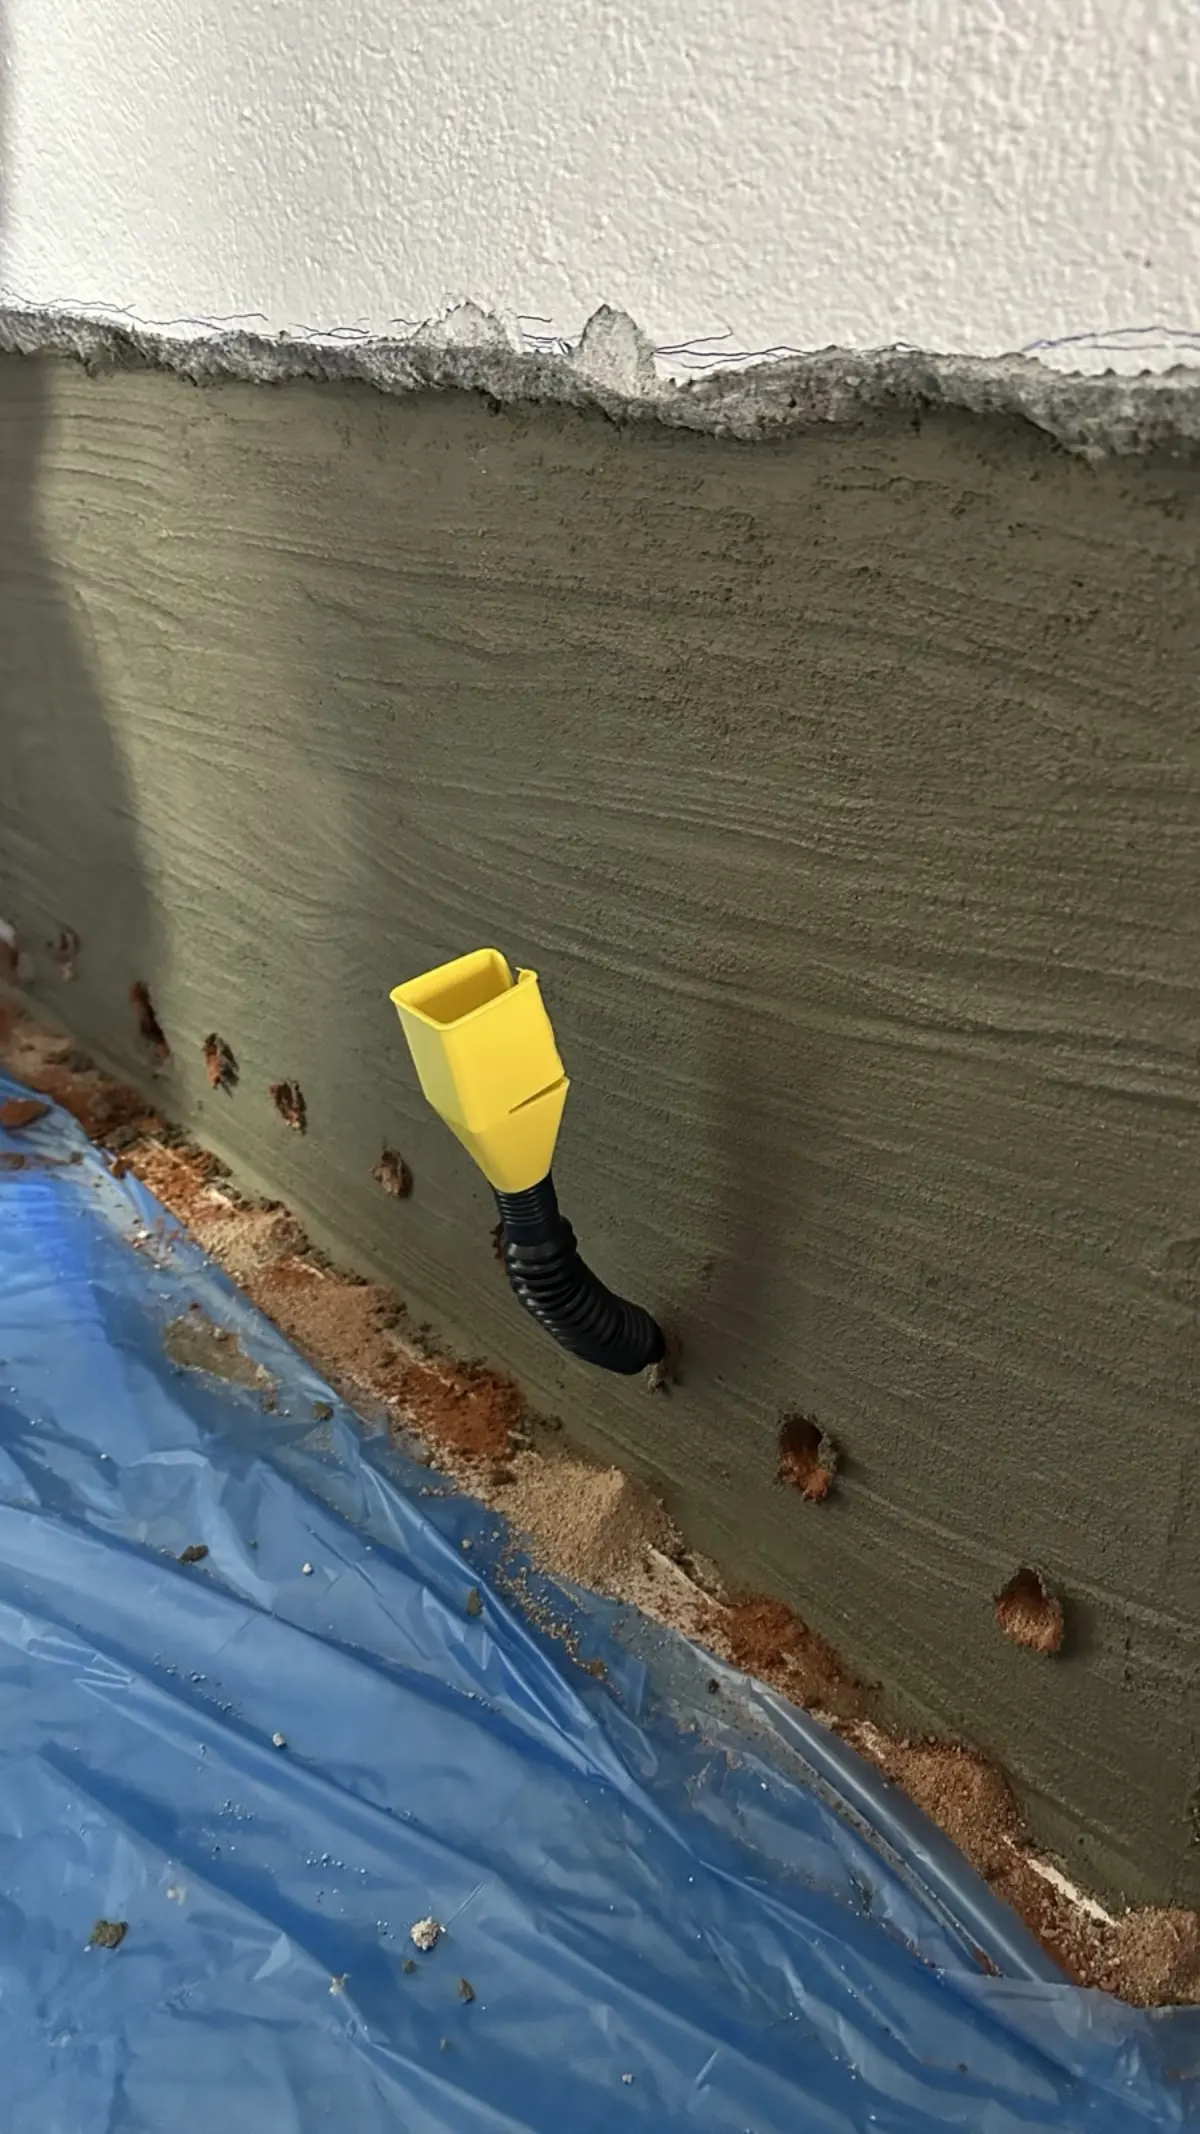
This order matters especially on hollow brick walls: if plaster is scraped off after injection, the brick cavities open up and the DampStop solution can seep out. The HydroFix layer keeps the solution in the wall and protects the surface.
On exterior walls, HydroFix is taken down to the junction with the foundation concrete/slab after the screed at the base of the wall has been removed (why?); the gypsum plaster applied on top, however, goes only up to skirting height (Why is gypsum plaster not taken down to the floor?).
DampStop is diluted 1:9 with water and injected through 14 mm holes about 10 cm above the floor, every 10 cm, angled 30–45° downwards, to 80% of the wall thickness. All details are in our damp injection application guide and on the DampStop Complete Kit page.
Common Mistakes
- Too much water in the mix: leads to a dusty, cracking surface. Stick to 10 kg powder : 2 L water : 100 ml additive.
- Coats that are too thin: apply two coats of 2–2.5 mm.
- Plastering over gypsum, paint or tiles: HydroFix cannot bond; remove them down to the mineral substrate.
- Using the mix after 30 minutes: it has already started to set.
- Second coat too early or in the same direction: wait 6–8 hours and work crosswise.
- Painting too soon or with plastic/oil paint: wait at least 3 days and use a breathable paint.
- Wrong conditions: do not apply below +5 °C, above +30 °C or in direct sun, and never on floors.
- Frozen additive: the liquid component is ruined by freezing; store it at 5–30 °C in a dry place.
Frequently Asked Questions
Is HydroFix injected into the wall?
No. HydroFix is a two-component damp-proofing plaster applied to the wall surface with a trowel. The injection product in the Dryvatec system is DampStop D101.
Is HydroFix a gypsum plaster?
No. It is cement-based and polymer-modified and contains no gypsum.
How much area does one 10 kg pack cover?
About 4.5–5 m² in a single coat, or about 2–2.5 m² in two coats, depending on the surface.
When can I paint the wall?
When the plaster is visibly dry and at least 3 days after application. Use a primer and a breathable paint; avoid plastic-based or oil paints.
Does HydroFix alone stop rising damp?
HydroFix stops capillary water from reaching the wall surface. For damp rising from the ground, the official system combines it with DampStop injection, applied in the order shown above.
Can Dryvatec apply it for me?
Dryvatec does not carry out site surveys or send installers. You can send your wall details for a free online analysis via Request a Quote or call technical support on +90 850 532 6 999. Products are delivered within Türkiye only. HydroFix costs 1.500₺ per 10 kg pack (VAT included); current prices are on our shop page. For a cost estimate, see our Cost of Damp Treatment Guide.
Ready to Start?
Get a free online analysis of your wall or order HydroFix and DampStop directly from the shop.