📌 In short
The most common cause of mould on ceilings and in corners is condensation: the warm, humid air indoors turns into water droplets when it touches cold ceiling and corner surfaces, and mould thrives on this wet ground. Corners are the coldest, least ventilated points of a building, which is why the mould always starts there. The fix depends on the cause: for condensation, ventilation + raising the surface temperature; for a leak, repair; for damp that has also spread to the lower walls, an injection barrier.
Why Is the Mould Always on the Ceiling and in the Corners?
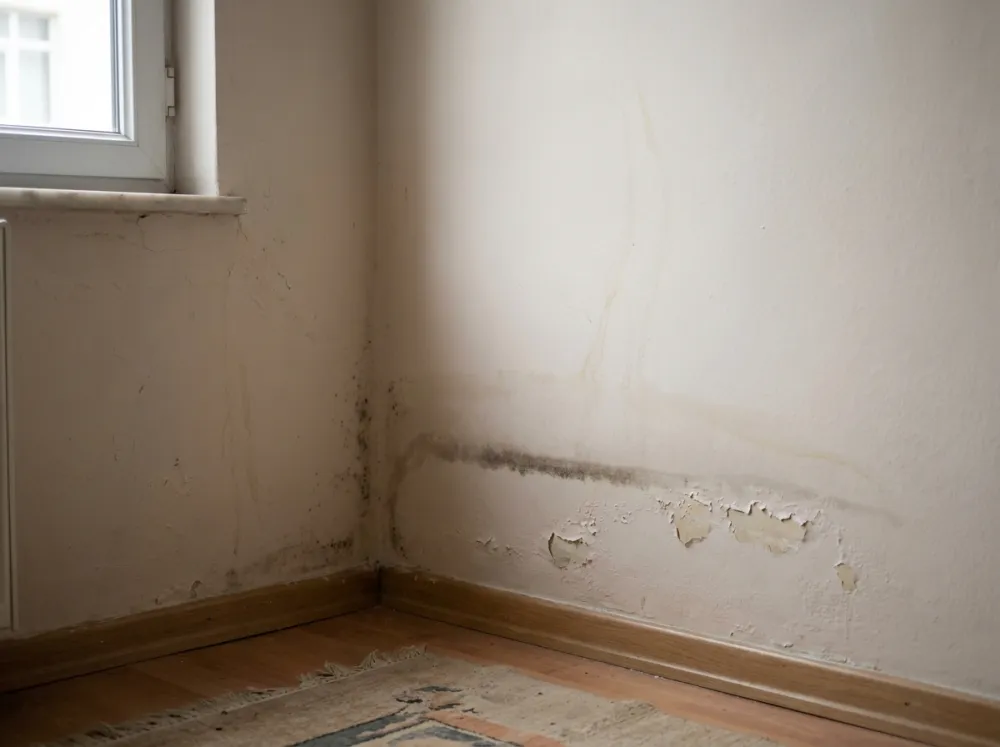
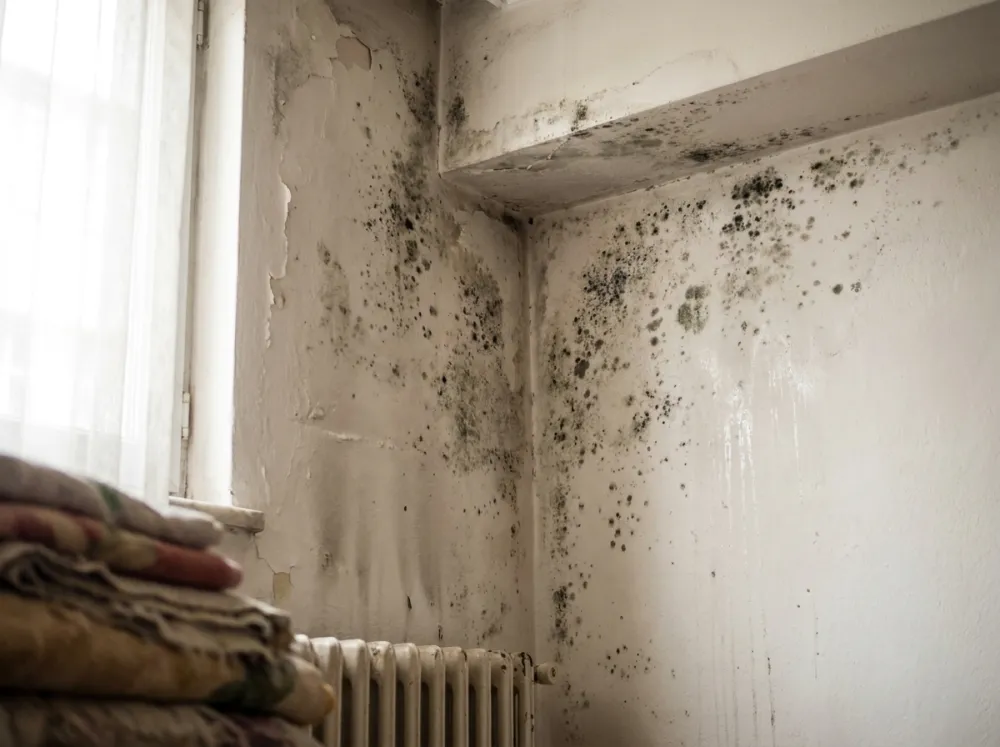
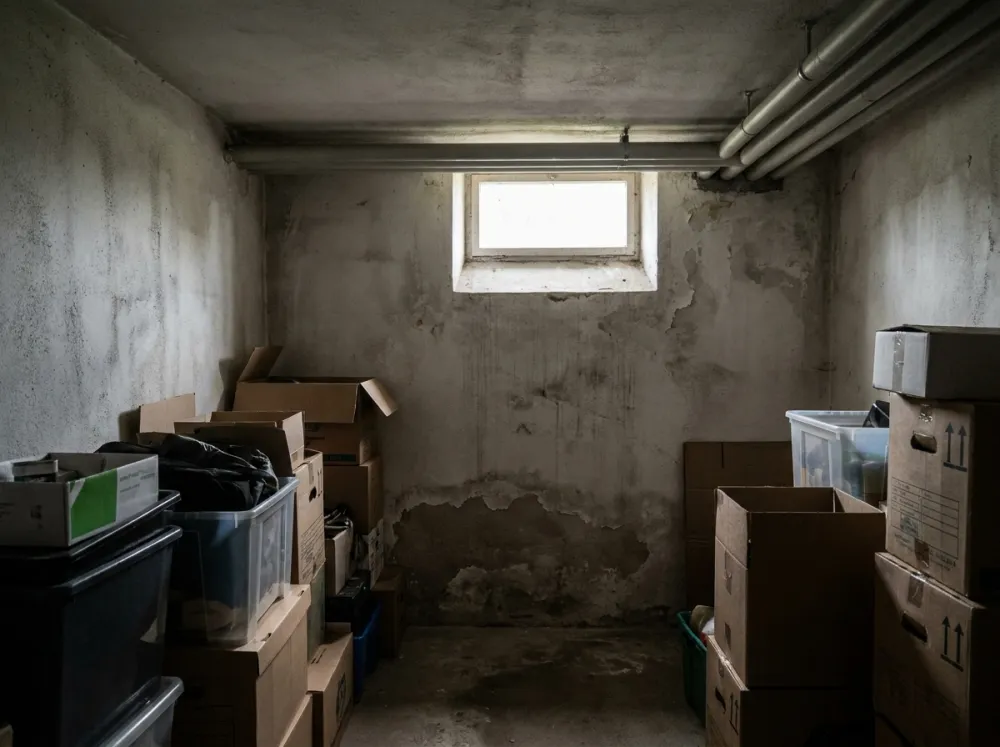
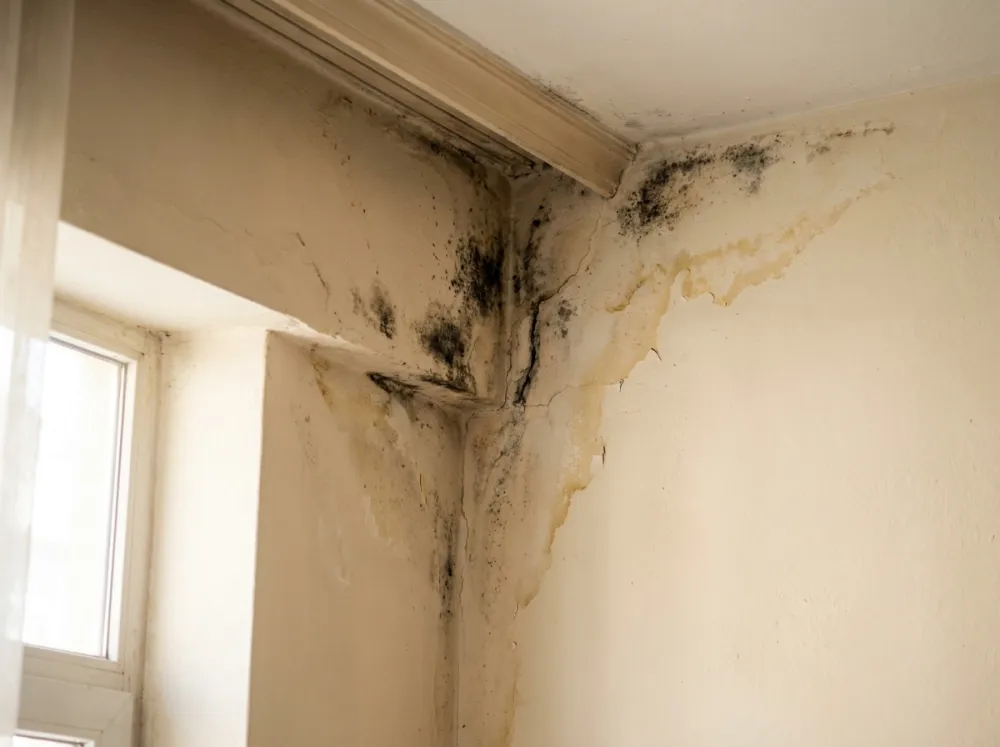
If the mould in a room appears not just anywhere but insistently at ceiling-wall junctions, in external wall corners and behind furniture, there is a physical reason: these are the coldest points in the room and the ones with the least airflow.
Here is how it unfolds: cooking, showering, laundry and breathing constantly add water vapour to the indoor air. Warm air can carry this vapour; but when it touches a cold surface — an external wall corner, for example — it can no longer hold it, and the vapour turns into water droplets. This is called condensation; it is the same thing as the outside of a cold bottle sweating. Because the corner gets wet again every day, mould grows there with ease.
The reason the corners are colder is thermal bridges: concrete columns, beams and slab edges conduct heat to the outside quickly, and their interior surfaces stay a few degrees colder than the rest of the room. For a detailed explanation, see rising damp vs condensation.

First, Identify the Cause: Condensation, a Leak or Rising Damp?
Three different causes can be confused in ceiling and corner staining; because their solutions differ, telling them apart matters:
| Clue | Condensation | Water leak | Rising damp |
|---|---|---|---|
| Location of the stain | Corners, ceiling edges, around windows, behind furniture | A single point; usually in line with a bathroom or just under the roof | The lower zone of the wall |
| Pattern | Widespread, dot-like black specks | Yellowish rings with a dense centre | A horizontal band parallel to the floor |
| Timing | Worse in winter | Independent of the weather / worse with rain | Constant, more pronounced in winter |
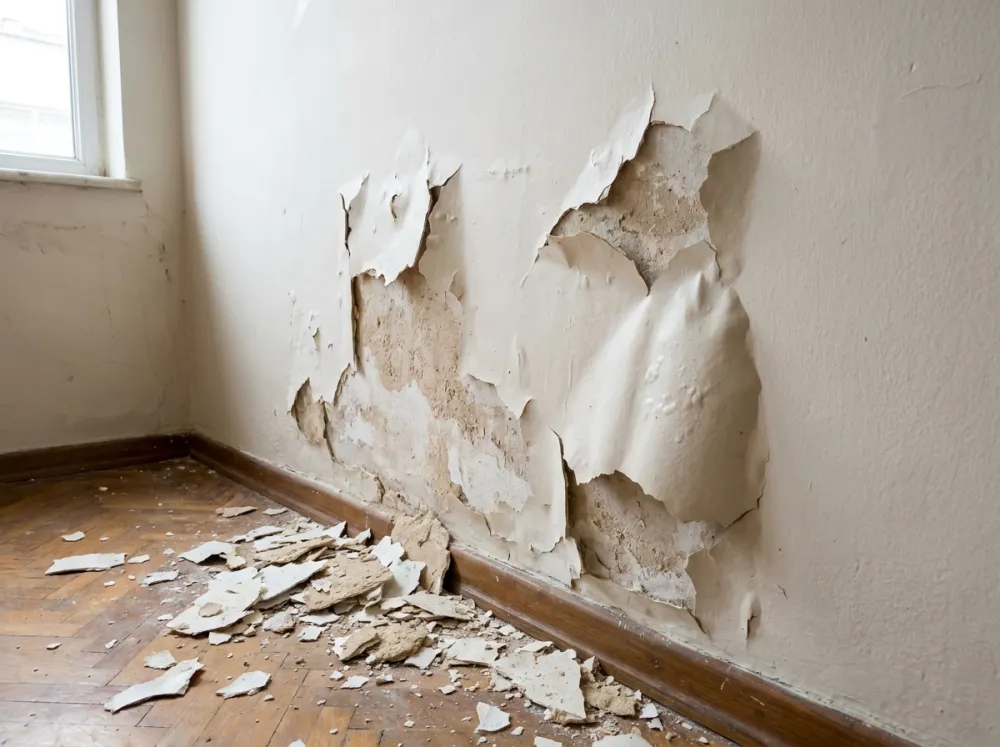
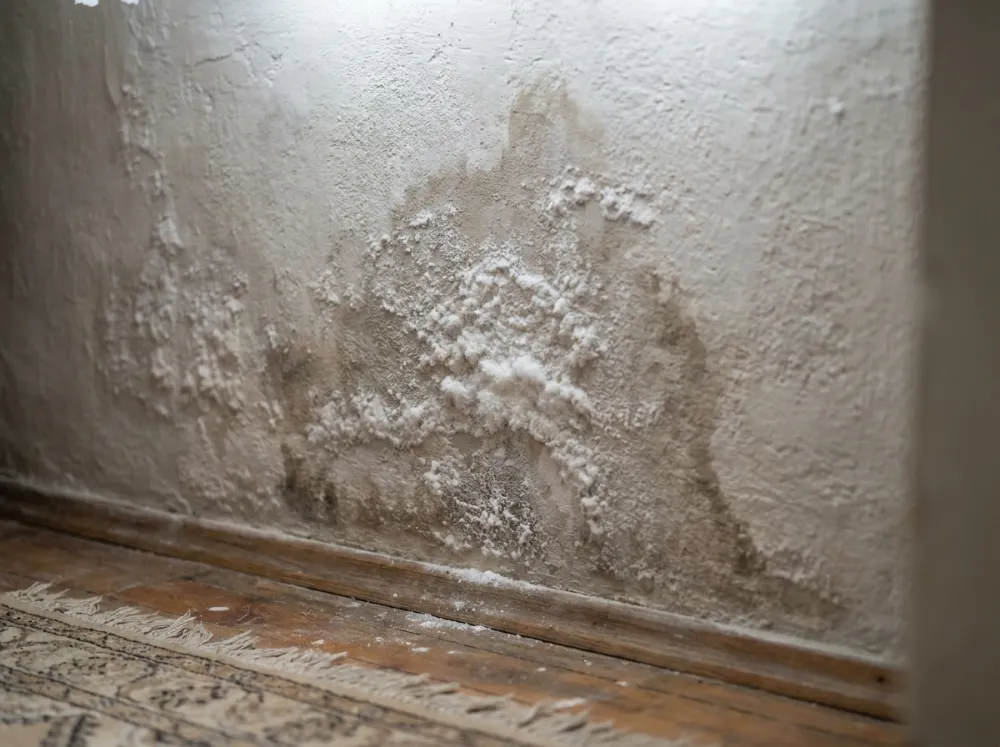
| Accompanying signs | Misted windows, wet sills in the morning | Dripping, blistering ceiling paint | Salt marks, blistering at skirting level |
If the stain is on the lower zone of the wall, the right place is the damp line on walls page; for a stain that grows fast or drips, have the plumbing and roof checked first.
The Permanent Fix: Warm the Surface, Reduce the Moisture, Clean the Mould
For condensation-driven ceiling and corner mould, the solution stands on three legs:
- Reduce indoor moisture: After producing steam in the bathroom or kitchen, open opposite windows for 5-10 minutes; avoid drying laundry indoors where possible; use an extractor/ventilation fan. The target is to keep indoor relative humidity below 60%.
- Raise the surface temperature: Pull furniture 5-10 cm away from external walls (so air can circulate behind it); do not box corners in with curtains/wardrobes; as a lasting measure, insulating the thermal bridges (external insulation or an internal surface correction) reduces condensation at the root.
- Clean the mould safely and renew the surface with breathable material: Clean with gloves + mask + ventilation, then apply HydroFix breathable plaster to the damaged surface, finished with a diffusion-open paint. A breathable surface releases intermittent moisture instead of trapping it, making it hard for mould to take hold.
Note: If, alongside the corner mould, you also have a damp line, salt marks or blistering paint on the lower zone of the wall, then rising damp is present in addition to the condensation; in that case a barrier needs to be applied to the lower walls with DampStop injection. If you are not sure which case applies to you, send us photos and we will assess them free of charge as soon as possible.
How Is It Applied? (93 seconds)
Products Used to Solve This Problem

HydroFix 10 kg Damp-Proofing Plaster
Applied before the injection, in place of the stripped plaster; a breathable, salt-resistant repair plaster.
1.500₺ View Product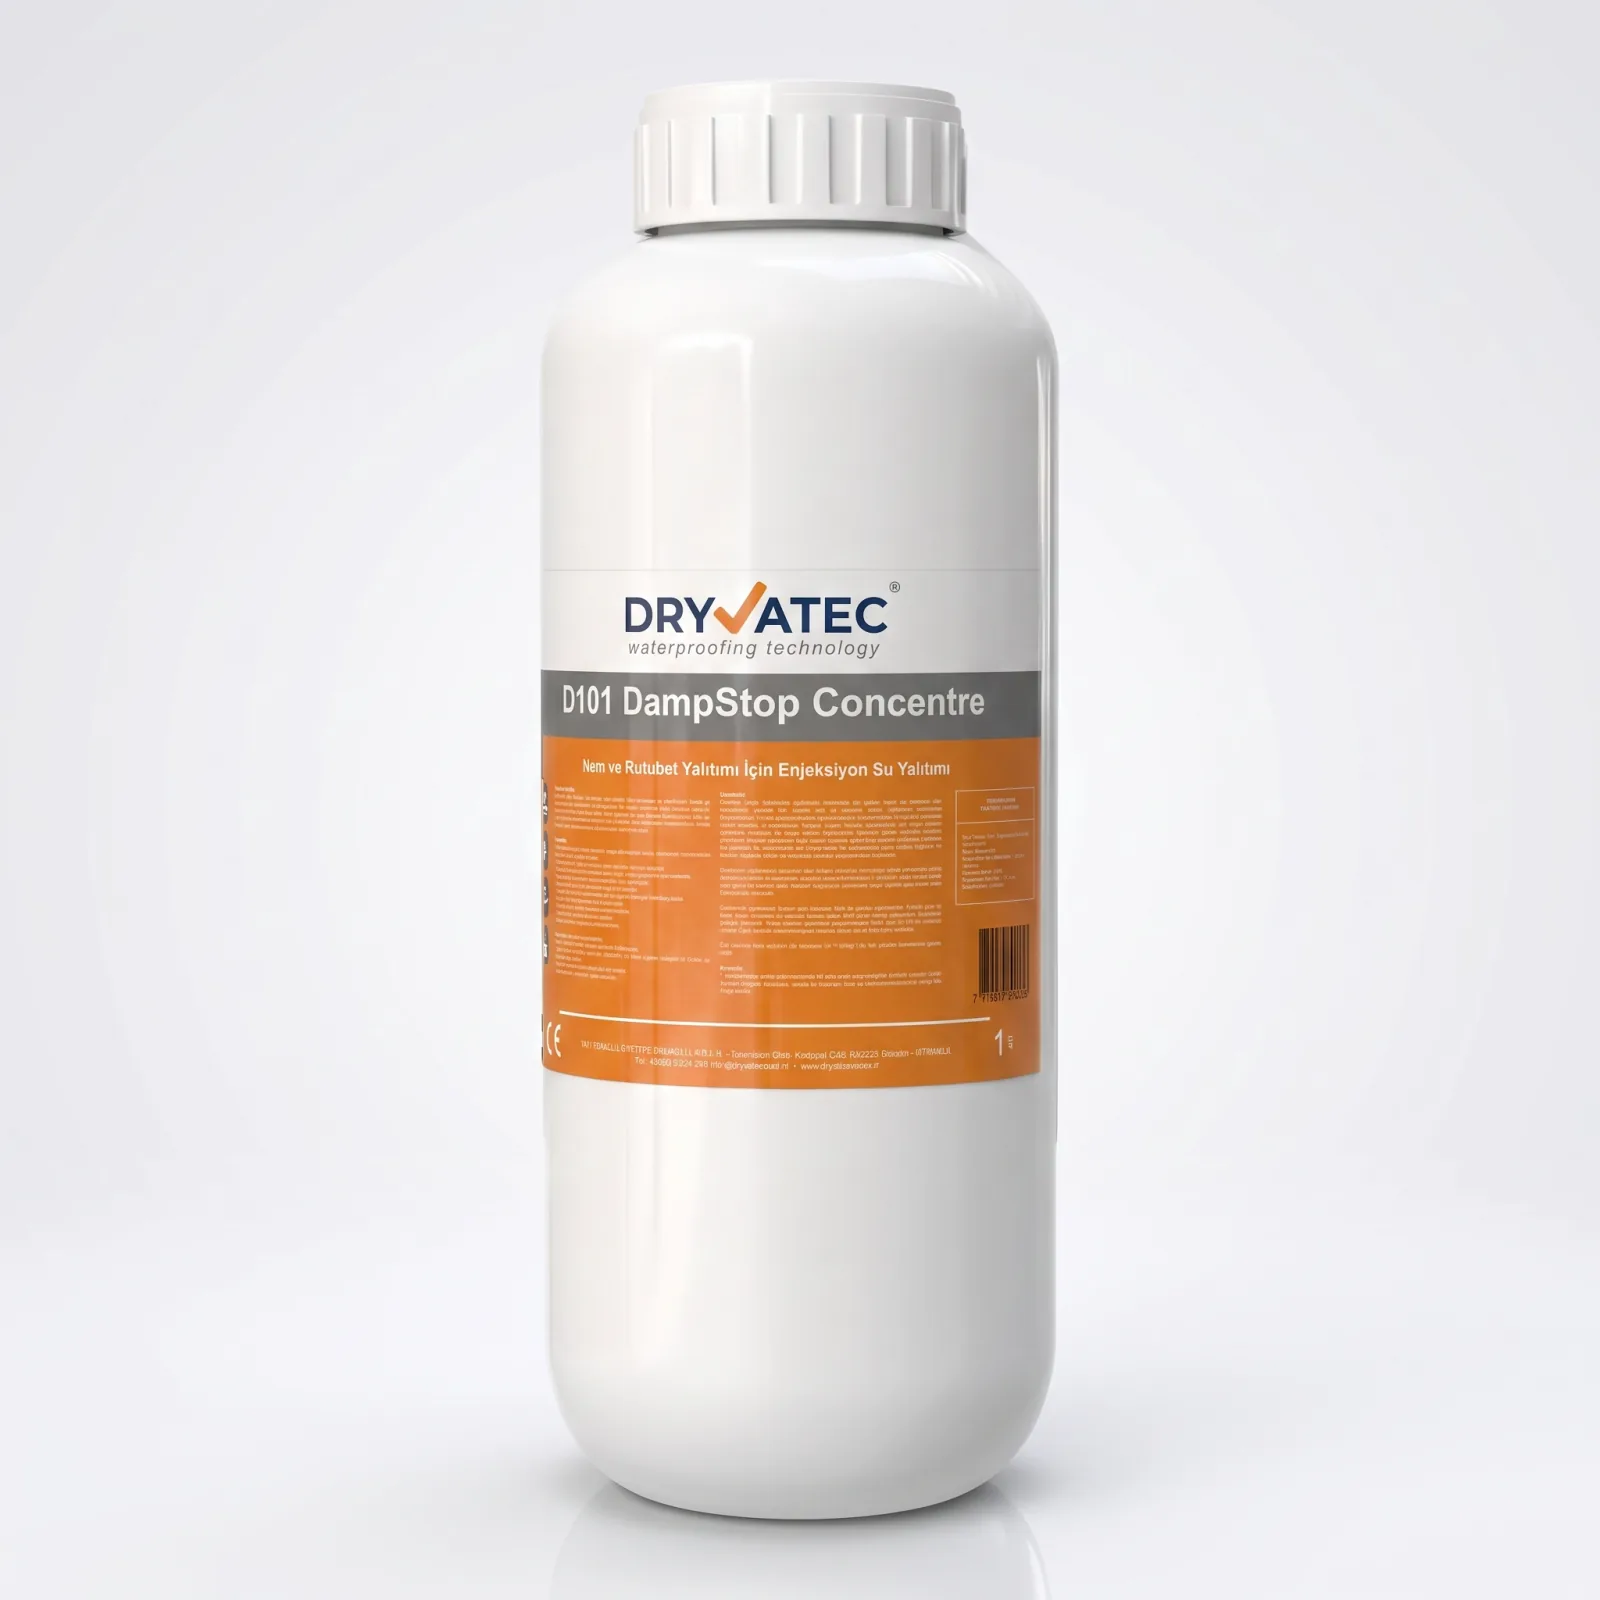
DampStop 1L Injection
An economical injection pack for small areas and single walls.
2.200₺ View ProductSee how the three products work together: The Triple System →
Frequently Asked Questions
Why does the mould in the ceiling corner always appear in winter?
In winter the indoor-outdoor temperature difference grows: the humid indoor air condenses into water on the cooling ceiling and corner surfaces. Windows are also opened less in winter, so moisture builds up indoors. The two together create ideal conditions for mould; that is why condensation mould is a typical winter problem.
Will external wall insulation solve corner mould?
In most cases it helps a great deal: external insulation warms the wall and corner surfaces, so condensation decreases. But if indoor moisture production is very high (boiling pans, bathroom steam, drying laundry) and ventilation is inadequate, mould can appear despite the insulation. Insulation + correct ventilation work together.
Is wiping the mould off and painting over it with anti-mould paint enough?
No. Paint delays the mould's reappearance for a while, but as long as the surface stays cold and wet, the mould comes back. First reduce the condensation (ventilation, thermal bridges, controlling moisture production), clean the mould safely, then finish with a breathable surface.
How do I tell whether the ceiling stain is condensation or a leak from the neighbour above?
A condensation stain spreads over a wide area, concentrates in corners and along edges, worsens in winter, and the surface feels generally damp. A leak stain is concentrated at a single point, leaves yellowish rings, grows regardless of the weather and sometimes drips. If the stain is growing fast or dripping, have the plumbing/roof checked first.
Learn More: Related Guides
Not sure? Send us a photo and we will tell you
Send photos of the problem area; our technical team will assess the cause as soon as possible and recommend a solution tailored to you. Free of charge, with no obligation to buy.