
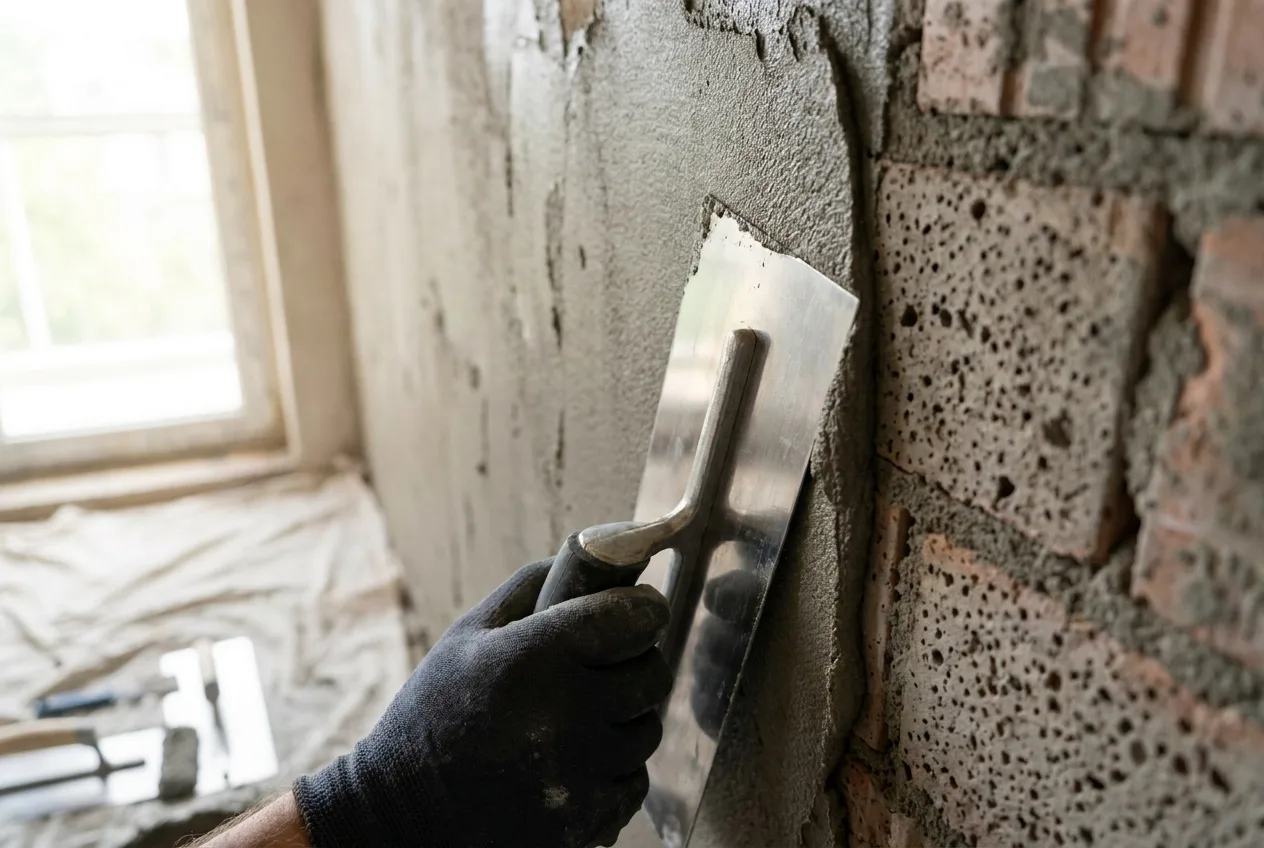
Short answer: A damp wall is never painted over directly; as long as the source persists, the paint will blister within a few months, including paint labelled "anti-damp". The correct order is: 1) find the source of the damp, 2) fix any leak or condensation at its source, 3) strip the blistered paint and damaged plaster, 4) clean the surface, 5) apply a breathable damp-proofing plaster; with rising damp, carry out the DampStop injection once the plaster has dried (24–48 hours), 6) once the plaster has dried (at least 3 days), prime and paint with a vapour-permeable paint.
Painting a damp wall is a job repeated every spring in many homes: the stain is scraped off, painted over, and a few months later the blistering and the yellow ring come back in the same spot. The problem is not the quality of the paint but the order. The six steps below describe the order needed for paint to last.
Why does paint blister on a damp wall?
Water inside the wall moves towards the surface and evaporates. Along with it, this water carries the salts in the wall. If there is a paint film on top that does not let water vapour through, moisture and salts build up behind the paint; the salts crystallise and expand, pushing the paint and plaster away. The result is blistering, flaking and white powdering. This is why plastic and oil-based paints are the fastest to blister on a damp wall. More detail: Blistering paint and crumbling plaster.
Step 1: Find the source of the damp
The location of the stain often tells you the source:
- It starts at the base of the wall and ends in a wavy line higher up: rising damp from the ground.
- Black spots in ceiling corners and around windows; worse in winter: condensation.
- It grows after rain or appears where the pipes run: a leak.
A simple home test: tape a 50x50 cm piece of aluminium foil to the wall along its edges and wait 24-48 hours. If the side of the foil facing the wall is wet, the moisture is coming from inside the wall; if the side facing the room is wet, the problem is humid room air condensing on the cold wall.
Step 2: Cut off the source
Any paint applied while the source is still active is temporary.
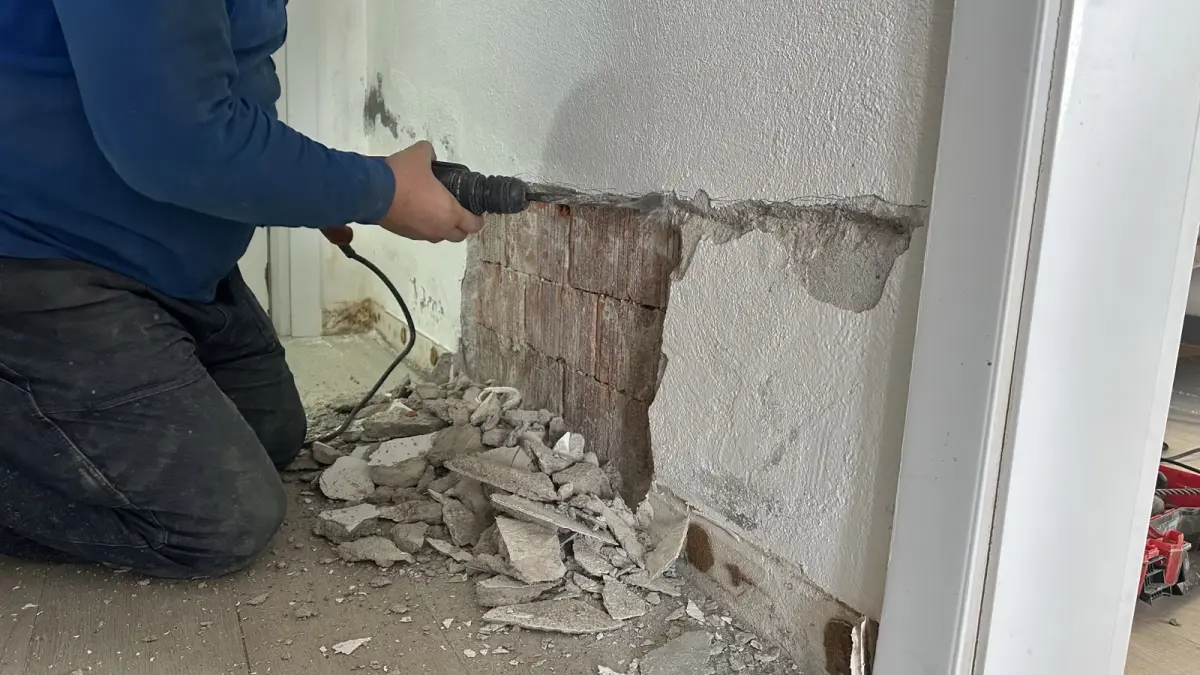
- For rising damp: The source is cut off with DampStop injection at the base of the wall; however, the injection is not done at this step but after the damp-proofing plaster from step 5 has dried (24–48 hours). Why? Stripping plaster can break open the cells of the bricks; if you inject first, the solution runs out through those breaks. If the plaster goes on first, the injection stays inside the brick without overflowing. Holes are drilled approximately 10 cm above the floor, 10 cm apart, 14 mm in diameter, angled downwards at 30–45° and to a depth of 80% of the wall thickness. The concentrate is diluted with water at a ratio of 1:9. After injection, wait at least 48 hours, then fill the holes with plaster or mortar. The full procedure: Damp injection application guide.
- For leaks: The plumbing, roof, window sill or façade crack is repaired.
- For condensation: Ventilation and even heating are corrected; the indoor humidity is measured.
Step 3: Strip the blistered paint and damaged plaster
Blistered paint and powdery, hollow-sounding plaster are scraped off; cleaning a little above the visible damage prevents moisture from coming out at the top edge of the new plaster. Damp-proofing plaster is applied only to a mineral surface (brick, concrete, plaster, pumice block, aerated concrete); gypsum, paint, ceramic, plastic and metal surfaces must be removed completely. Gypsum plaster is not used on damp walls because it absorbs moisture and swells.
Step 4: Clean the surface
Loose fragments and dust are brushed off and mouldy areas are cleaned (see how to clean mould on walls). White salt crystals are removed with a dry brush; washing salt off with water dissolves it again and carries it back into the wall. The surface can be lightly dampened just before application.
Step 5: Apply a breathable damp-proofing plaster
The layer that goes under the paint is the layer that will manage the damp. HydroFix is a cement-based, polymer-modified, two-component damp-proofing plaster; it stops capillary water transfer but lets water vapour escape. Application summary:
- 100 ml of liquid additive is added to 2 litres of clean water, then 10 kg of powder is slowly mixed in; the mix must be used within 30 minutes at the latest.
- Each coat is applied 2–2.5 mm thick, for a total of 3–4 mm; the second coat is applied in the opposite direction once the first coat has dried (6–8 hours).
- The ambient temperature must be between +5 °C and +30 °C; after application, protect it from impact and water for at least 48 hours.
HydroFix is used only indoors and on vertical surfaces (walls); it is not applied to ceilings or floors.
With rising damp: once HydroFix has dried (24–48 hours), the holes are drilled and the DampStop injection is carried out (details in step 2); after at least 48 hours the holes are filled.
Step 6: Once dry, paint with a breathable paint
Do not paint until the plaster is visibly dry, at least 3 days; with rising damp, the injection holes must also have been filled. Then the surface is primed and a vapour-permeable (breathable) interior paint is applied. When buying paint, look for "breathable / vapour-permeable" on the label; film-forming plastic or oil-based paints that seal the surface completely are not recommended on damp walls.
Products used before painting
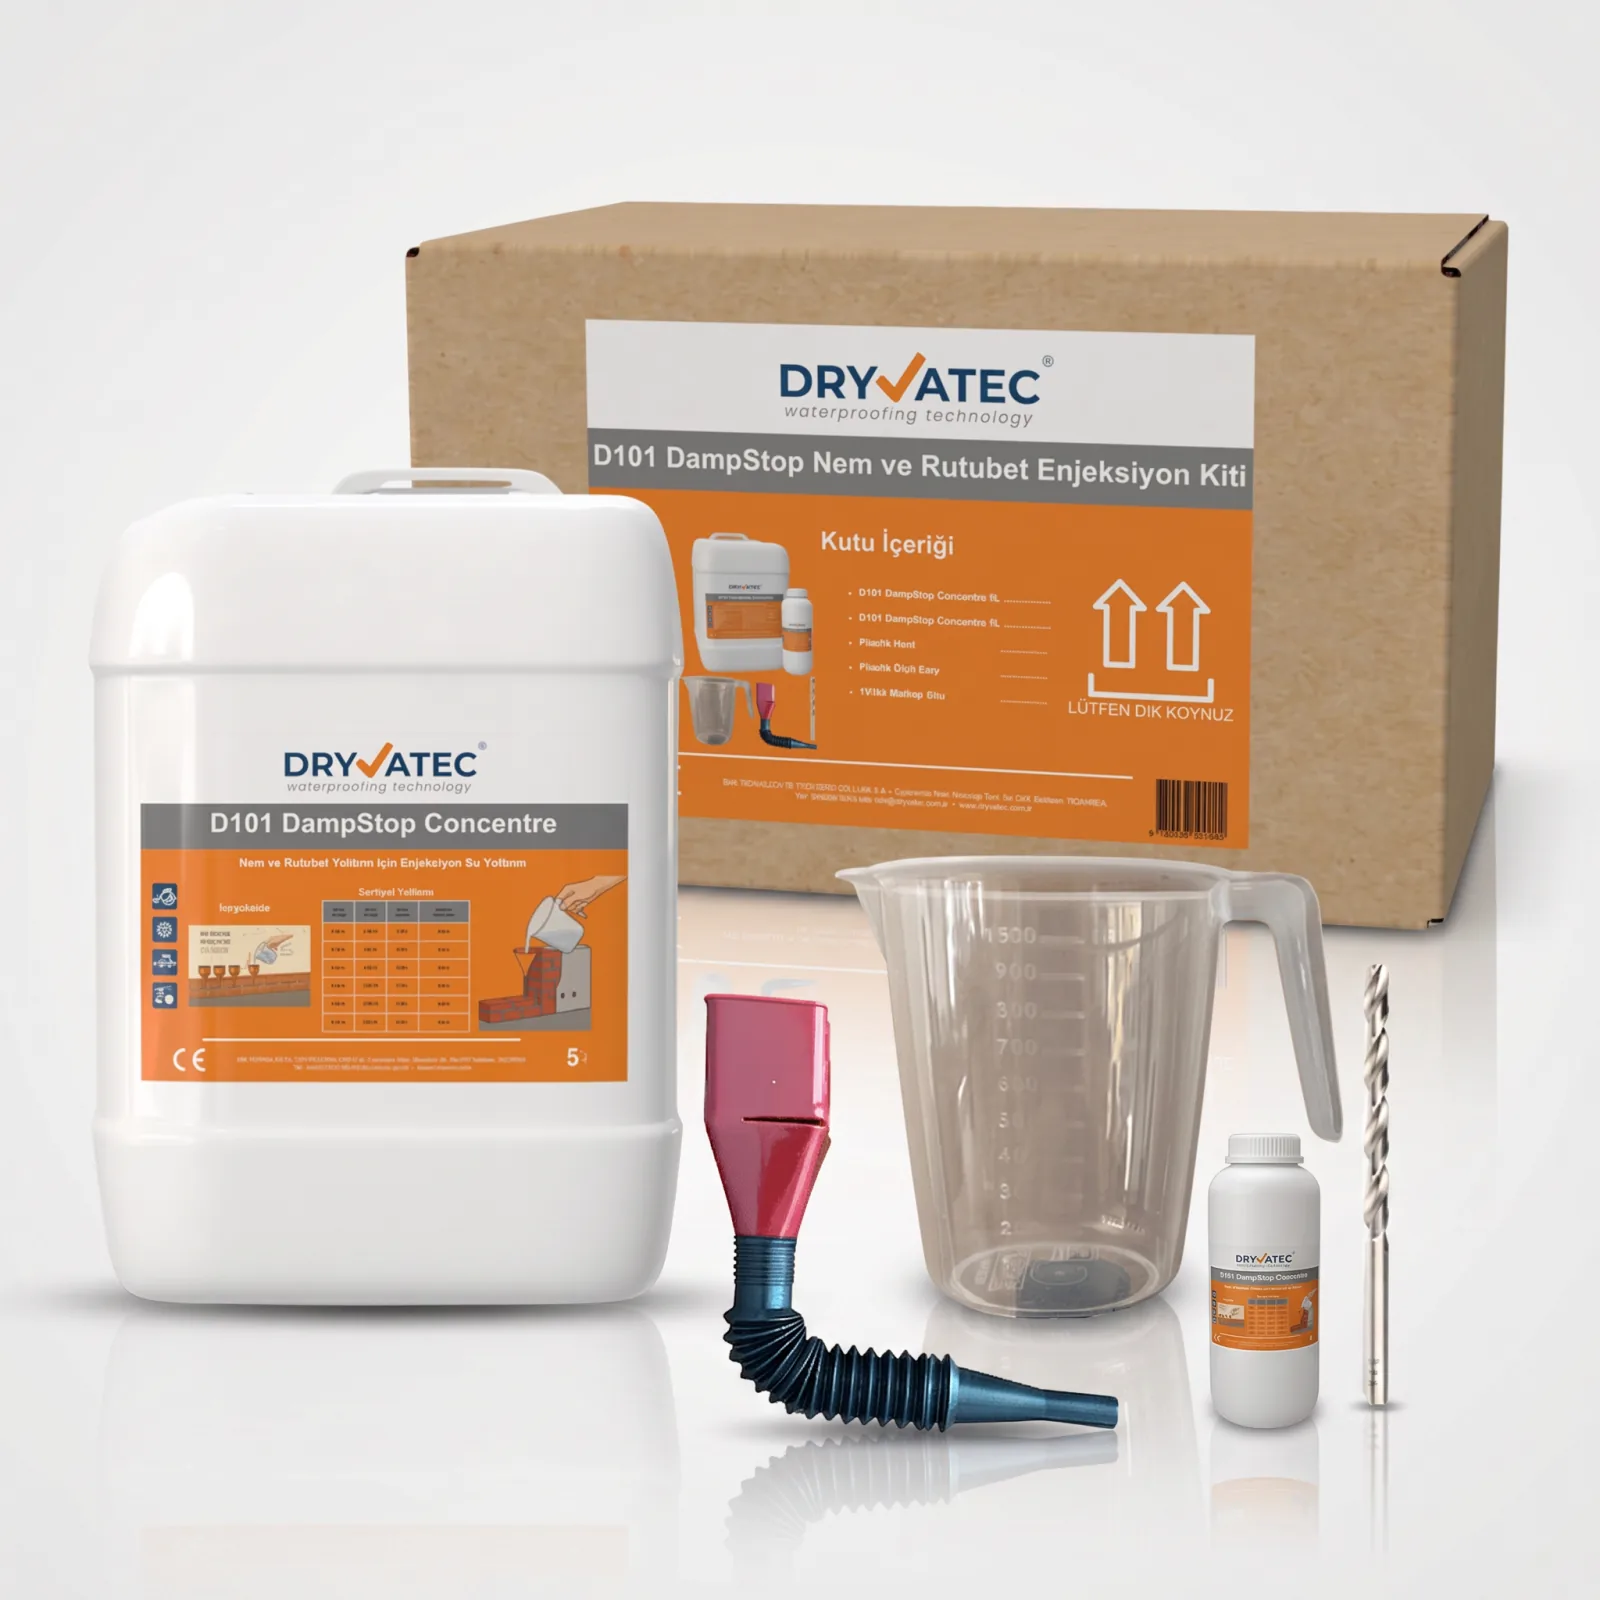
DampStop Complete Kit
Injection concentrate + equipment in one box to cut off damp rising from the base of the wall.
8.700₺ incl. VAT View Product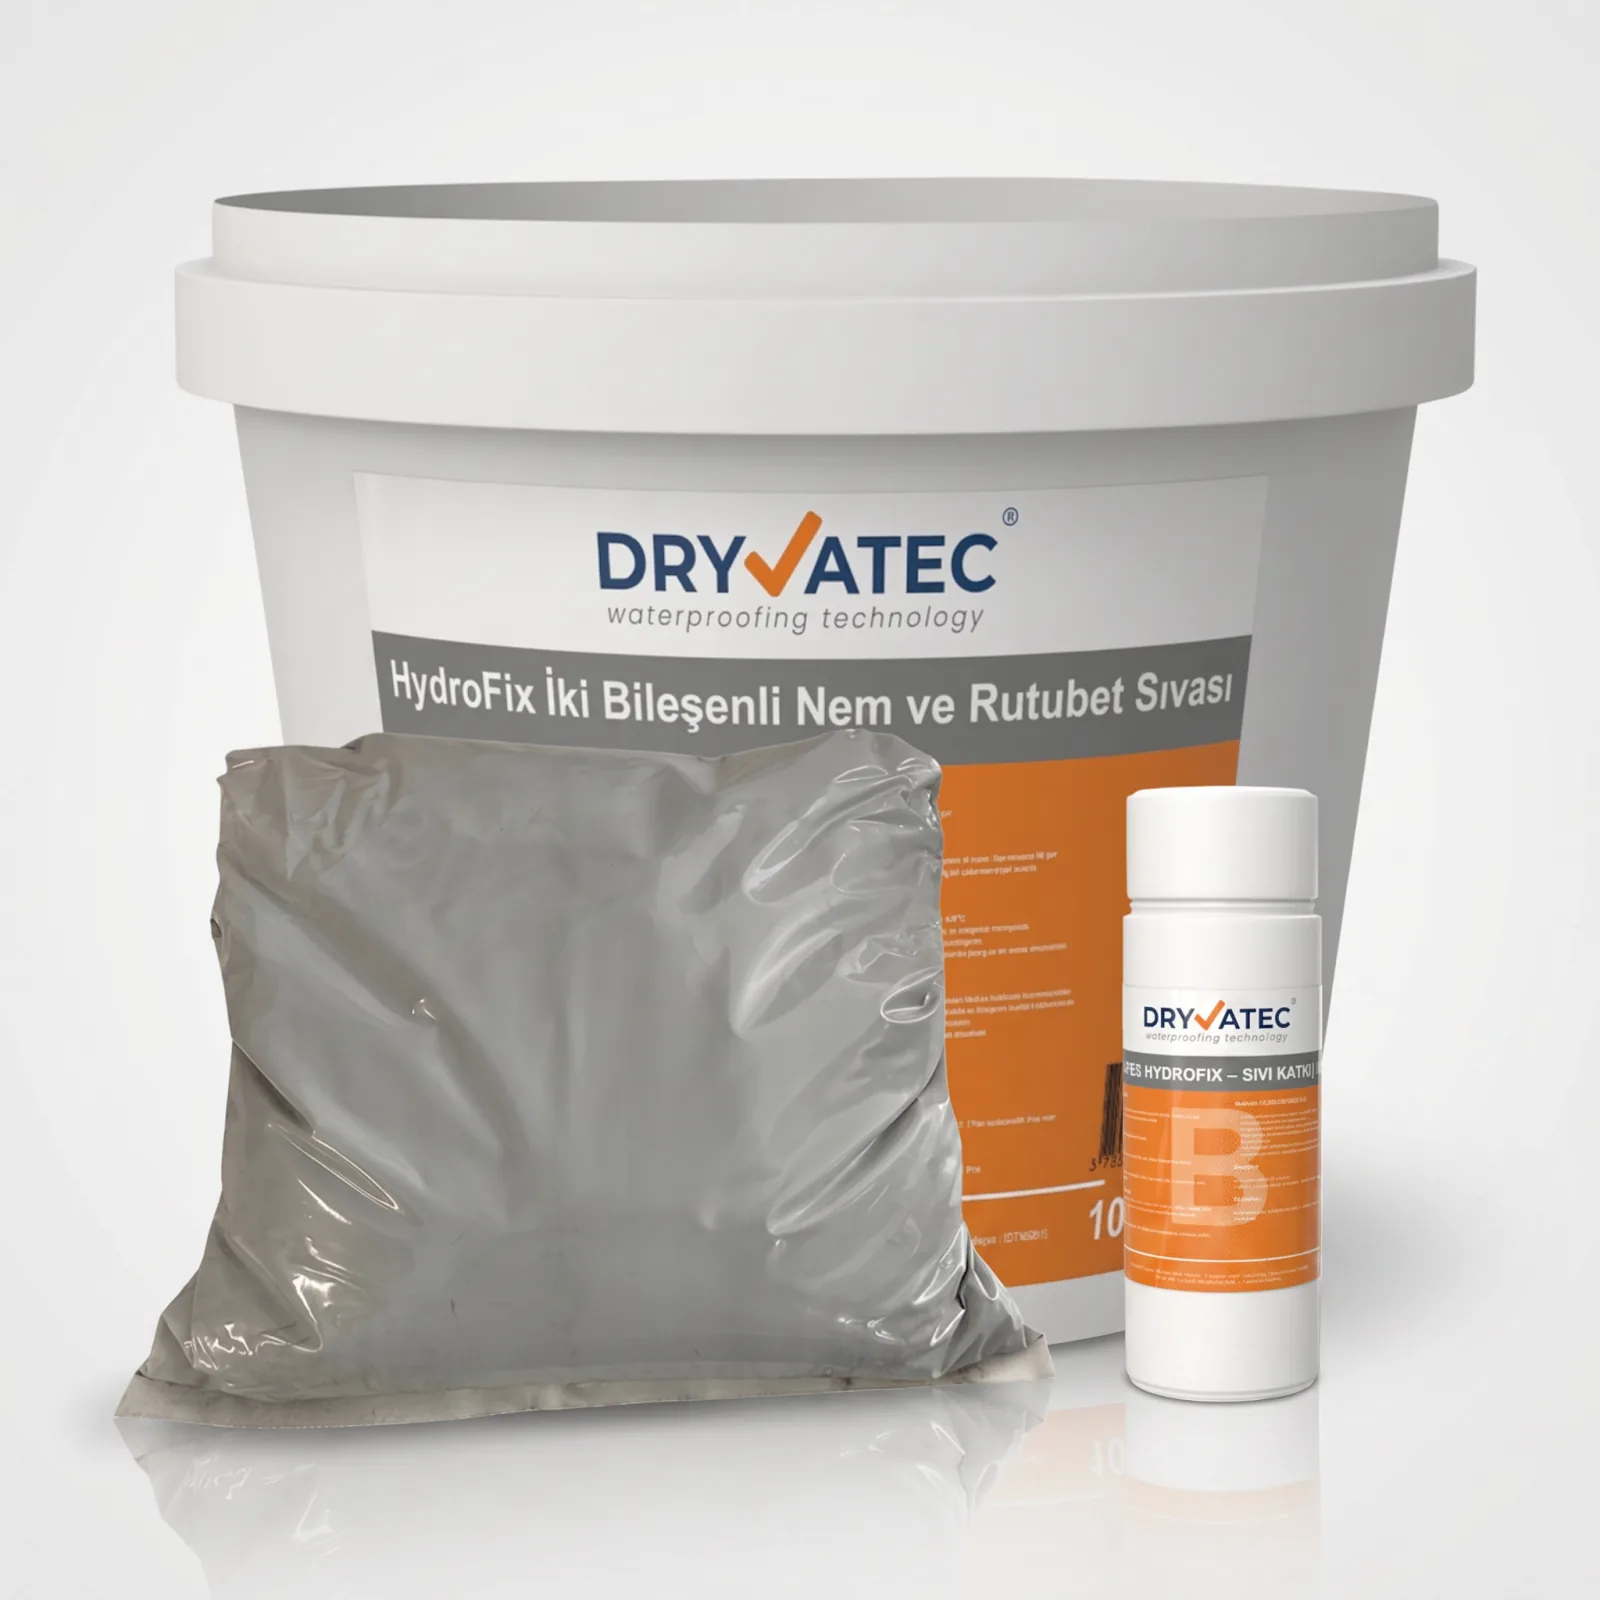
HydroFix 10kg Damp-Proofing Plaster
The surface before painting: stops capillary water transfer, breathes and resists salts. Painted once dry (at least 3 days).
1.500₺ incl. VAT View Product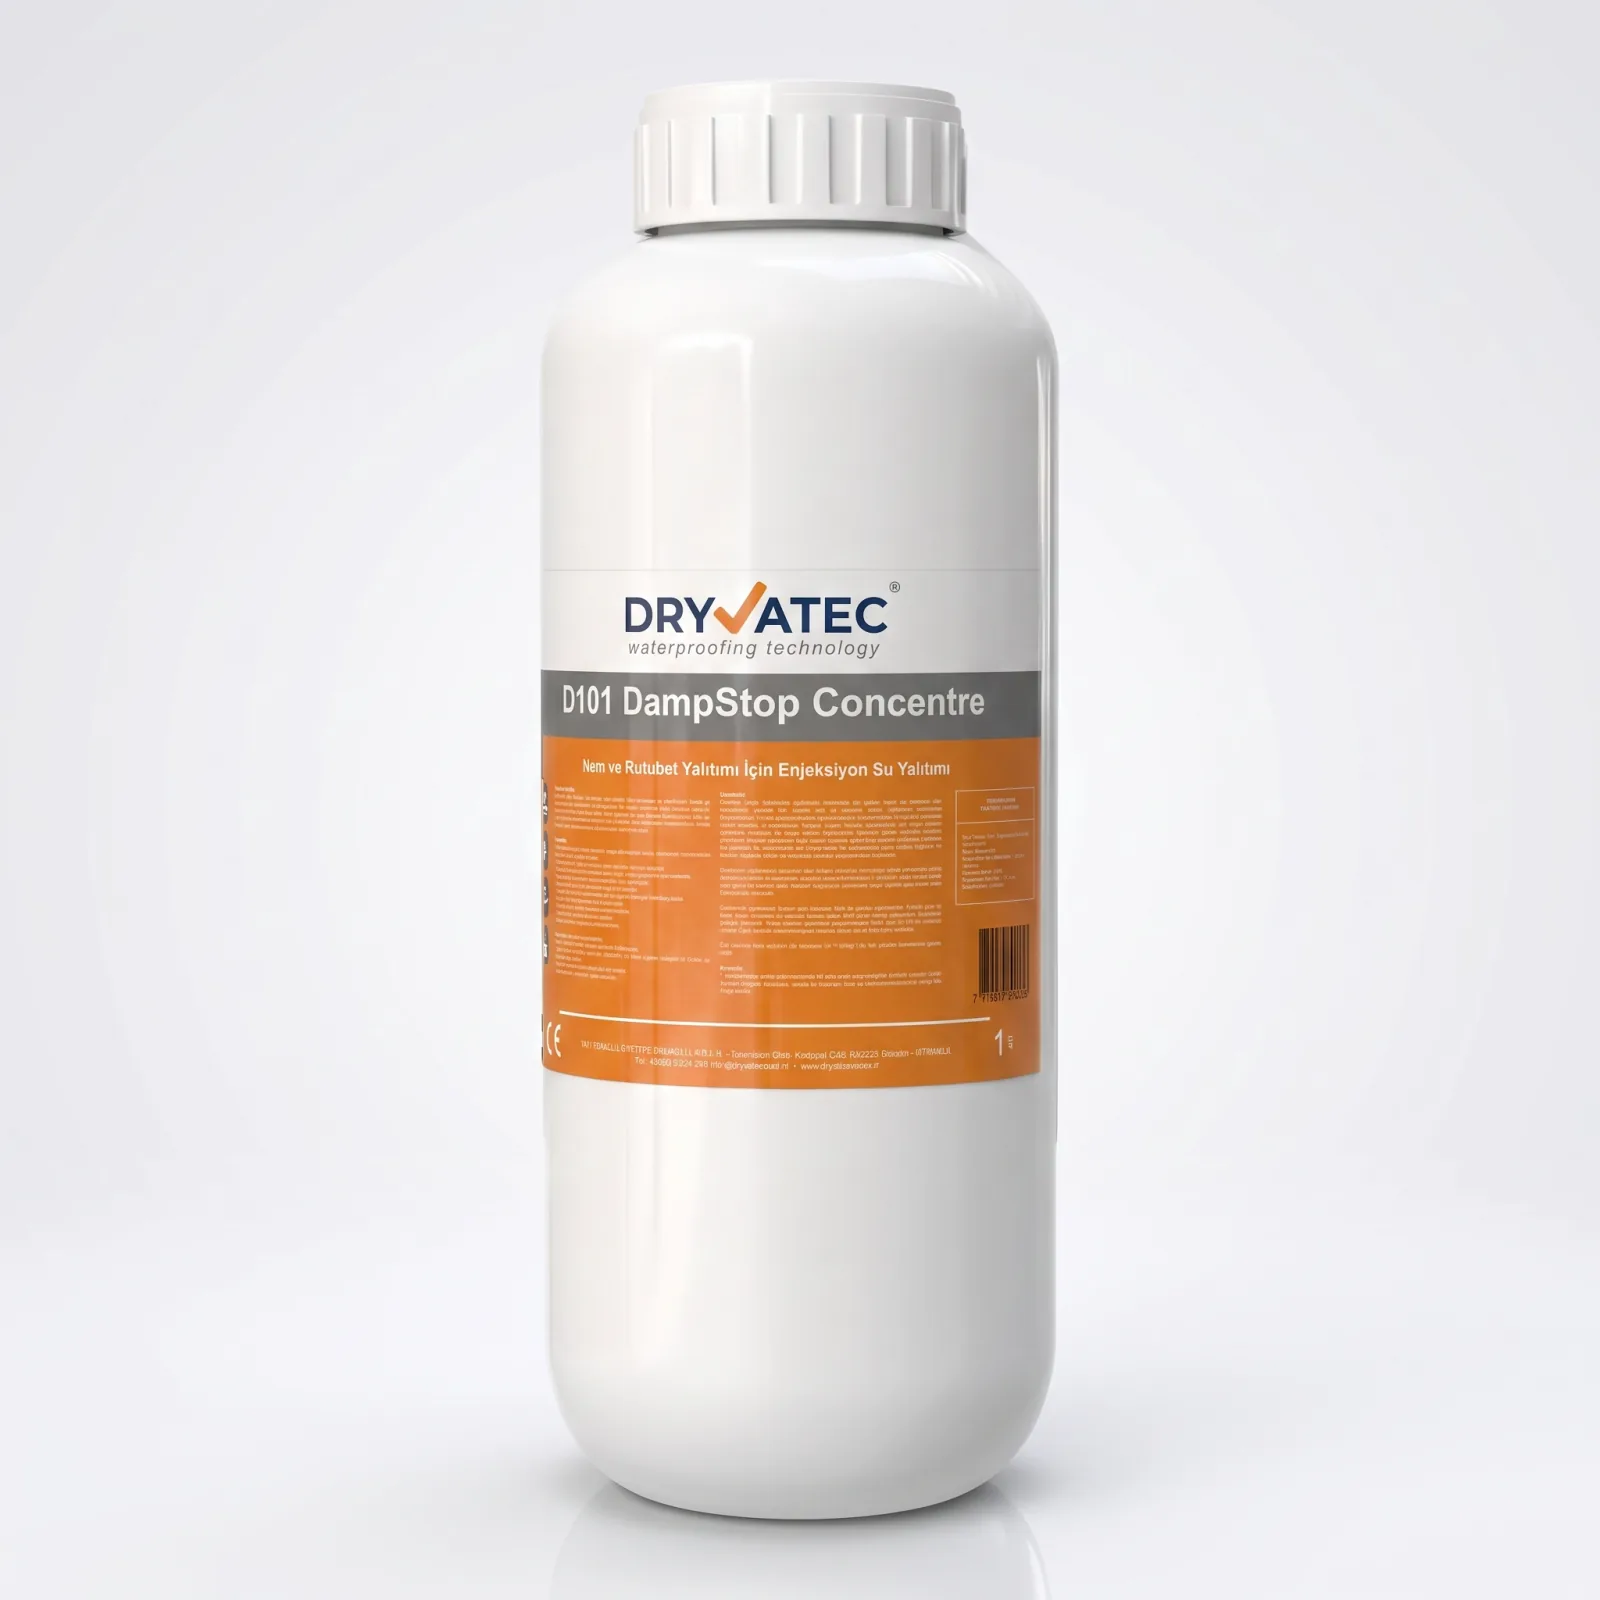
DampStop 1L Injection
Injection concentrate for a single wall or a small section; 1 litre makes 10 litres of solution.
2.200₺ incl. VAT View ProductPay by card (Ziraat 3D Secure) or bank transfer/EFT — for bank transfer call +90 850 532 6 999 · No cash on delivery or instalments · Free shipping within Türkiye · 14-day right of return · Work out the quantity with the consumption calculator.
How do you paint a damp ceiling?
Damp on a ceiling almost never comes from the ground; it is either condensation or a leak from the floor above or the roof. First the source is fixed (leak repair or ventilation) and the mould cleaned; once the surface is completely dry, a stain-blocking primer and a mould-resistant, breathable ceiling paint are applied. Damp-proofing plasters are for walls; they are not applied to ceilings. More detail: Ceiling and corner mould.
"I can't cut off the source for now; I just want to protect the paint"
A real question that came to our chat assistant: groundwater in the building cannot be stopped, an urban-renewal rebuild is expected, and the owner only wants the paint to last longer. In this case the most sensible interim solution is to strip the damaged plaster, renew the surface with HydroFix and use a breathable paint; HydroFix protects the surface by stopping capillary water transfer. However, moisture continues to rise inside the wall; over time a mark may appear above the level where the plaster ends. For a permanent result, an injection damp-proof course is needed.
Frequently Asked Questions
Can you paint directly over a damp wall?
You should not. As long as the source persists, moisture and salts build up behind the paint and it soon blisters. If there is a leak or condensation, fix that first. The damaged plaster is stripped and a breathable damp-proofing plaster is applied; with rising damp, the source is cut off by injection once the plaster has dried. Painting comes last.
What paint should be used on a damp wall?
A vapour-permeable (breathable) interior paint. Plastic and oil-based paints are not recommended on damp walls because they seal the surface. Paint alone does not fix damp; the layer underneath should be a damp-proofing plaster.
How many days after damp-proofing plaster can you paint?
Wait until HydroFix is visibly dry, at least 3 days. Drying takes 24-48 hours at 20 °C; it takes longer in cold, humid weather. Then primer and breathable paint are applied.
How do you paint a damp ceiling?
Damp on a ceiling is usually condensation or a leak from the floor above. First the source is fixed and the mould cleaned; once the ceiling is completely dry, a stain-blocking primer and a mould-resistant breathable paint are applied. Damp-proofing plaster is not applied to ceilings.
How do you paint a mouldy wall?
The mould is cleaned off wearing a mask and gloves, the wall is dried completely, and the source of the moisture (condensation, a leak or rising damp) is fixed. Then primer and breathable paint are applied. If the source is not fixed, the mould comes back through the paint.
Related Guides
- Do anti-mould and anti-damp primers work?
- Damp-proof plaster or paint?
- Does anti-mould paint work?
- What is capillary plaster, and does it work?
- Covering a damp wall: plasterboard, wood panelling or wallpaper?
- Blistering paint and crumbling plaster
Choose the right product before you paint
Send a photo of your wall; we will tell you the source and the product you need free of charge.