
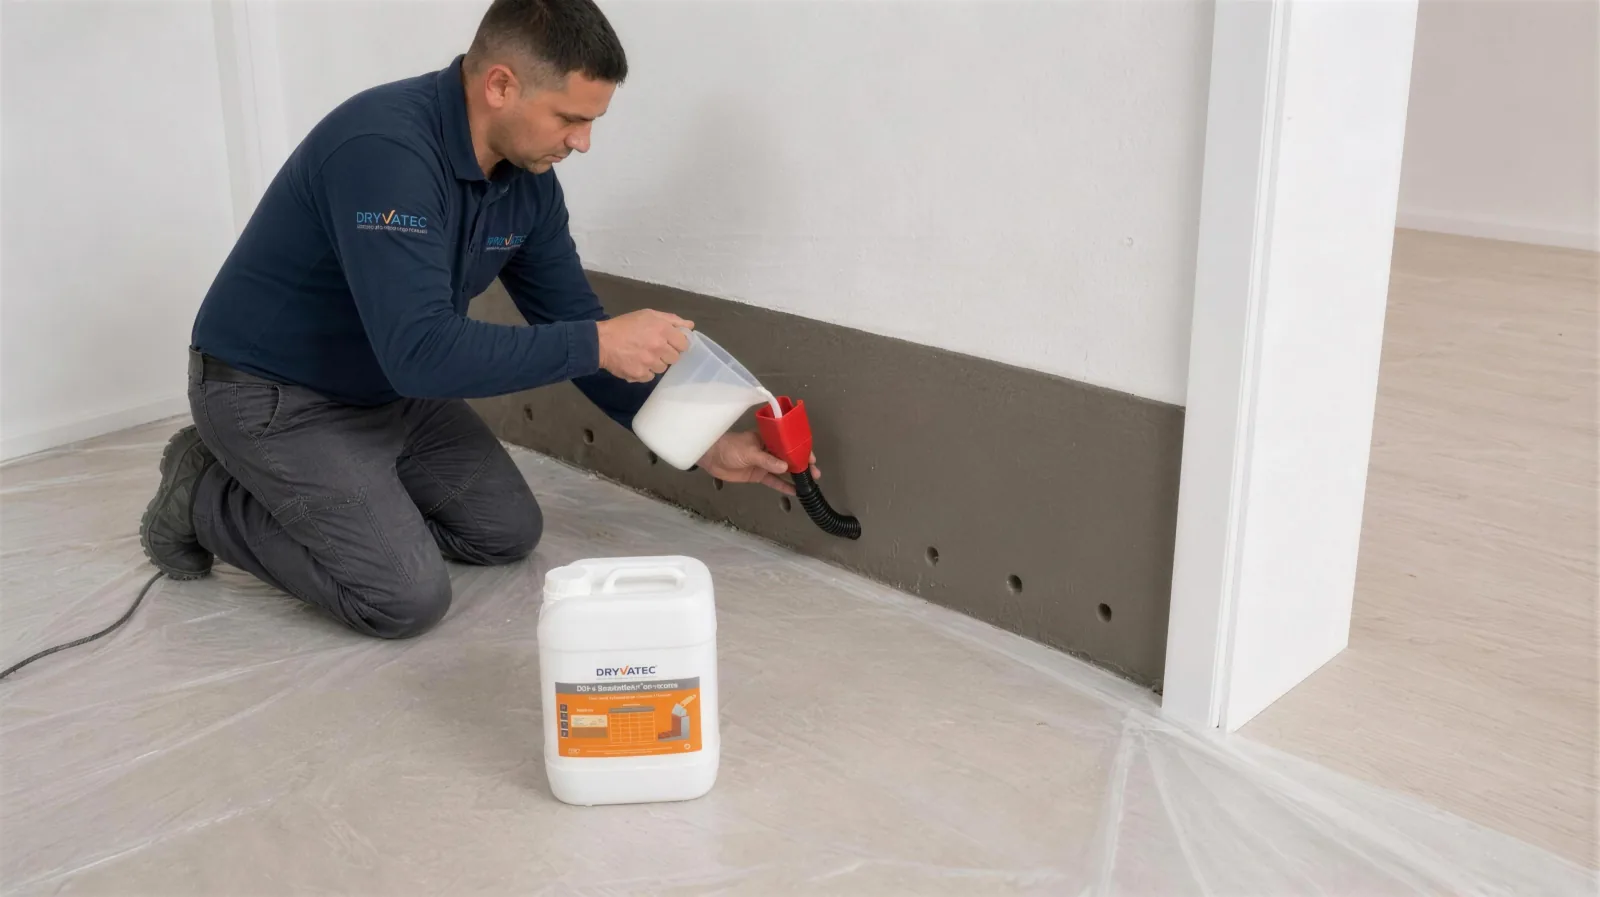
Short answer: Yes, if you can use a hammer drill, you can do damp injection yourself on a brick or concrete block wall. The job consists of drilling holes along a line at the base of the wall, filling the holes with diluted injection fluid, filling in the holes and waiting for the wall to dry. If you have doubts about the load-bearing structure, if electrical cables run through the wall, if it is a very thick stone wall or if the job requires scaffolding, it is better to work with a tradesman.
"Should I call in a damp specialist, or buy a kit and do it myself?" is one of the questions we are asked most often. In this article we explain what a DIY application involves, in which cases you should leave the job to a tradesman, and the differences between the two routes — without making up any figures. For the measurements and details of the application, see our damp injection application guide; this article is meant to help you decide.
First, make sure the problem is rising damp
Injection only stops rising damp, i.e. water from the ground being drawn up from the base of the wall by capillary action. If the stain starts at the base of the wall, persists summer and winter and there are white salt marks on the surface, it is most probably rising damp. Mould in a ceiling corner and window condensation, on the other hand, are condensation; injection does not solve that. We explain the difference in our articles rising damp guide and what is condensation damp?
If you are not sure, send photos of the wall using the Request a Quote form before buying a kit. Our technical team will assess them online and get back to you within 24 hours. An injection carried out on the basis of a wrong diagnosis is a waste of both time and money.
What do you need for DIY?
- Hammer drill: It must be powerful enough to drill brick and concrete. The bit must be long enough to reach a depth of about 80% of the wall thickness.
- 14 mm drill bit: Included in the DampStop Complete Kit (12–14 mm in the technical table).
- Injection fluid: DampStop concentrate is used diluted with water; 1 L of concentrate makes 10 L of ready-to-use solution. The kit contains 5 L of concentrate, a funnel and a measuring cup.
- Filler mortar: For filling in the holes after injection.
- Gloves, safety goggles, a dust mask and a vacuum cleaner: To protect against drilling dust and fluid splashes.
- Moisture meter (recommended): To know that the wall has dried by measuring rather than guessing.
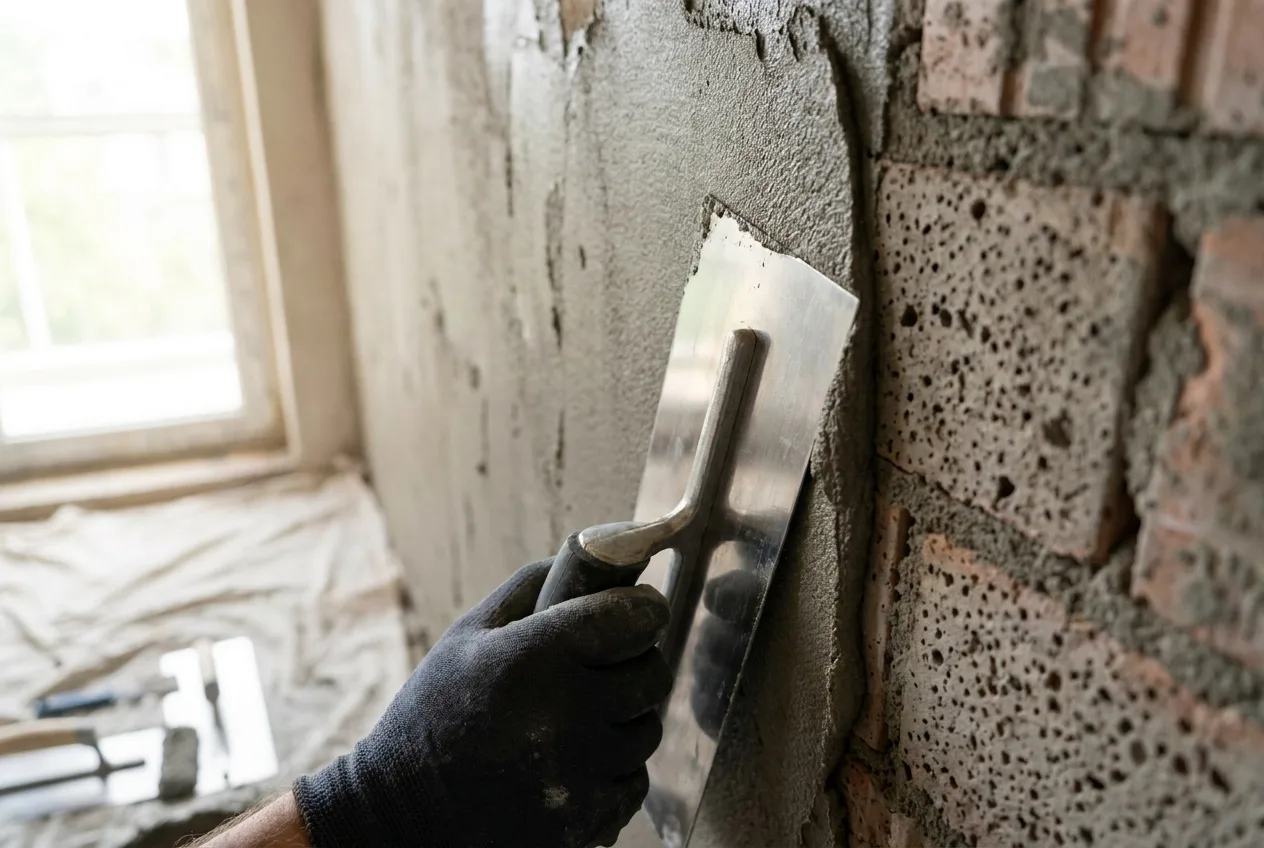
- Damp-proofing plaster: If blistered plaster affected by salt efflorescence is to be stripped, a breathable plaster is needed to replace it. HydroFix is not included in the kit and is bought separately.
You can work out how many litres you need according to the length, thickness and material of the wall with the consumption calculator.
How is damp injection done? DIY steps
- Preparation: The correct order: first the blistered paint and damaged plaster are stripped until a sound mineral surface is exposed, and HydroFix damp-proofing plaster is applied in their place. Move on to the marking, drilling and injection steps below once the plaster has dried (24–48 hours). Why? Stripping plaster can break open the cells of the bricks; if you inject first, the solution runs out through those breaks. If the plaster goes on first, the injection stays inside the brick without overflowing.
- Marking out: Draw a horizontal line about 10 cm above the floor and mark a drilling point on it every 10 cm.
- Drilling: With the 14 mm bit, drill holes angled 30–45° downwards to a depth of about 80% of the wall thickness. Very thick walls may need to be treated from both sides; if you are not sure, ask our technical support line.
- Cleaning: Remove the dust from each hole with a brush or vacuum cleaner; dust prevents the fluid from reaching the pores.
- Mixing: Mix the concentrate with water at a ratio of 1:9 (1 L concentrate + 9 L water = 10 L solution).
- Injection: Starting from one end of the wall, pour solution into each hole with the funnel. As the wall absorbs it, do further rounds at 10–20 minute intervals; repeat until the wall shows saturation.
- Waiting and filling: The damp-proof barrier forms at least 48 hours after injection; then fill the holes with mortar. Paint last, once the wall has dried.
For how to prepare and apply the damp-proofing plaster, see our article How to apply HydroFix.
Who should not do it themselves?
If any of the following situations applies to you, do not do the job on your own; consult a structural engineer or an experienced tradesman:
- If you have doubts about the load-bearing structure: If you see wide or growing cracks, leaning or settlement in the wall, or spalling concrete and rusty reinforcement in columns and beams, the problem may be bigger than damp. Have the condition of the building inspected by an engineer first.
- If electrical or water lines run through the wall: Socket circuits often run close to the base of the wall. Do not drill if you do not know where the line runs; check with a cable detector or work with an electrician.
- If the wall is a very thick stone wall: In rubble-filled stone walls with voids it is hard to predict where the fluid will go, and treatment from both sides is needed.
- If the work is at height or on the exterior facade: Working with a hammer drill on scaffolding or a ladder carries a risk of falling; leave this job to experienced people.
- If it is a historic or listed building: Permission and expert advice may be needed for any intervention.
- If you have never used a hammer drill and a long wall is involved: get help or try on a small section first.
What should you look out for if you hire a tradesman?
An important note: Dryvatec does not carry out on-site surveys and does not send tradesmen or application teams. Our products are designed for DIY; we diagnose online from photos and provide free technical support on 0850 532 6 999 during application. You can also have our products applied by a tradesman of your own choosing. When choosing a tradesman, look out for the following:
- Ask about the diagnosis: The tradesman should be able to explain how they determined whether the stain is rising damp, condensation or a leak.
- Pin down the method: Have the hole spacing, depth, height of the line and the product to be used stated in writing.
- Be wary of anyone who says "paint will do": Anti-damp paint or simply renewing the plaster does not cut off the source; we explain why in our article plaster or paint?
- Respect the order and the drying time: The correct order is stripping the plaster and applying HydroFix first, then injecting once the plaster has dried. Be suspicious of a tradesman who suggests injecting before the plaster is stripped, or filling the holes and painting on the same day as the injection.
- Ask about pipes and cables: Find out whether they will check where the electrical and water lines run before drilling.
Tradesman or kit? A comparison
| Aspect | DIY (kit) | With a tradesman |
|---|---|---|
| Materials | You buy them yourself; the price is known | Product brought by the tradesman or bought by you |
| Labour | Your own effort and time | Paid separately; varies by region and job |
| Equipment | A hammer drill is needed; the bit is in the kit | The tradesman's equipment |
| Control | You see every step yourself | Depends on the tradesman's care |
| Suitable for | Ground floor, brick/block wall, accessible line | Thick stone wall, high facade, wall with services, structural doubts |
On the materials side, the prices are clear: DampStop Complete Kit 8.700₺, plus DampStop 1 L 2.200₺ and DampStop 5 L 8.000₺; if the plaster is to be renewed, HydroFix 10 kg 1.500₺. HydroFix covers about 4.5–5 m² in a single coat and 2–2.5 m² in two coats. Because labour prices vary a great deal by tradesman and region, we do not give a figure here; get written quotes from several tradesmen and compare them. For the general budget items, see our article cost of damp treatment.
Products for DIY
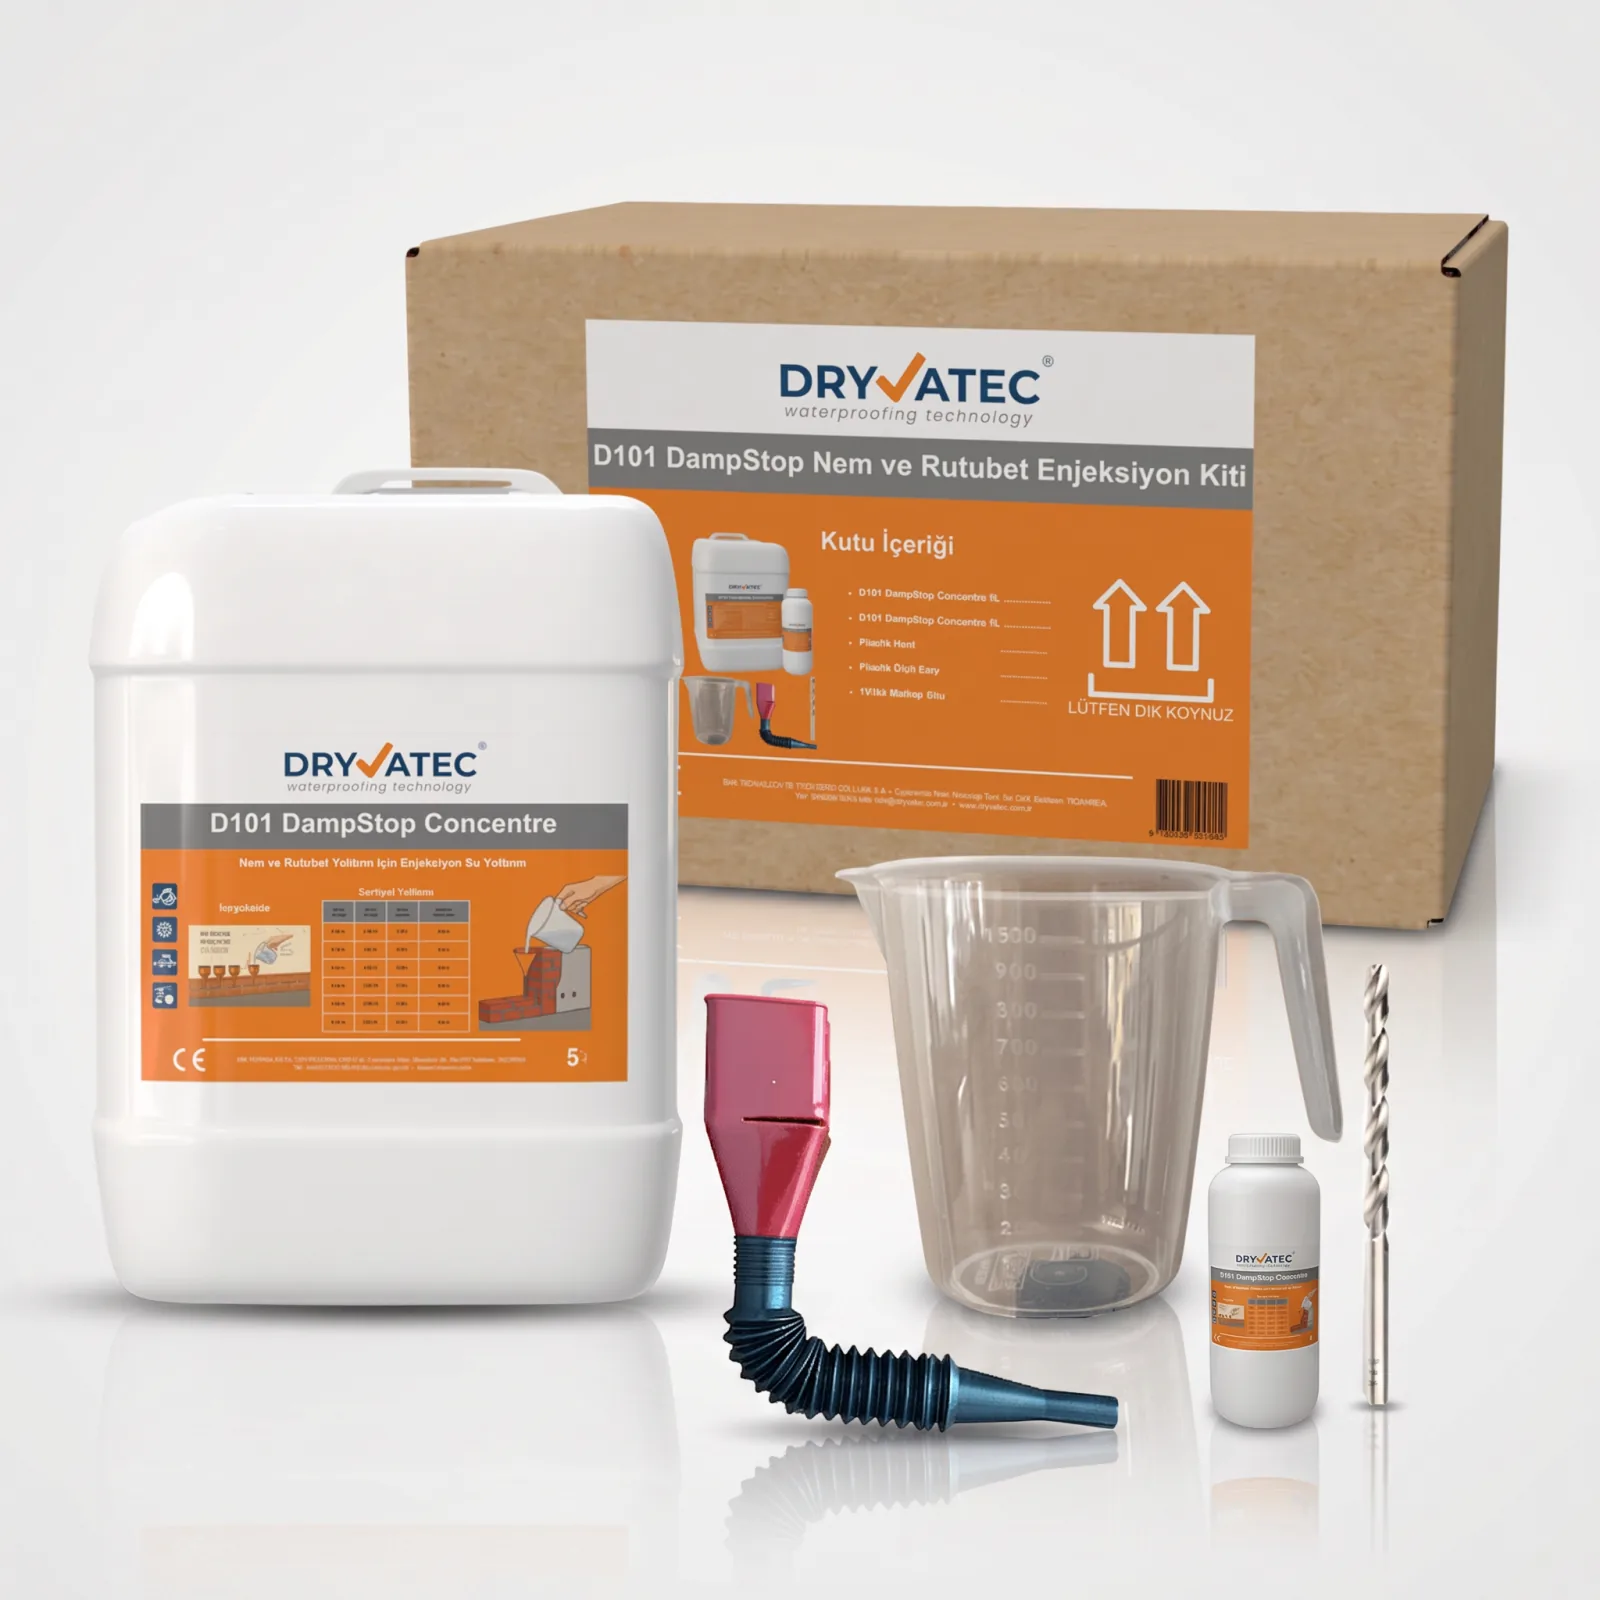
DampStop Complete Kit
For damp rising from the base of the wall: 5 L injection concentrate and application equipment (funnel, measuring cup, 14 mm drill bit) in one box.
8.700₺ incl. VAT View Product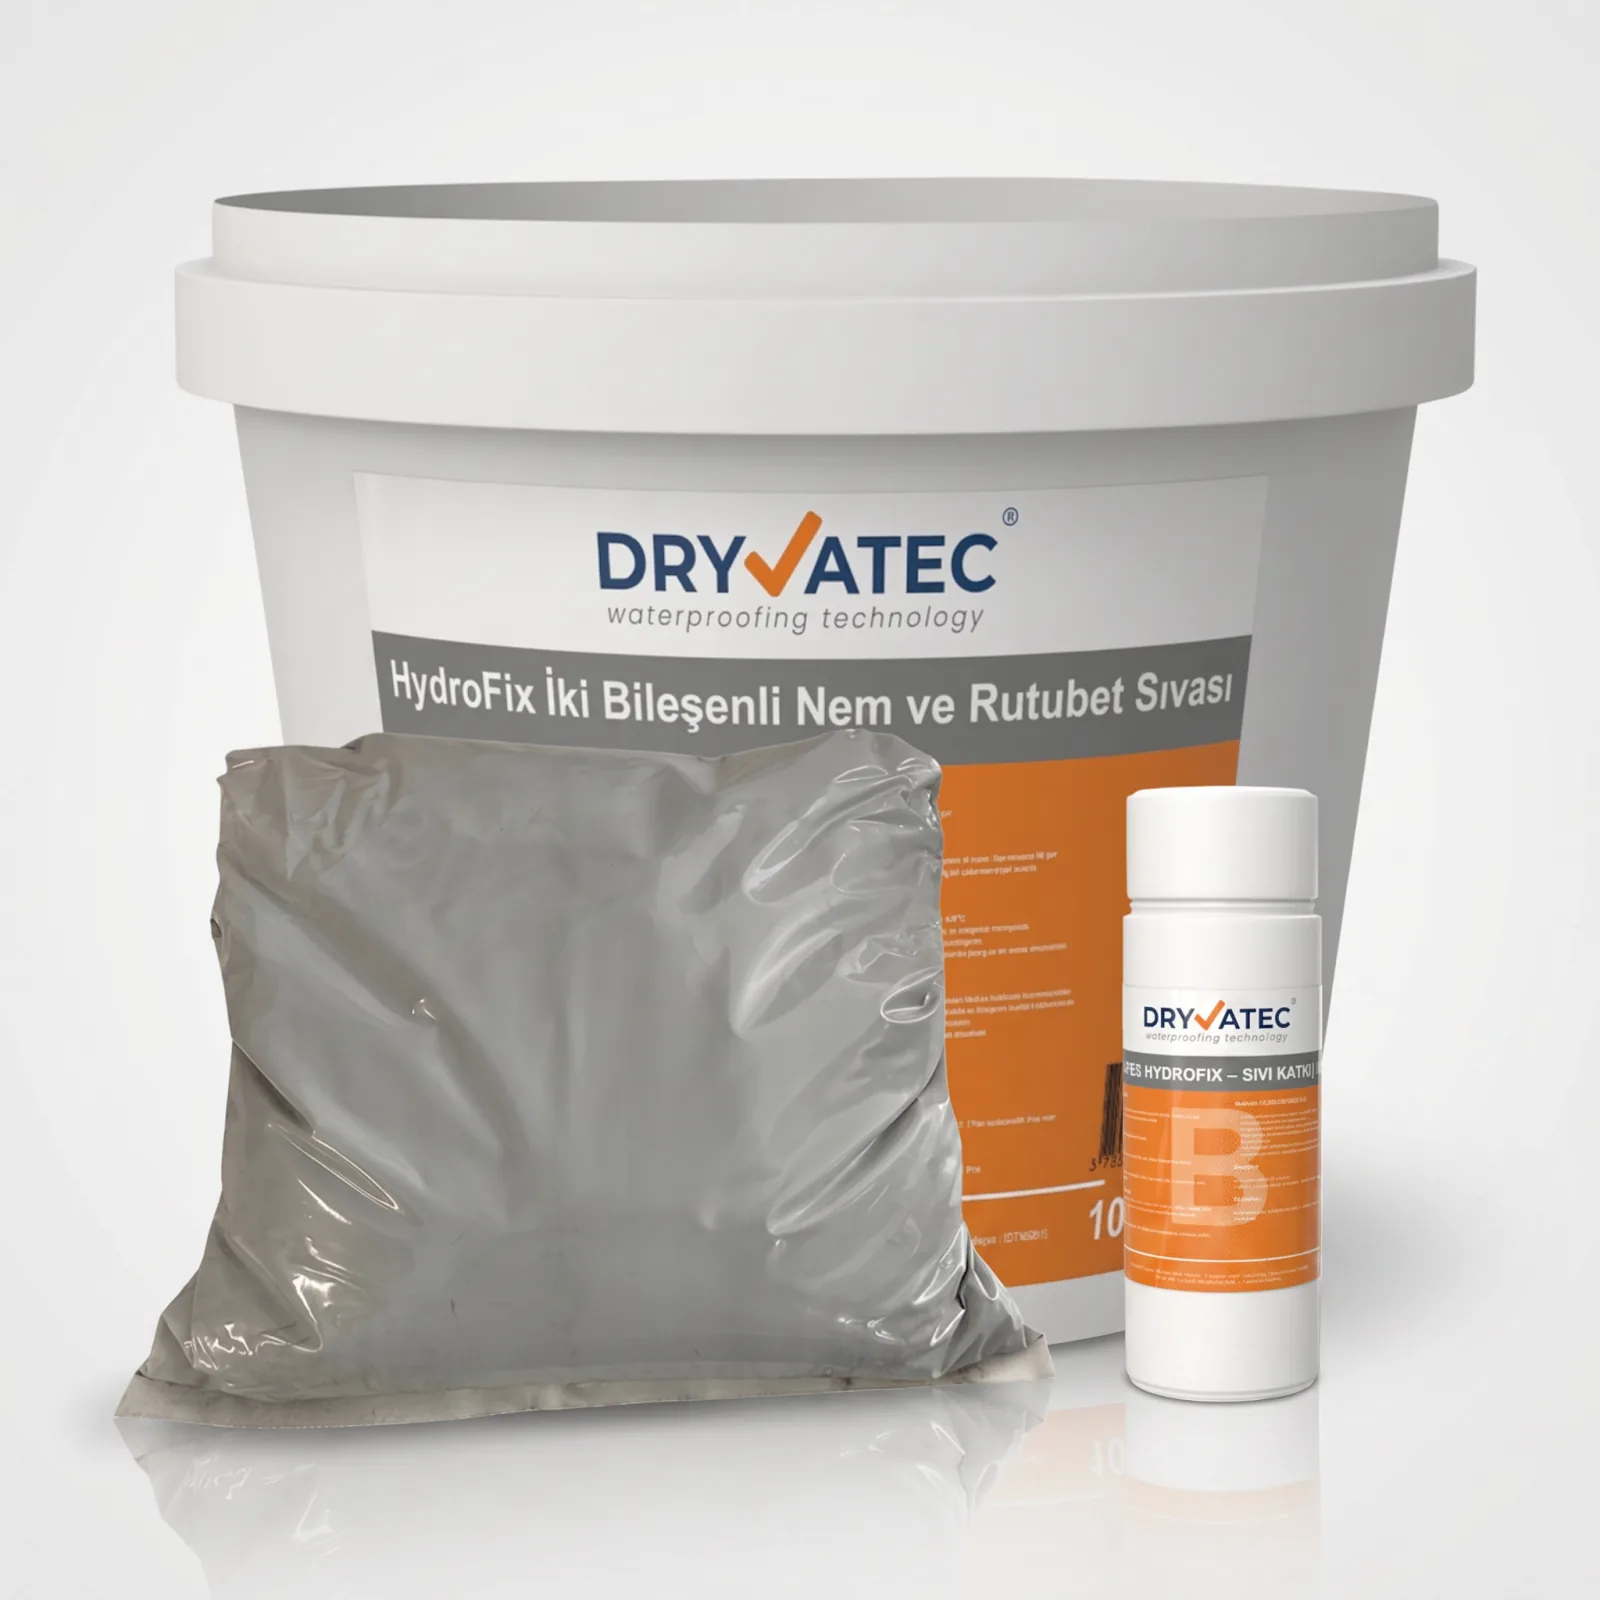
HydroFix 10kg Damp-Proofing Plaster
A breathable interior damp-proofing plaster that stops capillary water transfer, to replace blistered plaster affected by salt efflorescence.
1.500₺ incl. VAT View ProductPay by card (Ziraat 3D Secure) or bank transfer/EFT — for bank transfer call 0850 532 6 999 · No cash on delivery or instalments · Free shipping within Türkiye · 14-day right of return · Work out the quantity with the consumption calculator.
Frequently Asked Questions
Can I do damp injection myself?
Yes. If you can use a hammer drill and the wall is brick or concrete block, you can do the injection yourself with the kit and the application guide. Consult a specialist if you have doubts about the load-bearing structure, or if services run through the wall, it is a thick stone wall or the job requires scaffolding.
Which drill bit is needed for damp injection?
A 14 mm diameter drill bit is used (12–14 mm in the technical table); the DampStop Complete Kit includes a 14 mm bit. The bit must be long enough to reach a depth of about 80% of the wall thickness.
Does Dryvatec send a tradesman?
No. Dryvatec does not carry out on-site surveys and does not send tradesmen or application teams. It diagnoses online from photos sent via the Request a Quote form and provides free technical support on 0850 532 6 999 during application.
Can I paint straight after injection?
No. The damp-proof barrier forms at least 48 hours after injection; the moisture inside the wall takes longer to come out. Paint applied to a wall that has not dried soon blisters again; painting always comes last.
How much material do I need to buy?
The quantity depends on the length, thickness and material of the wall. You can work out what you need by entering your measurements into the consumption calculator. 1 L of DampStop concentrate makes 10 L of ready-to-use solution.
Related Guides
- Damp injection application guide: step by step
- How to apply HydroFix damp-proofing plaster
- Cost of damp treatment: what determines it?
- A definitive solution for wall damp: 3 methods by source
- How to detect damp in buildings
Not sure whether your wall is suitable for DIY?
Send us photos of your wall; our technical team will assess them online and tell you within 24 hours whether it is suitable for DIY.