
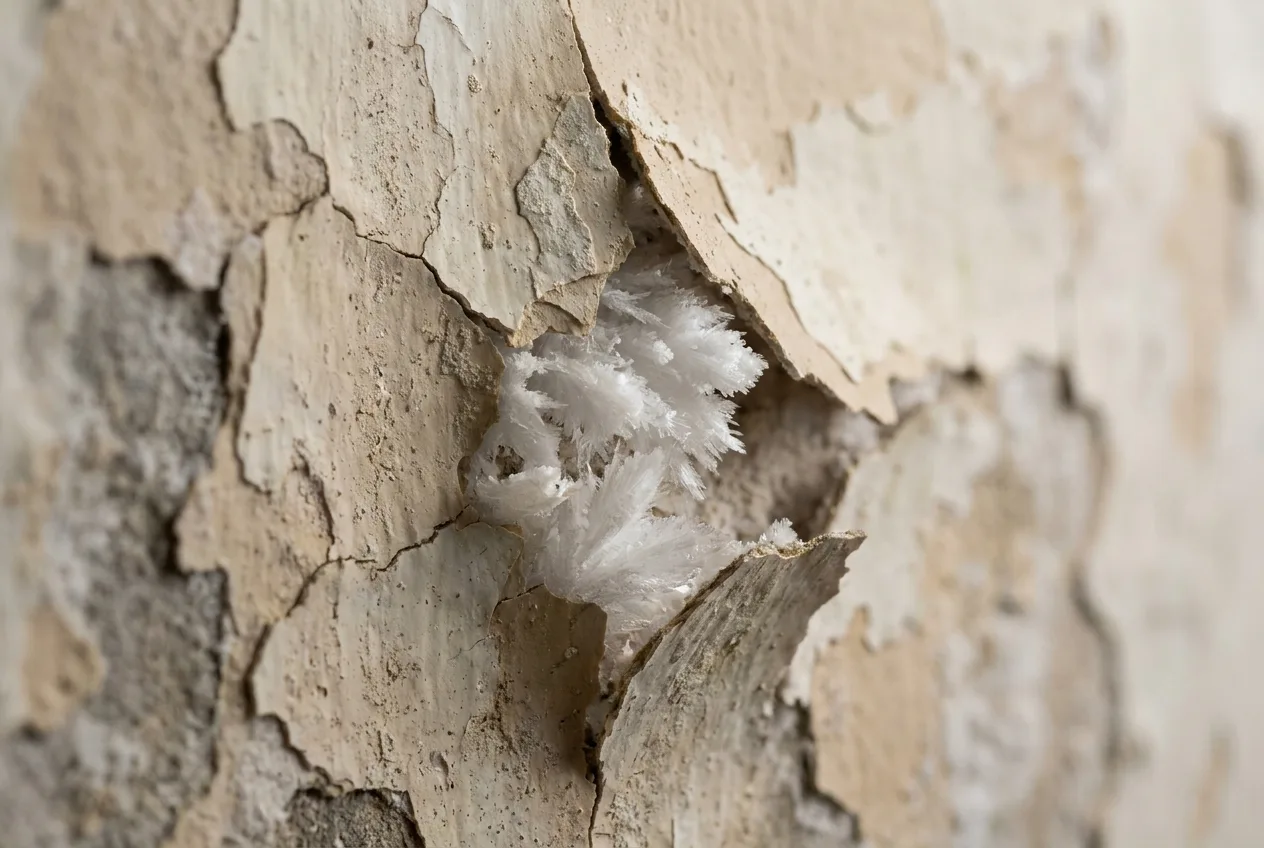
Short answer: An anti-mould or anti-damp primer works on a wall that is dry and whose source of damp has been dealt with: it helps the paint adhere to the surface, evens out absorbency and, if it contains additives, delays mould from taking hold on the surface for a while. But a primer does not cut off the source of the damp. If moisture is coming from inside the wall, the primer blisters just like paint; and a primer that does not let water vapour through can make the problem worse by trapping moisture inside the wall. The right order: identify the source, strip the damaged plaster, apply a breathable damp-proofing plaster (with rising damp, the injection is done once this plaster has dried), and finally apply a breathable primer and paint.
Most people who decide to renovate a damp or mouldy wall come across products labelled "anti-mould primer", "anti-damp primer" or "moisture-barrier primer" in the paint shop. These products are not bad; but they are often expected to do the wrong job. In this article we focus only on primer: what a primer does, when it helps and when it harms on a damp wall, and where it fits in the right sequence. We explain the difference between paint and plaster separately in our article damp-proof plaster or paint?
What does a primer do?
A primer is a thin intermediate layer applied between the plaster and the top coat of paint. Its jobs are clear:
- Adhesion: It makes the paint bond firmly to the surface.
- Evening out absorbency: It prevents new or repaired plaster from absorbing differently in different places; the paint looks even and stain-free, and less paint is used.
- Binding dust: It fixes fine dust on the surface.
- Stain blocking: Some primers reduce old water stains or yellow rings bleeding through the paint.
"Stopping moisture" is not on this list. A primer is a film a few hundred microns thick; it does not have the thickness or structure to hold back water and salt coming from inside the wall.
What can an anti-mould primer do, and what can't it do?
Anti-mould primers delay mould growth on the surface thanks to the fungicide additives they contain. The effect is real but limited to the surface, and it fades over time. Mould is a consequence; the real cause is moisture. As long as the wall stays damp, mould comes back at the points where the primer and paint have weakened.
This is the situation in which an anti-mould primer really works: the mould came from condensation, ventilation and heating have been corrected, the mould has been cleaned off and the surface has dried out completely. In that case the primer helps the new paint stay clean for longer. For how to clean a mouldy surface, see how to clean mould on walls, and for the paint itself, does anti-mould paint work?
Does an anti-damp primer stop damp?
No. Damp in a wall has three main sources: rising damp from the ground, condensation and leaks. None of them is stopped by a primer applied to the surface:
- With rising damp, water is drawn up through the pores of the wall by capillary action. Sealing the surface does not cut off the water's path; the water simply tries to come out above where the primer ends, or behind it.
- With leaks, the wall keeps getting wet until the plumbing, roof or facade is repaired.
- With condensation, the problem is in the room air; the solution is ventilation, balanced heating and, if needed, insulation.
In other words, "anti-damp" should be read as "protects the surface from moisture to some extent on a dry wall"; it does not mean "dries out a damp wall".
Which primers do harm on a damp wall?
Moisture inside the wall moves towards the surface and wants to escape by evaporating. It also carries the salts in the wall with it. If a primer or film that does not let water vapour through is applied to the surface:
- Moisture and salt build up behind the primer.
- The salt crystallises and expands, pushing the primer and paint off.
- The paint blisters and flakes off; the plaster underneath starts to turn powdery.
- The wall dries out more slowly; moisture can spread sideways and upwards.
That is why, on walls at risk of damp, vapour-permeable (breathable) primers and paints are chosen instead of sealing, film-forming primers. Look for "breathable" or "vapour-permeable" on the label; if you are not sure, check the manufacturer's technical data sheet.
When is a primer enough, and when is it not?
| Situation | Is primer enough? | What should be done? |
|---|---|---|
| Mould on a bathroom ceiling or around a window, ventilation corrected, surface dry | Yes, it helps | Clean off the mould, let it dry, apply an anti-mould, breathable primer + paint |
| Repaired, completely dry plaster; no source of moisture | Yes | Standard primer + paint |
| Staining rising from the base of the wall, blistering paint, white salt | No | Stripping the damaged plaster, damp-proofing plaster, injected damp-proof course once the plaster has dried, then primer + paint |
| A stain that grows after rain | No | Repair the leak first; renew the surface once the wall has dried |
| A wall that is permanently wet and feels cold and damp to the touch | No | Identify the source; primer will not adhere to this surface |
If you are not sure about the source of the stain, see the methods in our article detecting damp in buildings, or send us your photos using the Request a Quote form; our technical team will assess them online and get back to you within 24 hours.
Primer on a damp wall: the right order
- Identify the source. With leaks, repair comes first; with condensation, ventilation and heating are corrected. With rising damp, DampStop injection is applied together with HydroFix in the order given in the product guide: the old plaster is stripped → HydroFix is applied → once the plaster has dried (24–48 hours), holes are drilled → DampStop is injected → after at least 48 hours the holes are filled (damp injection application guide). Why? Stripping plaster can break open the cells of the bricks; if you inject first, the solution runs out through those breaks. If the plaster goes on first, the injection stays inside the brick without overflowing.
- Strip the damaged plaster. Blistered paint and powdery, hollow-sounding plaster are scraped off until a sound mineral surface is exposed; the area is cleaned up to a little above where the damage is visible. Gypsum plaster is not used on a damp wall.
- Clean the surface. Dust and loose pieces are brushed off, and white salt crystals are removed with a dry brush.
- Apply a breathable damp-proofing plaster. A salt-resistant, vapour-permeable plaster such as HydroFix stops capillary water transfer while letting the wall breathe. More details: How to apply HydroFix
- Wait for it to dry. No paint or primer is applied until the plaster is visibly dry, and for at least 3 days.
- Apply a breathable primer and paint. Primer comes at the very last stage; in rooms at risk of mould, a primer with anti-mould additives can be chosen, but it must still be vapour-permeable.
For details of the painting stage, see our guide how to paint a damp wall.
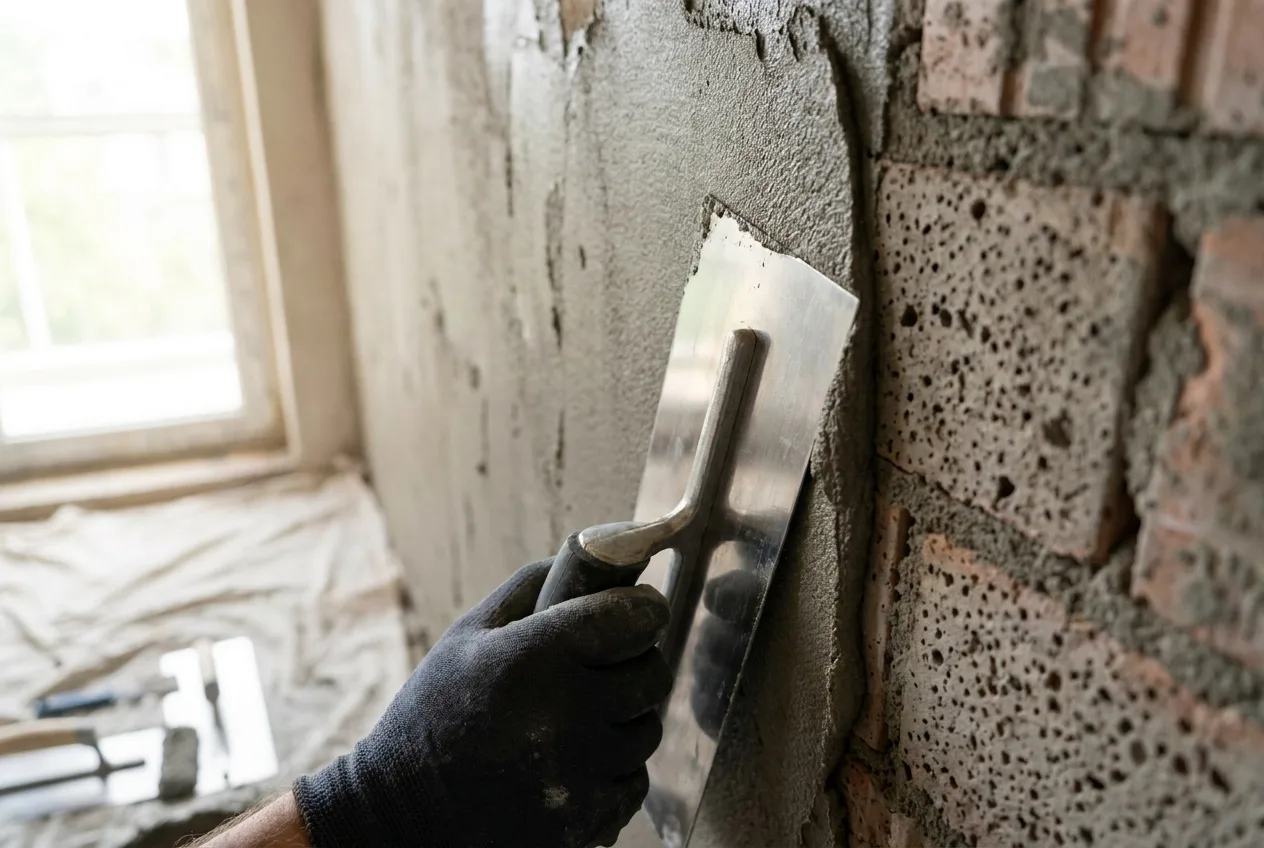
Products used before the primer
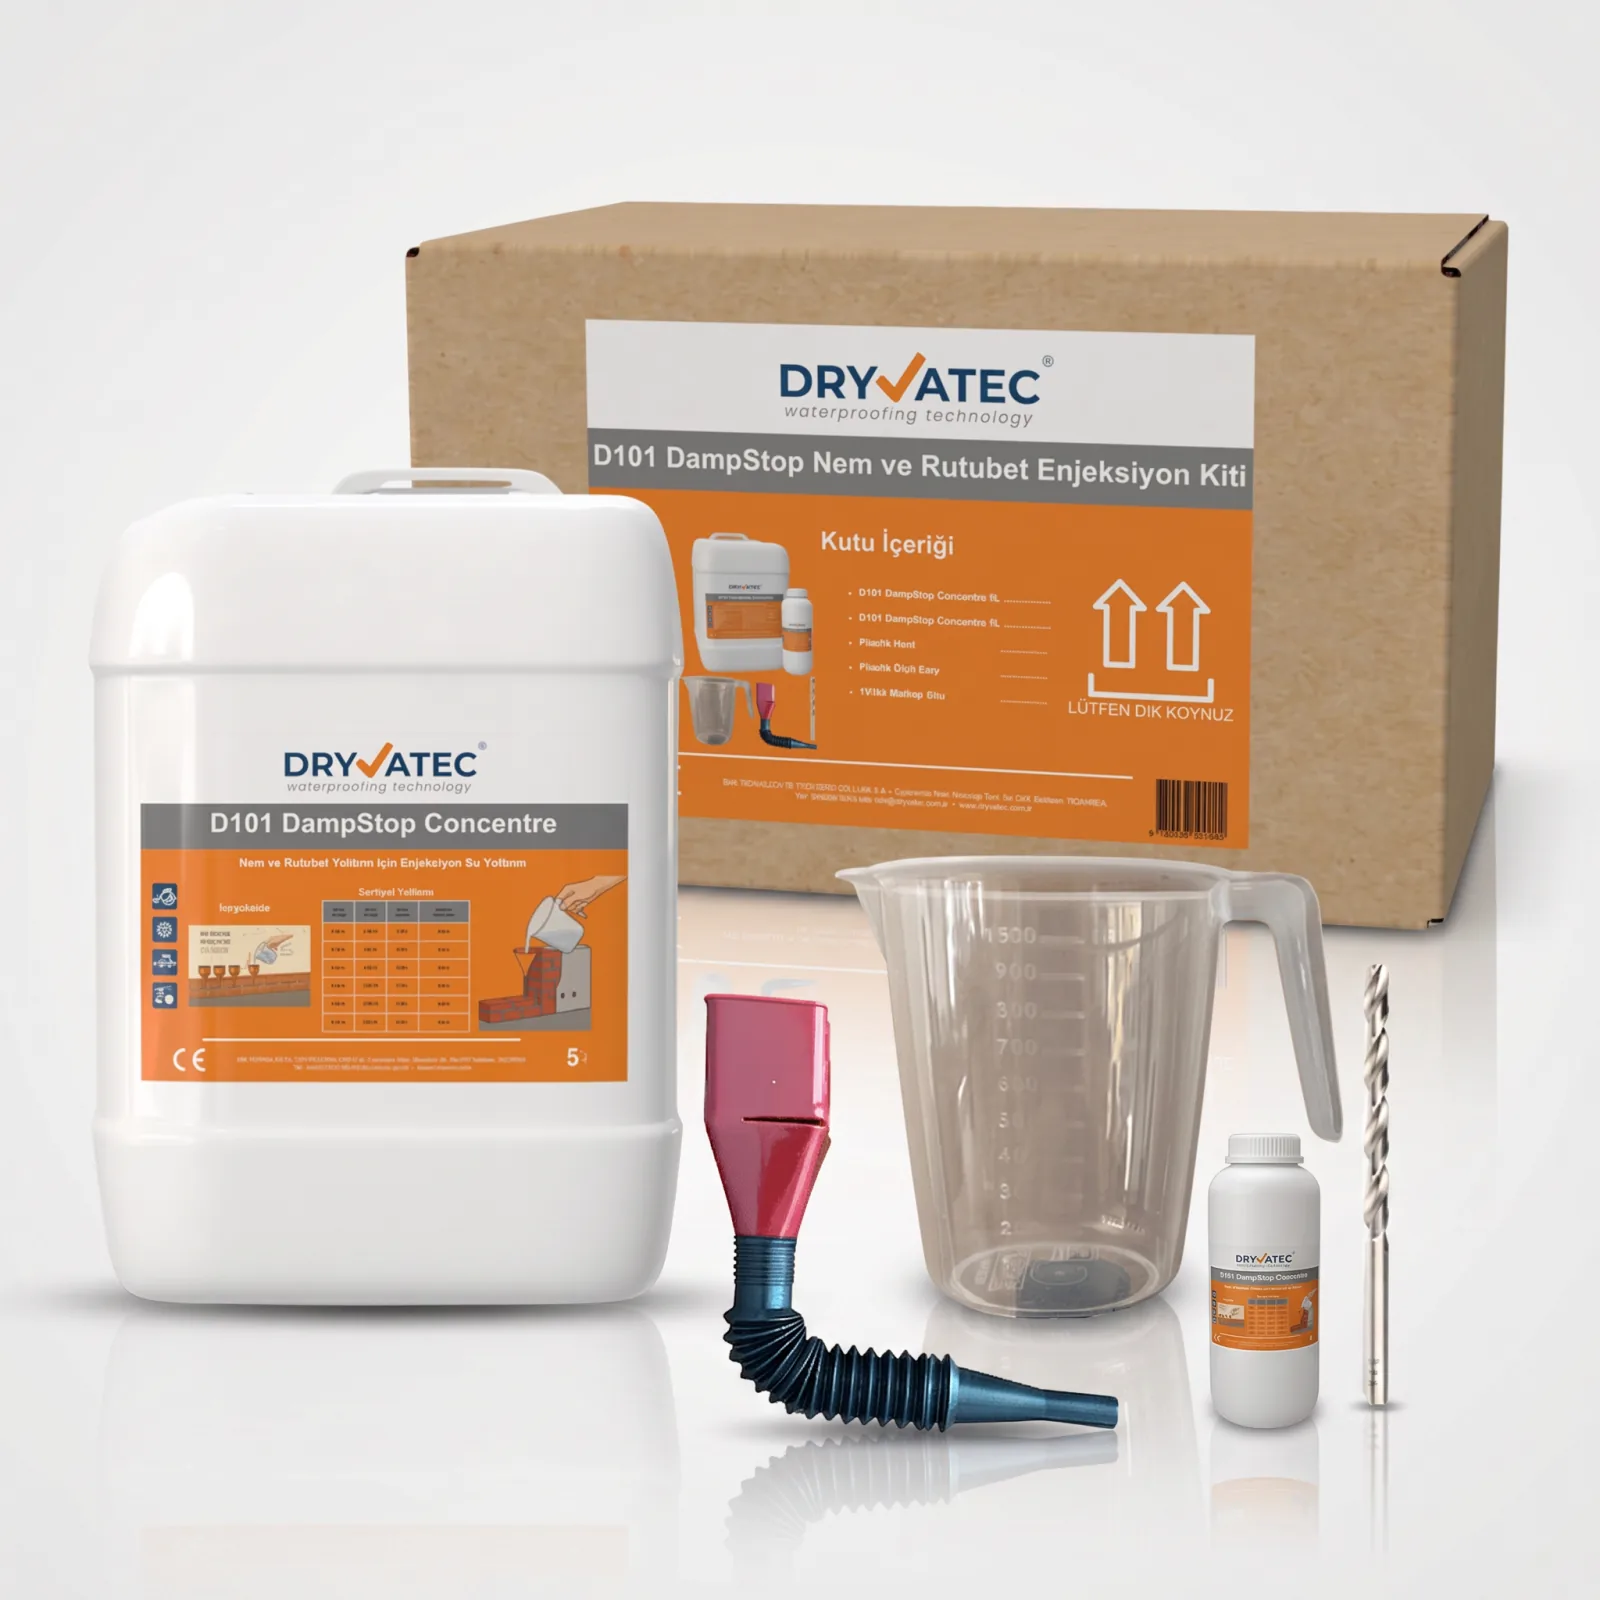
DampStop Complete Kit
For damp rising from the base of the wall: 5 L injection concentrate and application equipment (funnel, measuring cup, 14 mm drill bit) in one box.
8.700₺ incl. VAT View Product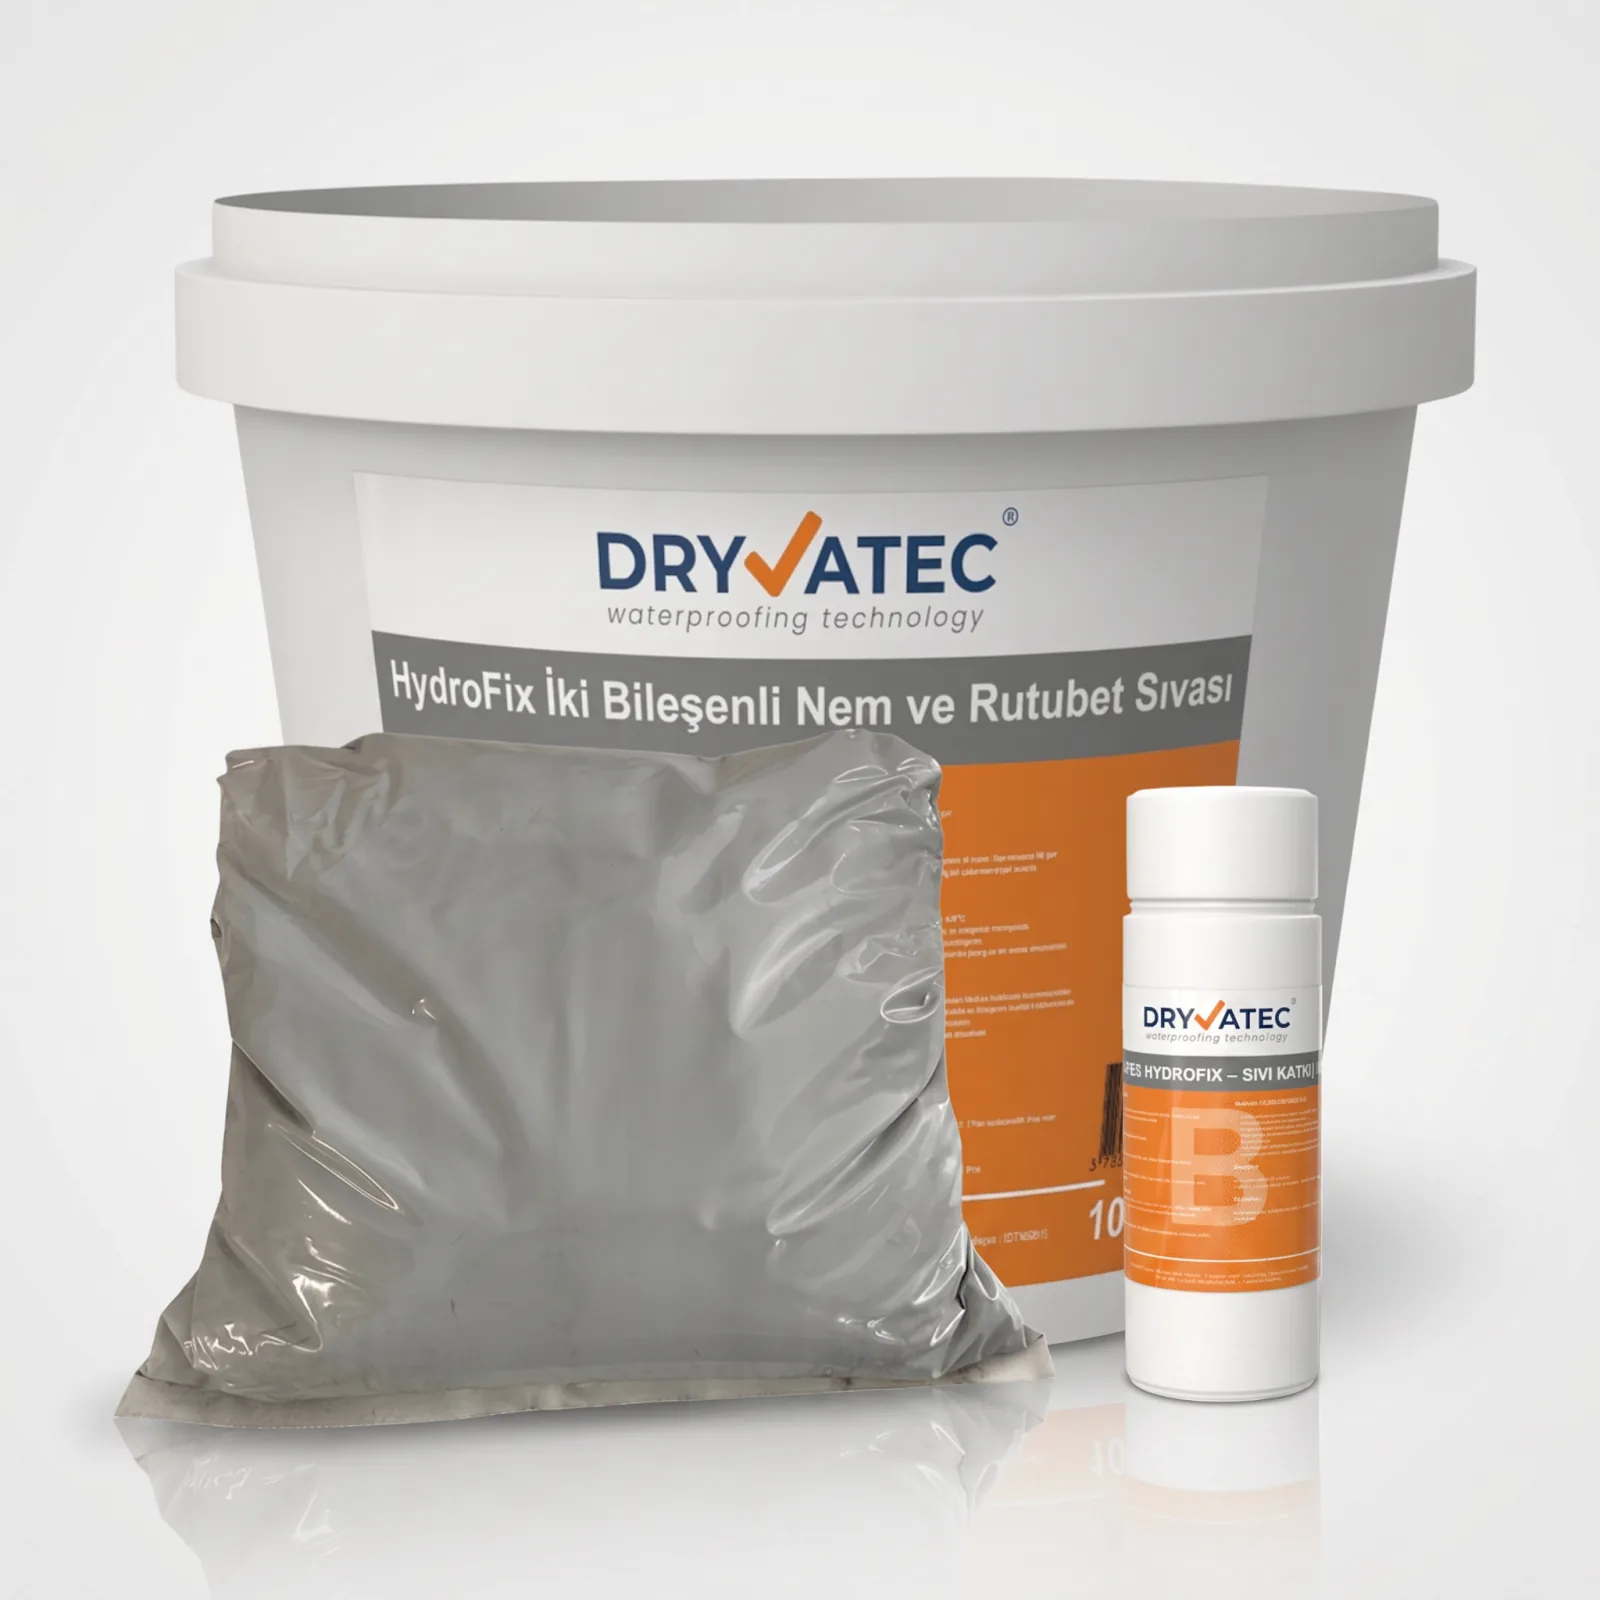
HydroFix 10kg Damp-Proofing Plaster
A breathable interior damp-proofing plaster that stops capillary water transfer, to replace blistered plaster affected by salt efflorescence.
1.500₺ incl. VAT View ProductPay by card (Ziraat 3D Secure) or bank transfer/EFT — for bank transfer call 0850 532 6 999 · No cash on delivery or instalments · Free shipping within Türkiye · 14-day right of return · Work out the quantity with the consumption calculator.
For a small wall or a single section you can choose DampStop 1 L (2.200₺, makes 10 L of solution), and for larger areas DampStop 5 L (8.000₺). You can work out how much product you need with the consumption calculator. The products are designed for DIY use; if you get stuck during application, you can get free technical support on 0850 532 6 999.
Frequently Asked Questions
Do anti-mould primers work?
They work on a dry surface from which the mould has been cleaned, provided the source of moisture has also been dealt with: they delay mould from taking hold on the surface again for a while. As long as the wall stays damp, mould comes back through the primer and paint.
Does an anti-damp primer stop damp?
No. A primer is a thin adhesion layer underneath the paint; it does not stop rising damp, leaks or condensation. The source of the damp must be cut off first.
Can primer be applied to a damp wall?
It should not be applied to a wet or damp wall; the primer will not adhere and will blister. First the source is identified, the damaged plaster is stripped and a breathable damp-proofing plaster is applied; with rising damp, the injection is carried out once this plaster has dried. Primer comes last, using a breathable product.
Which primer should be used on a damp wall?
A vapour-permeable (breathable) primer. Film-forming primers that do not let vapour through trap moisture and salt inside the wall; the paint soon blisters.
When should primer be applied after damp-proofing plaster?
Primer and paint are applied once HydroFix is visibly dry, after waiting at least 3 days. In cold, damp weather the drying time is longer.
Related Guides
- How to paint a damp wall: 6 steps
- Does anti-mould paint work?
- Damp-proof plaster or paint?
- Which damp remover actually works?
- A definitive solution for wall damp: 3 methods by source
Is primer enough for your wall, or does the source need solving?
Send us a photo of your wall; our technical team will assess it online and tell you the source of the damp and the right order free of charge.